Inside: A fun Mother’s Day craft that toddlers, preschoolers and big kids ages 5-7 can enjoy! Create a unique picture frame for mom this Mother’s Day with this simple and fun arts and craft activity!
RELATED…21+ Simple & Adorable Mother’s Day Crafts for Toddlers
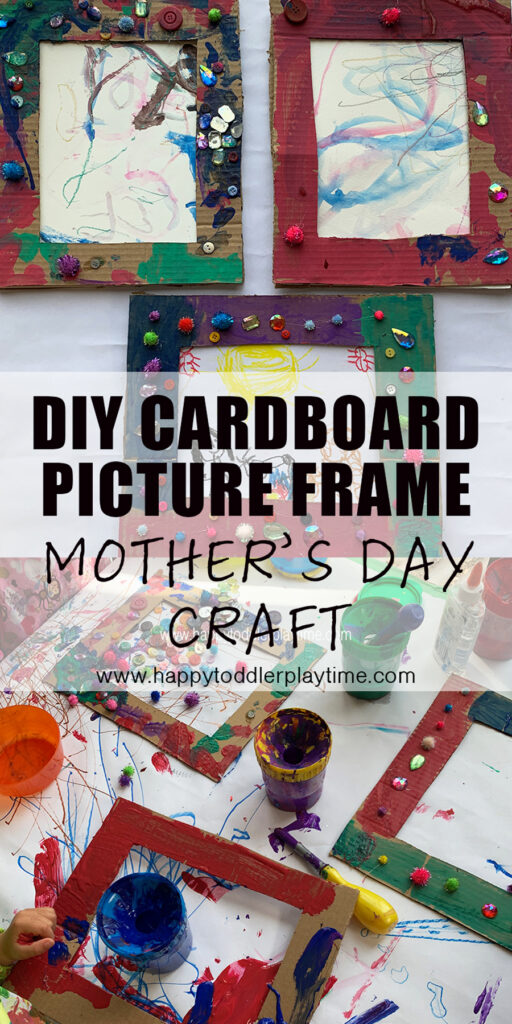
How to Make a Cardboard Picture Frame Mother’s Day Craft
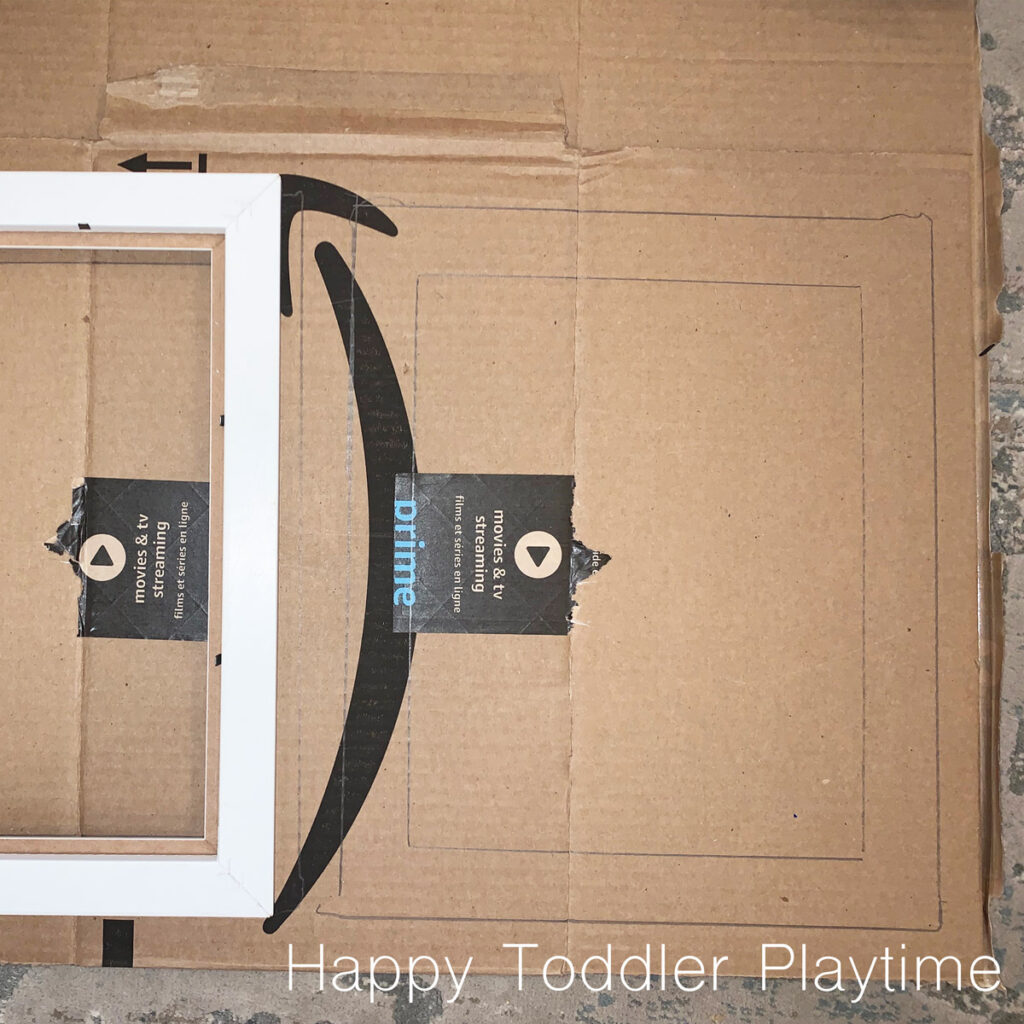
Grab your cardboard box, picture frame, pencil and box cutters. Fold the box so that you have two layers of cardboard. This is make cutting out the front of the frame and the back of the frame easier.
Place something underneath your box to help prevent your box cutters from damaging you floor or table surface. I used a couple of recycled padded envelopes underneath mine.
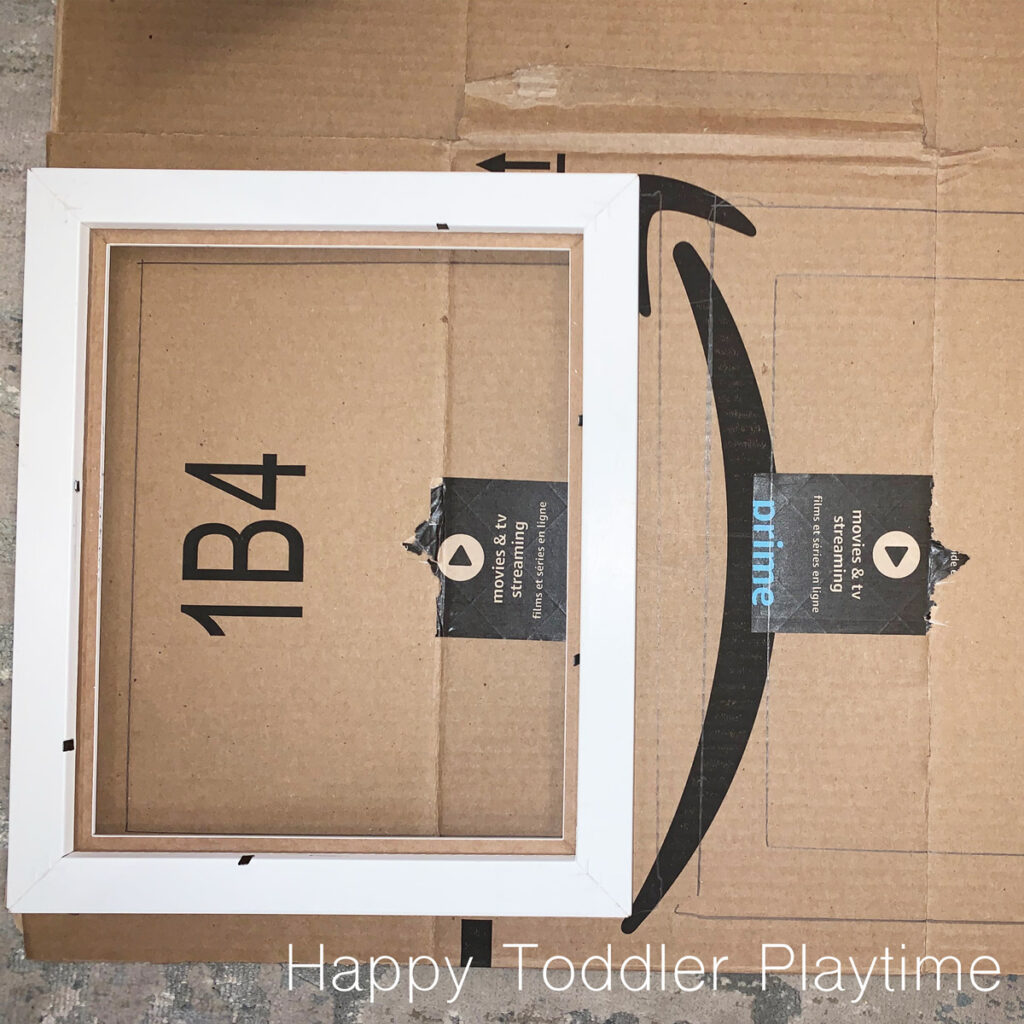
Remove the glass and back of the picture frame and trace the inside of the frame and outside the frame on the box.
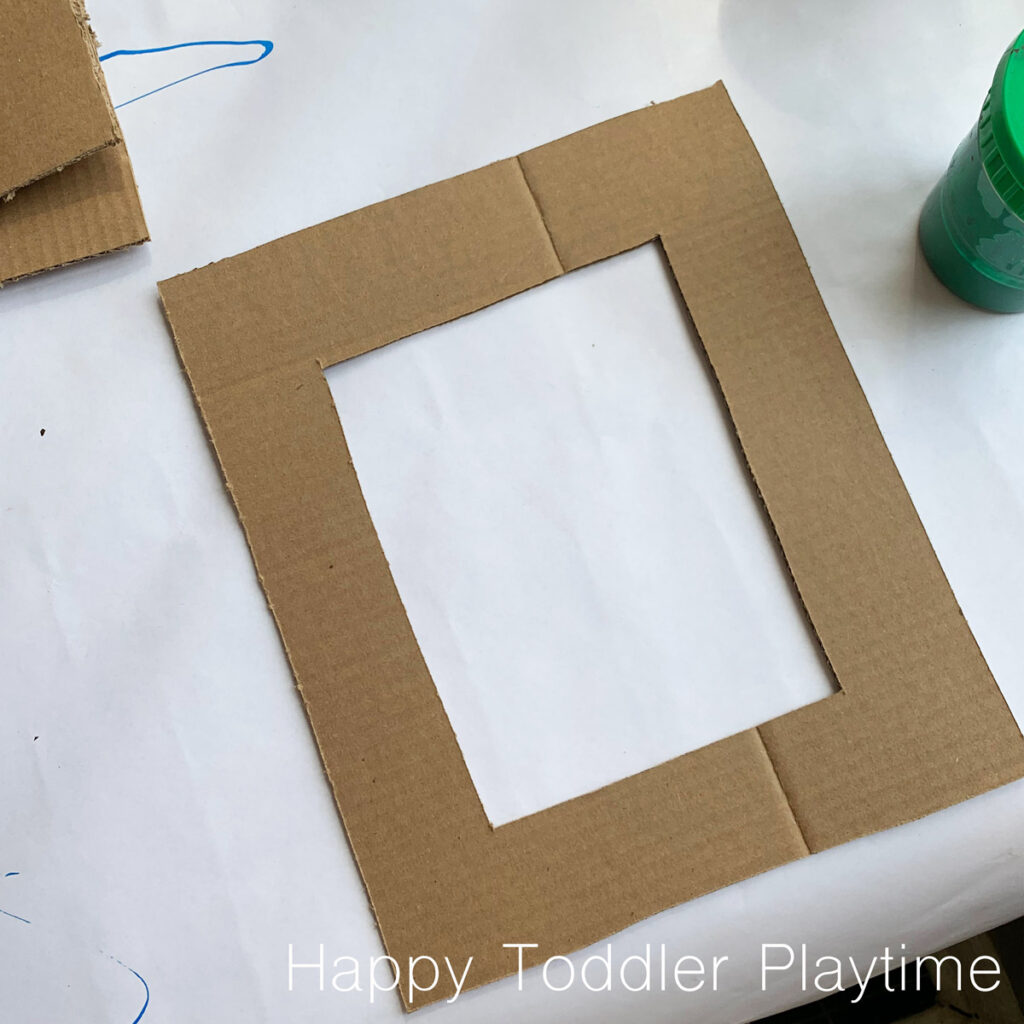
Use the box cutters and cut out the outside of the frame on the box. unfold the box and cut the inside inside of the frame.
This will give you the frame for the front of the picture frame as well as the backing of the picture frame.
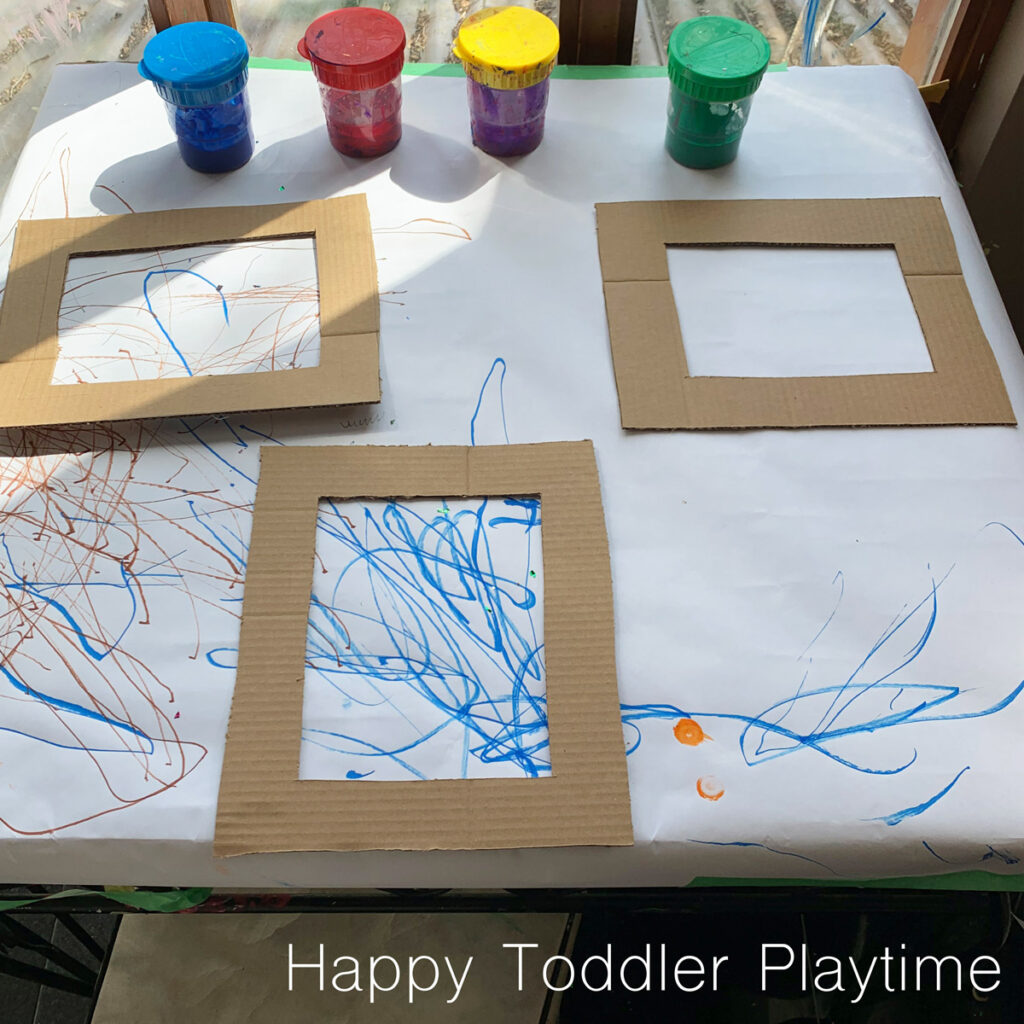
Time to Decorate
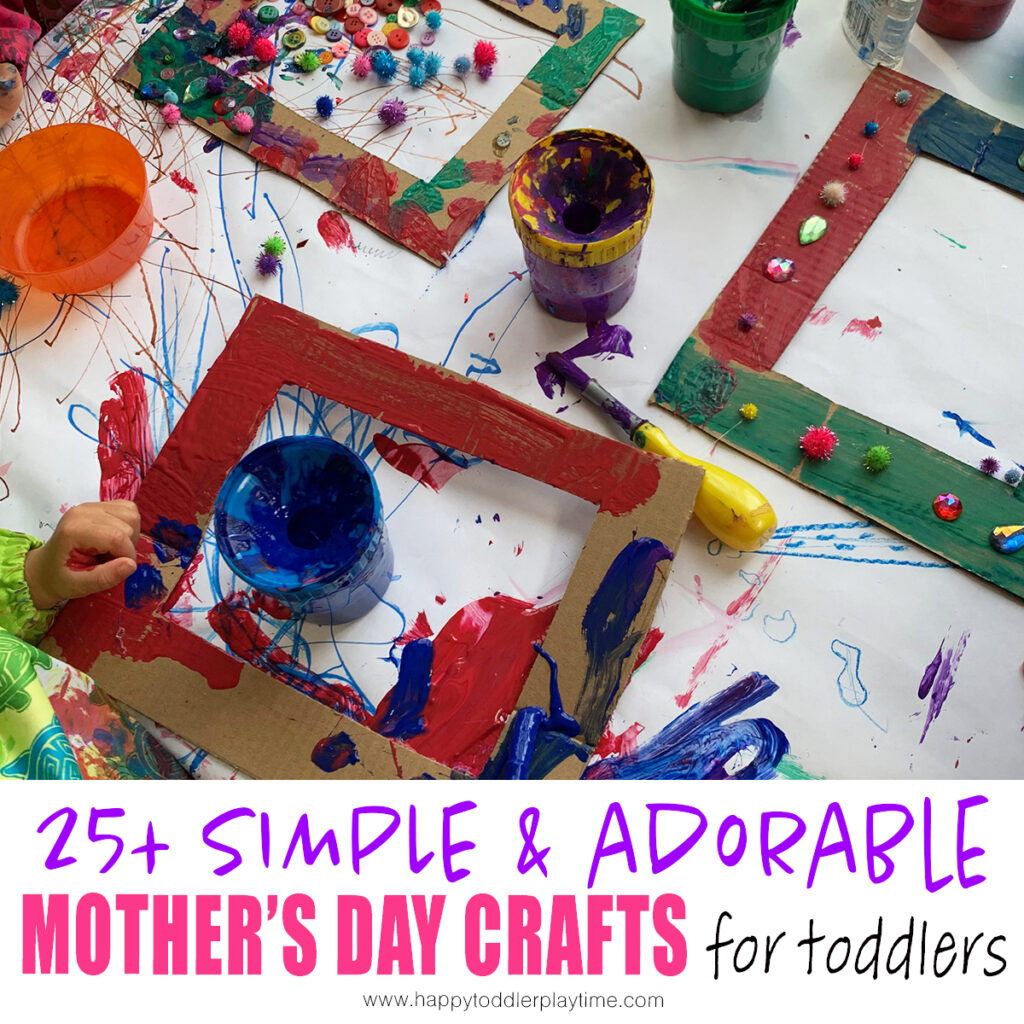
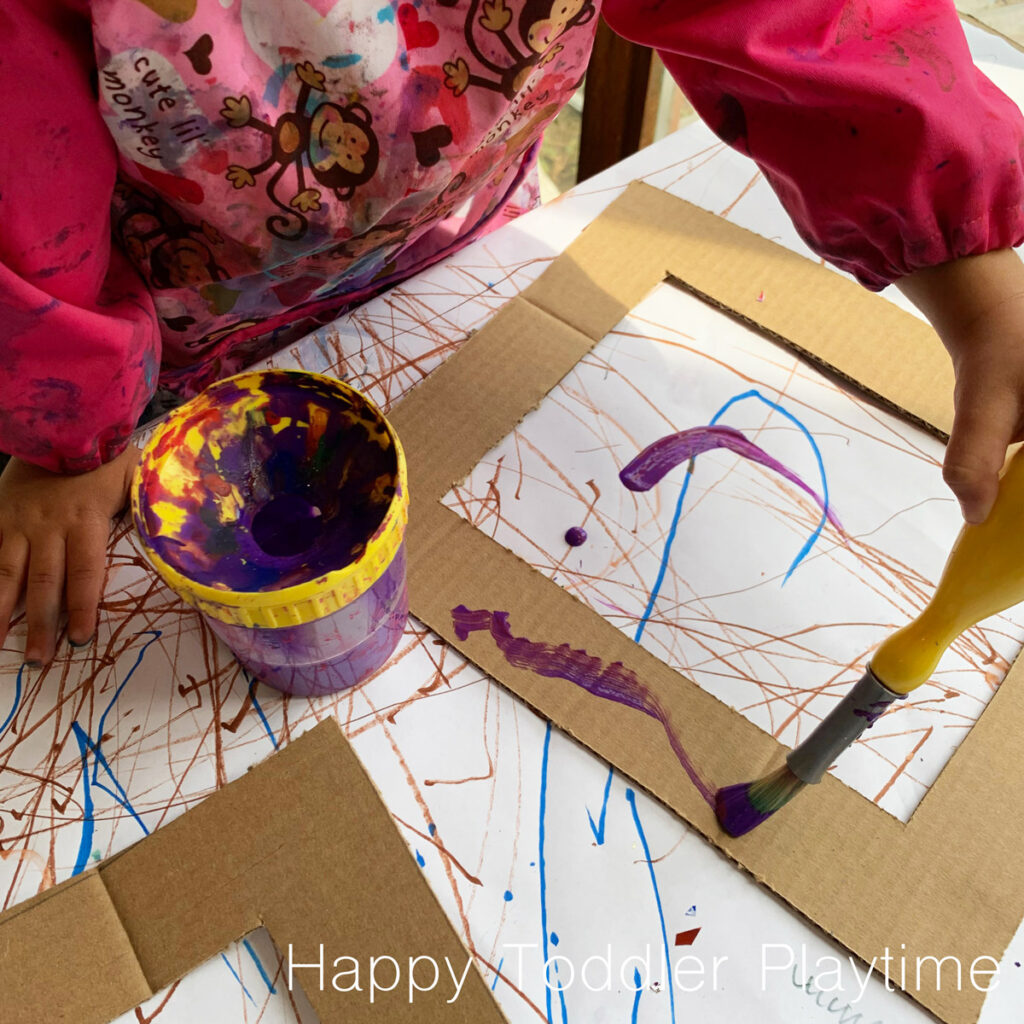
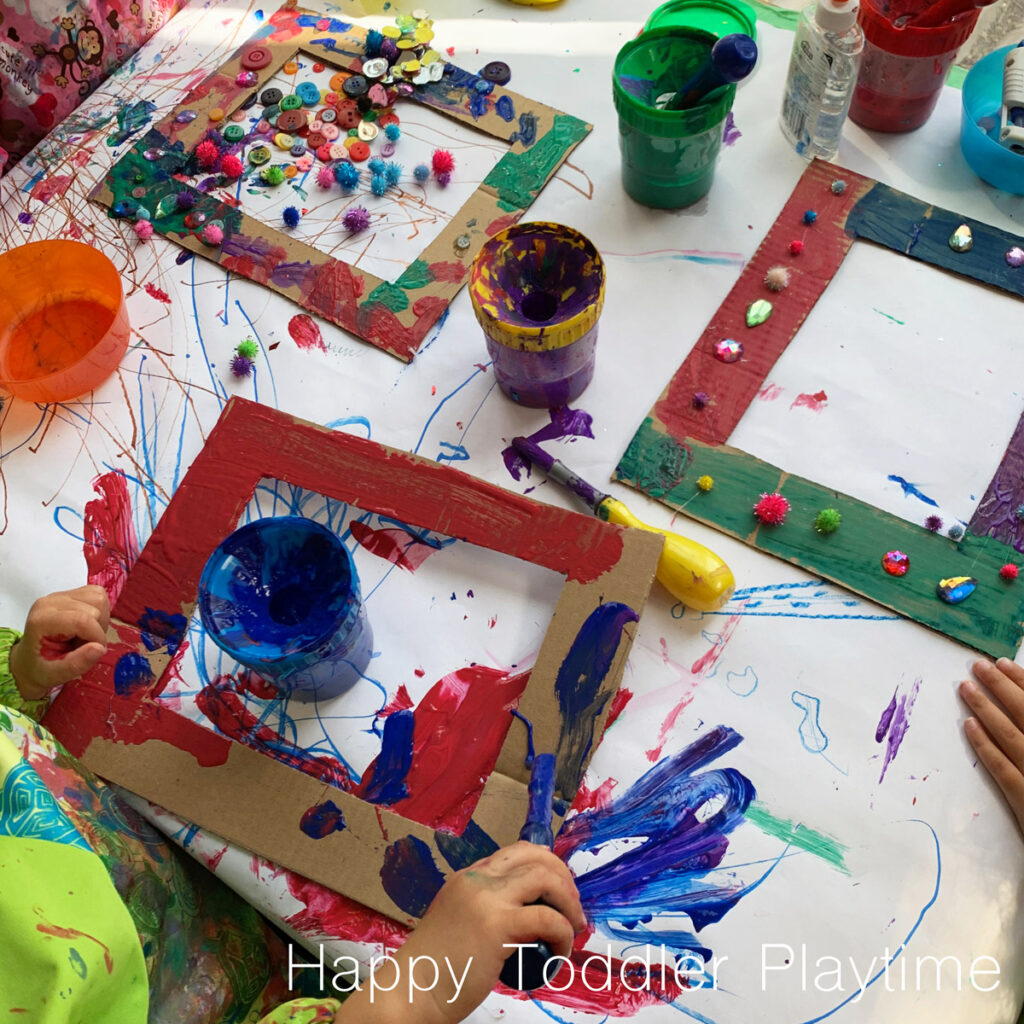
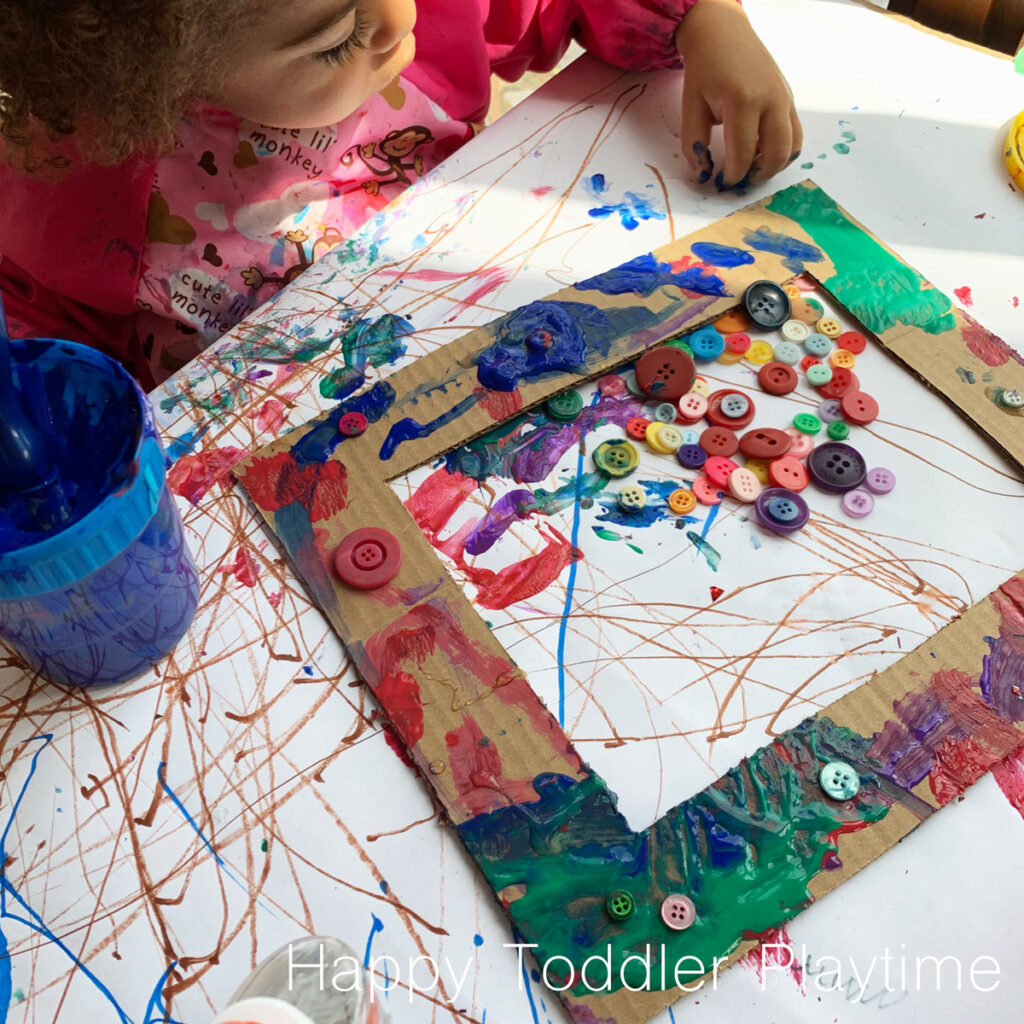
Invite your little one to come and paint the front of the frame with washable kids paint.
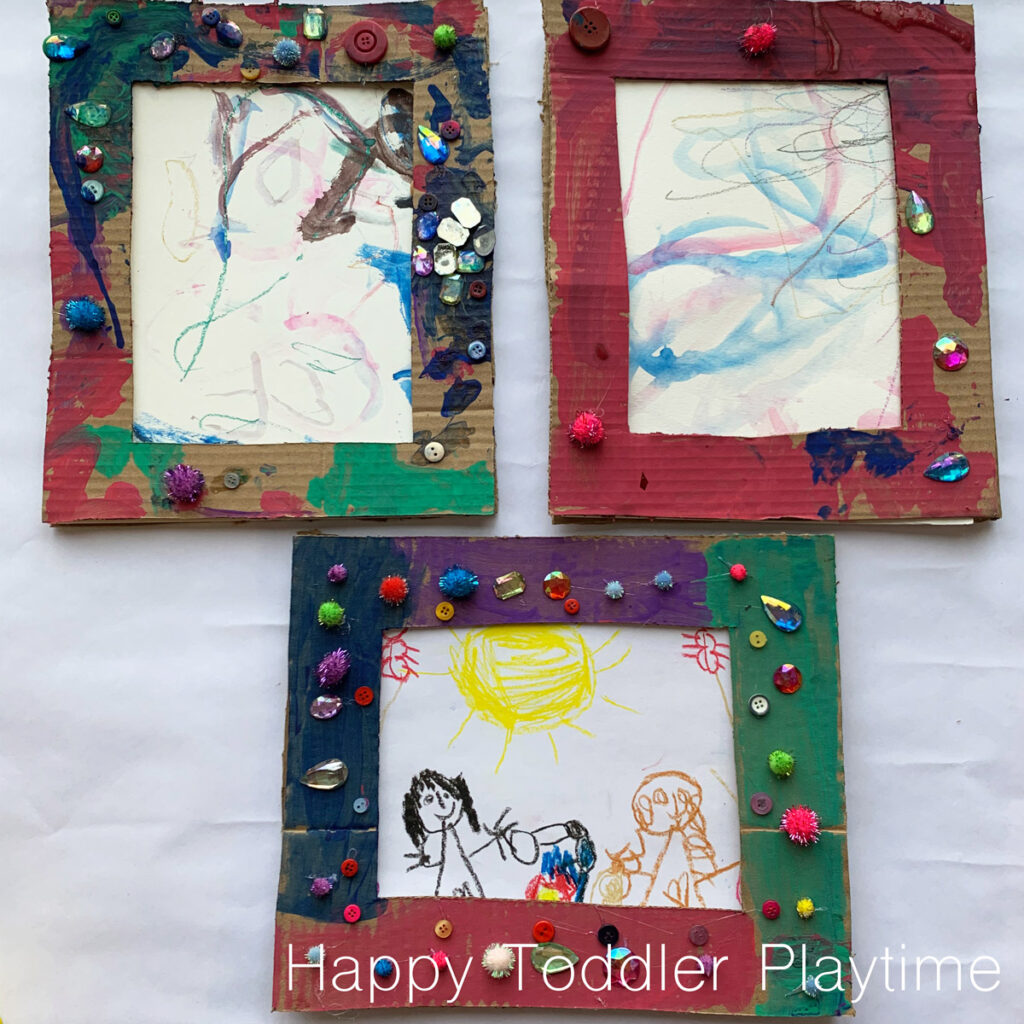
Once the frame is dry have them decorate it with Pom Poms or glitter glue, or buttons or gems or a little of everything or whatever craft supplies you have on hand such as tissue paper, confetti glitter, stickers and so on.
Use glue to secure the Pom Poms or glitter glue, or buttons or gems. You will have to use lots of glue to secure the Pom Poms or glitter glue, or buttons or gems. Alternatively you can use a gun glue (adult use only) with older kids.
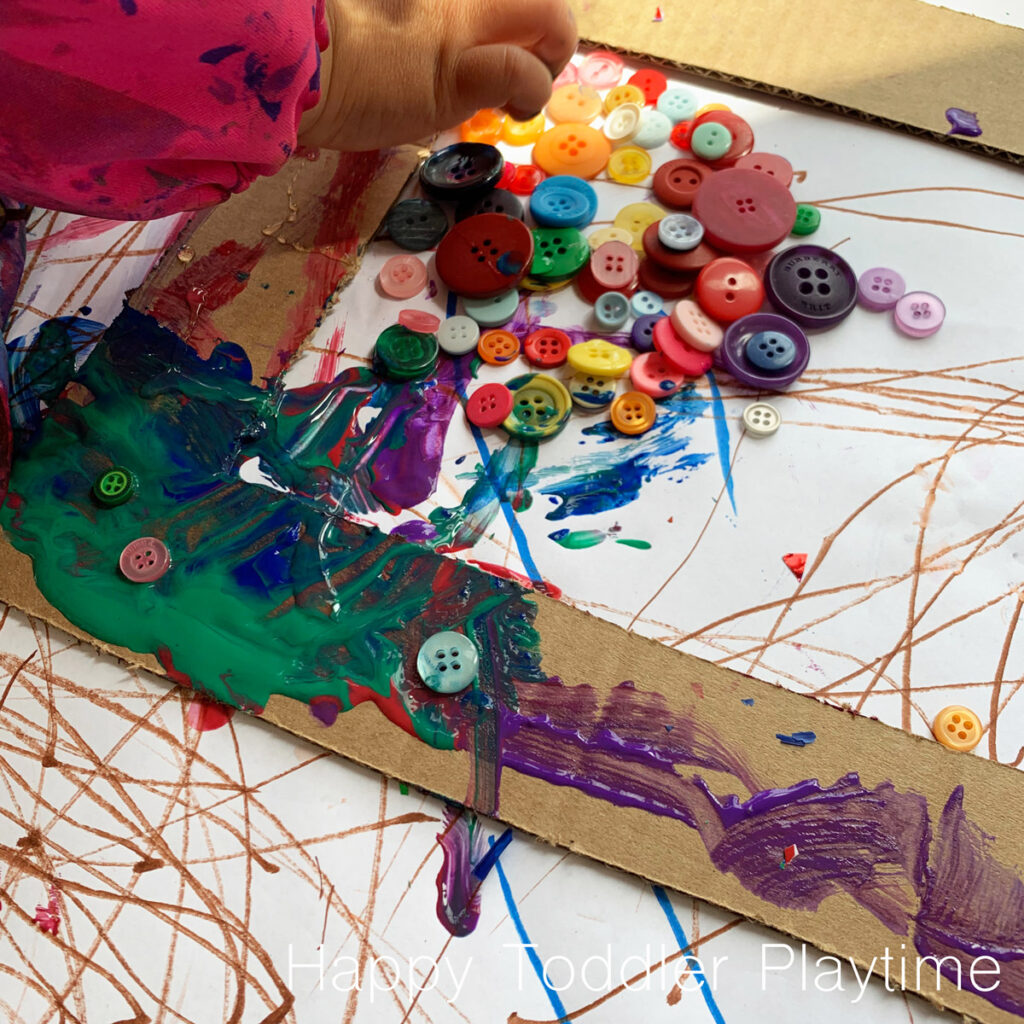
For my two year olds, I let them squeeze out more than the normal amount of glue drying glue and then stick the buttons in the glue. Once the frame was dry I went back and secured any pieces that felt loose with a glue gun.
Frame a Favorite Picture
You can then frame a picture that your child already drew or have them draw a new picture for mom, nana or grandmama!
Once the frames are dry, grab the back of your frame, drawing that you want to frame and the decorated from of the frame and put them together. Secure everything with a hot glue gun or with small pieces of duct tape).
Cut a short piece of string and secure it on the back of the frame using duct tape.
Tips
If you are going to draw a picture specifically for your frame, trace the inside of the frame on the piece of paper your child will use. This will give them an idea of how much space they will have for their picture. This is especially helpful. for older kids.
You may have to remind toddlers to paint on the actual frame and not inside the frame.
Supplies
(This post and list contains affiliate links for your convenience. If you make a purchase using one of these links, I may earn a commission. Please visit my disclosure policy for more information.)
- Cardboard
- Box Cutters
- Pencil
- Picture frame
- Washable Kids Paint
- Brushes
- Smock
- Glue
- Pom Poms or glitter glue, or buttons or gems
- Hot Glue Gun
- Duct Tape
- String
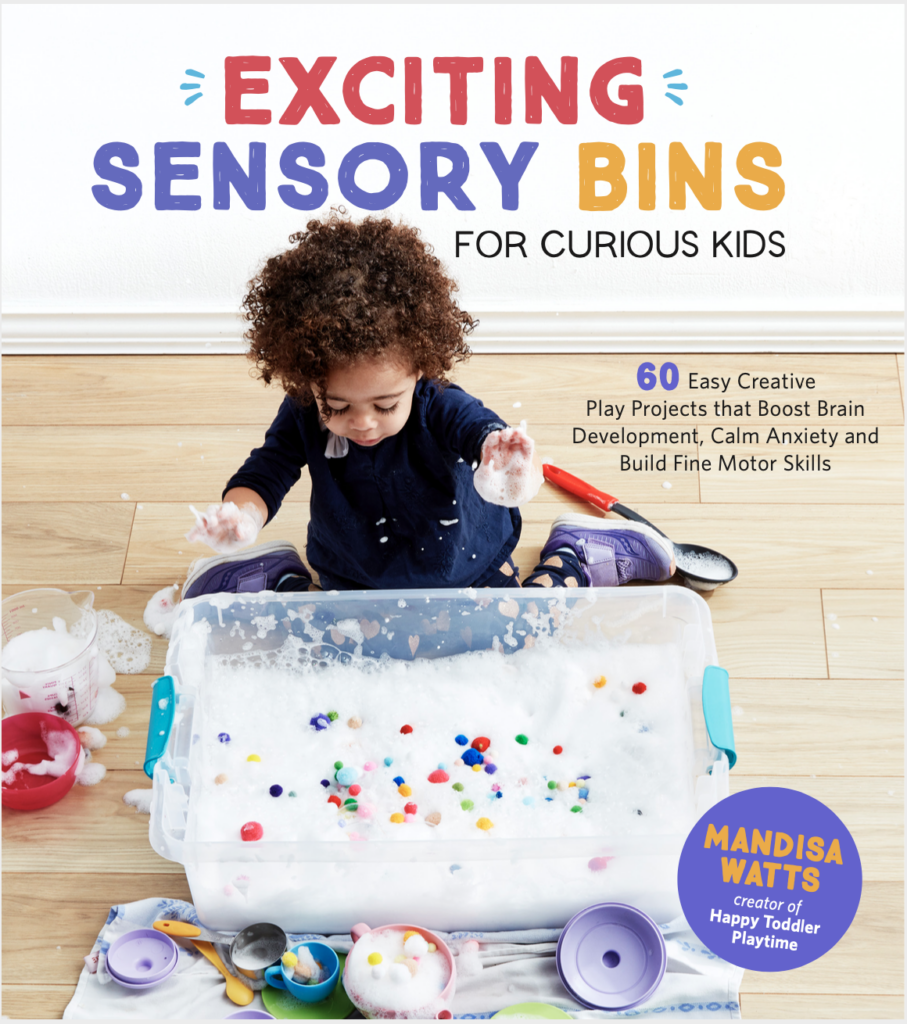
Pre-order your copy of Exciting Sensory Bins for Curious Kids: 60 Easy Creative Play Projects that Boost Brain Development, Calm Anxiety and Build Fine Motor Skills
WILL YOU TRY MOTHER’S DAY DIY CARDBOARD FRAME CRAFT WITH YOUR TODDLER OR PRESCHOOLER? Pin it for later!