A fun fine motor skill Halloween craft using washi tape with lots of scissor practice as well!
Washi tape is an incredibly versatile craft material that is fun to use for adults and kids alike. It sticks to all kinds of surfaces, comes in as many patterns as there are stars and can be used in so many great fine motor skill activities and crafts.
Here we used a lot of our orange washi tape to make a happy pumpkin face.
Here’s what you’ll need to get started:
Supplies
- Kids Scissors
- Orange
, Green
and Black
Washi Tape
- White paper
- Orange and green marker
- Googly Eyes
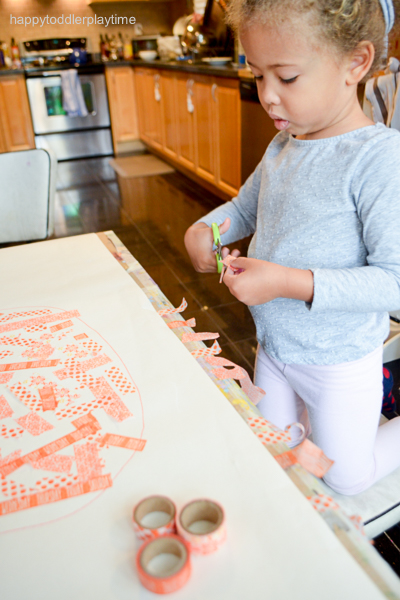
Set Up
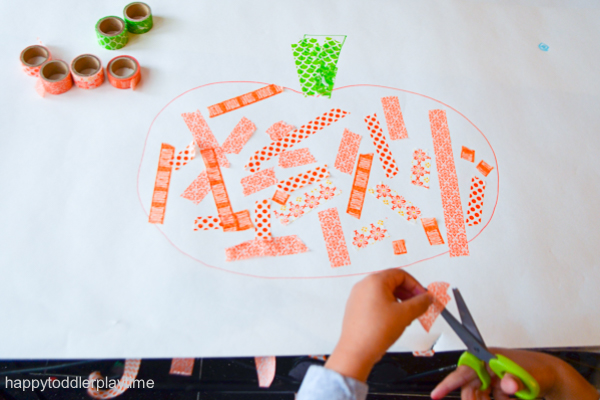
On a white sheet of paper draw the outline of a pumpkin in orange marker. This will act as the boundaries for your little one to stick the orange washi tape in. Use a green marker to draw the pumpkin stem.
Washi Tape Cutting
This part of the craft is an activity that we have done on its own before. (Check out Washi Tape Cutting.)
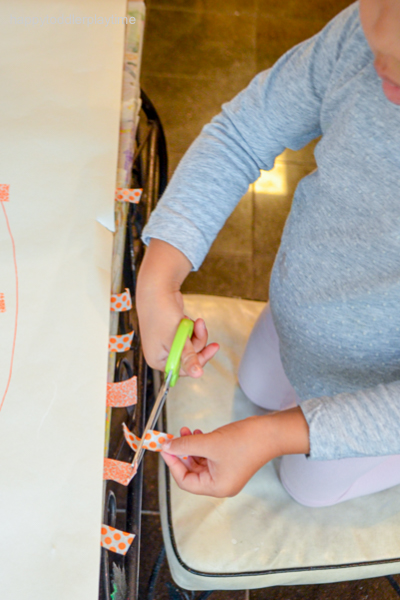
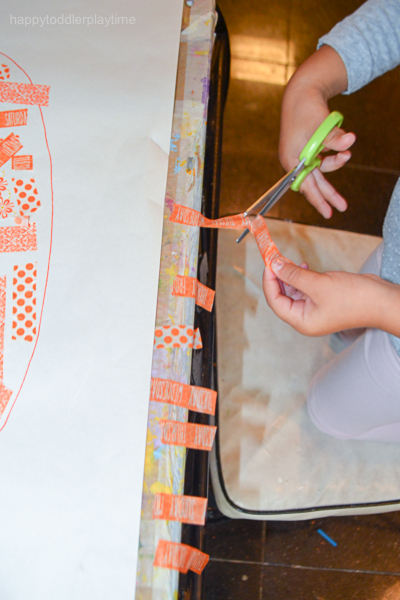
I stuck pieces of washi tape at the edge of our craft table and gave her a pair of scissors (Check out Leaf Cutting Tray for details on teaching your little scissor rules). Then had her cut small pieces off and then stick them on the pumpkin.
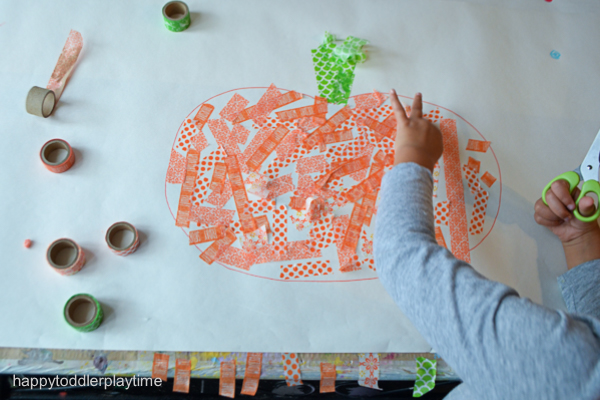
Let them Stick it
For toddlers and preschoolers don’t worry about how or where they stick the washi tape. As long as it gets inside the pumpkin outline its completely fine! For older children you can have them stick the washi tape down in a more organized manner.
Fine Motor Skills
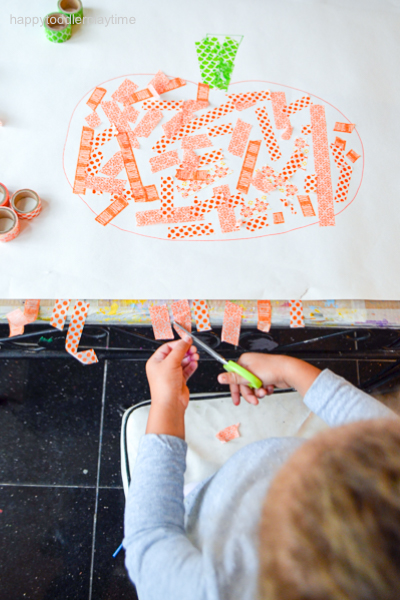
This part of the activity is great for practicing those important scissor skills, something my three year old absolutely loves to do. It is also a great way to work those all important finger muscles!
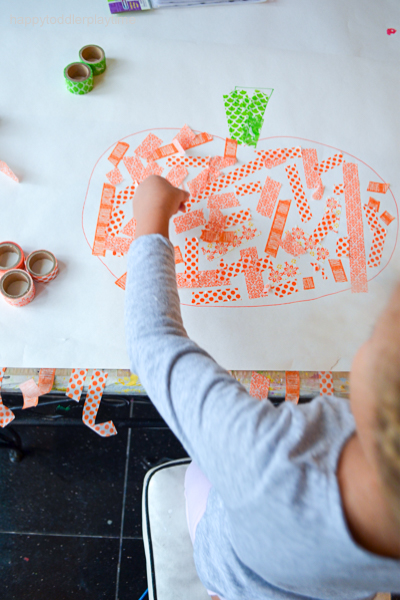
We continued to do this until all or most of the white space inside the pumpkin was filled. Then I stuck some green washi tape at the edge of the table and had her cut pieces off for the pumpkin stem.
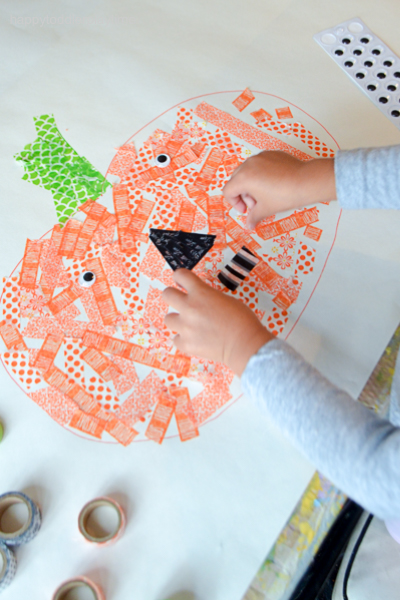
Making the Pumpkin Face
We used googly eyes for the pumpkin face. They were self adhesive. If the eyes you have are not, simply add a bit of glue and have your little one stick them on.

For the nose and mouth, I used black washi tape. Again I stuck pieces at the edge of the table and had her cut smaller pieces off and then stick them on the face of the pumpkin. She decided that she wanted to make a triangle nose and a smiley mouth!
Washi Tape Fun
Usually when we use washi tape we don’t do crafts like this so this was a fun and new type of washi tape activity for my daughter. And it has given me lots of ideas for other washi tape crafts we could do!
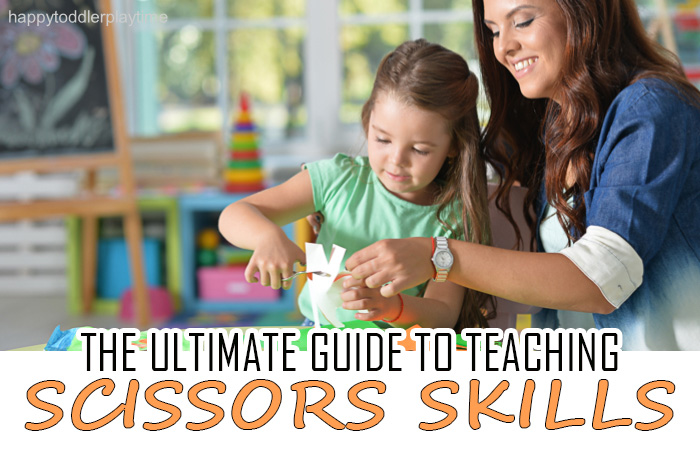
Need help teaching your toddler to use scissors correctly?
Check out The Ultimate Guide to Teaching Scissor Skills for more helpful tips!
ARE YOU GOING TO TRY WASHI TAPE PUMPKIN WITH YOUR CHILD?
SHARE IT WITH OTHER PARENTS!

Pingback: WASHI TAPE CUTTING – HAPPY TODDLER PLAYTIME