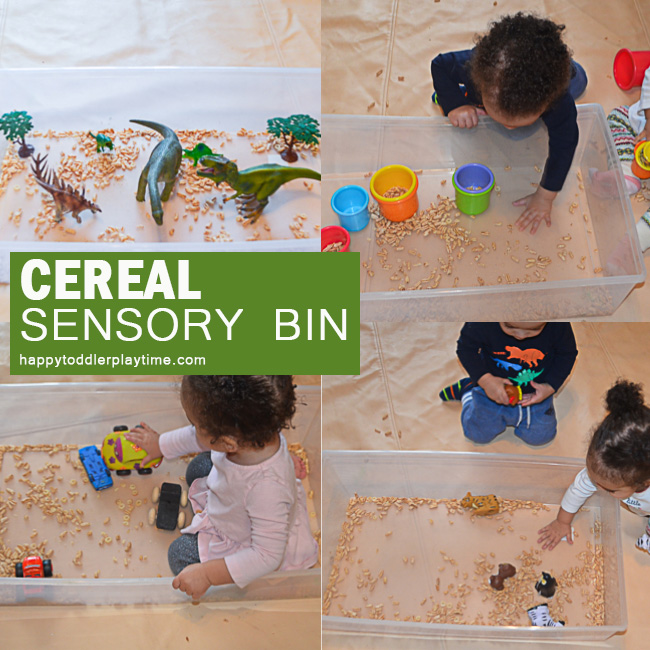
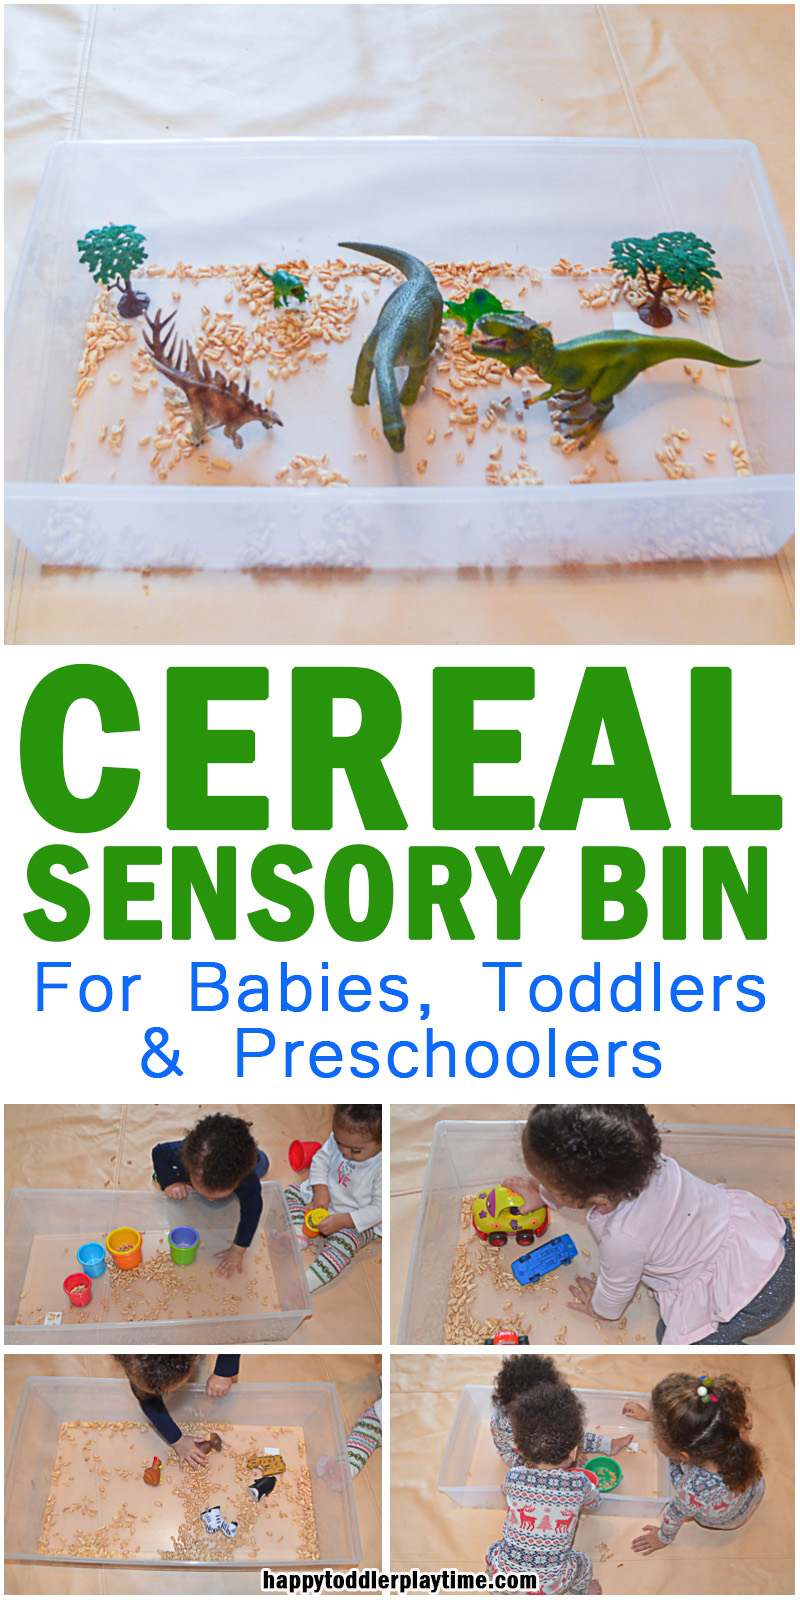
One sensory bin filler done six different ways! This activity lasted us two days!
I love easy sensory bin ideas that work for all my kids – 11 month old twins and a 4.5 year old.
For it to work with everyone it has to be taste safe for the babies and interesting for the big girl.
Here is a sensory bin idea that checked all those boxes and more! And what is more is it had legs. I was able to use the same filler six different ways (after topping it up a few times because of the periodic snacking) with six different tools.
What are tools? Its what I call the things that I give (or they select themselves – in the case of the big girl) my kids to manipulate or play with the sensory bin filler.
Here’s how to set up your Cereal Bins
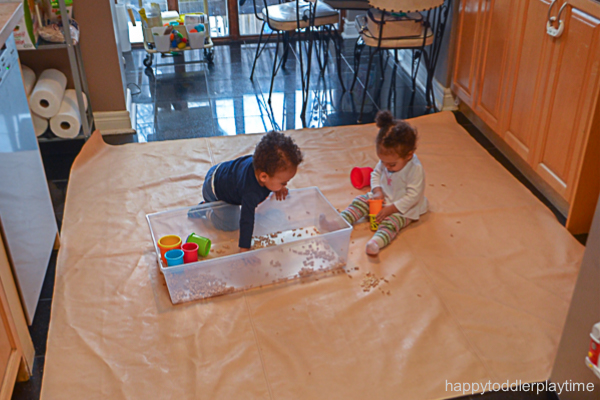
Grab your large sensory bin and a plastic table cloth (or shower curtain or old sheet or picnic blanket), anything to help catch the mess that will come while your little one(s) plays.
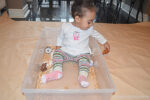
Sensory Bin #1
The first sensory bin is the simplest. And I will admit that this was done in a moment when both twins where hanging on to my legs and I needed a minute to get lunch ready.
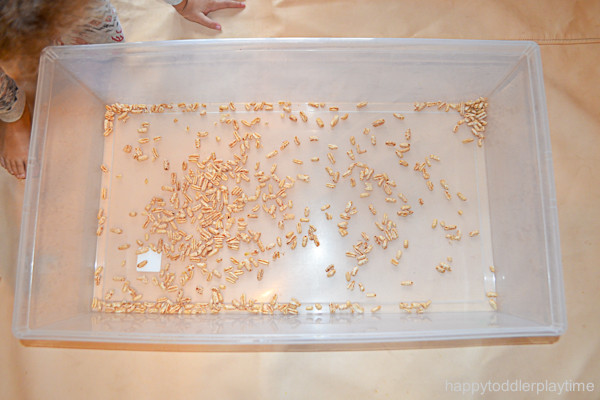
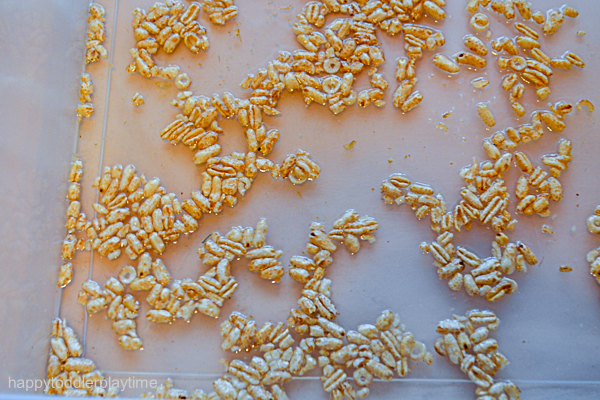
So I threw a few Cheerios and Kamut Puffs into a large sensory bin and voila I had the five minutes I needed to finish preparing lunch.

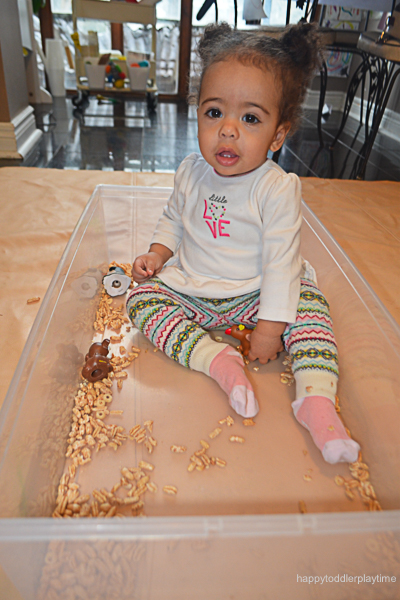
I added some bowls at first but everyone just loved it. They snacked, they climbed in, they used their fingers to pick up the cereal and dropped it to see what would happen. They essentially played with their food. It was great and I felt like a genius.
Feel free to add as much or as little as you choose. As you can see I did not add a lot but more on that later!
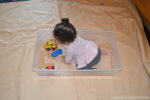
Sensory Bin #2
But the activity mom in me couldn’t stop there. Once they got bored I thought of creative ways to extend the sensory bin filler and make it work for me for at least the rest of the day.
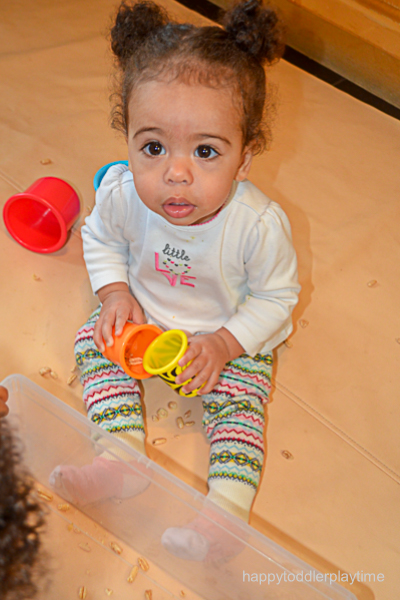
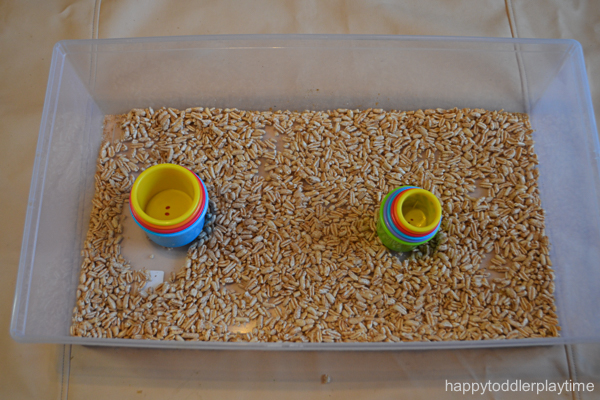
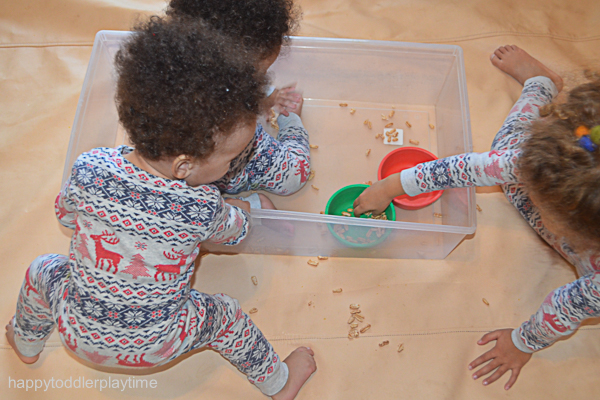
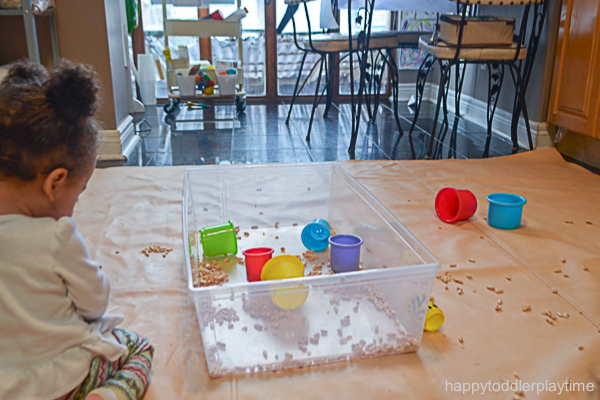
In the second version I added stacking cups. I sat down with my twins (my 4.5 year old was at school by this time) and I showed them how to put the cereal into the cups and then dump it out. At 11 months they are not able to do this own their own yet but they will soon!
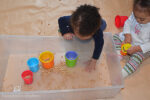
For toddlers and preschoolers, I would have more tools, like spoons or shovels so they can scoop the cereal out and pour it into the cups
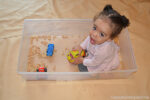
Sensory Bin #3
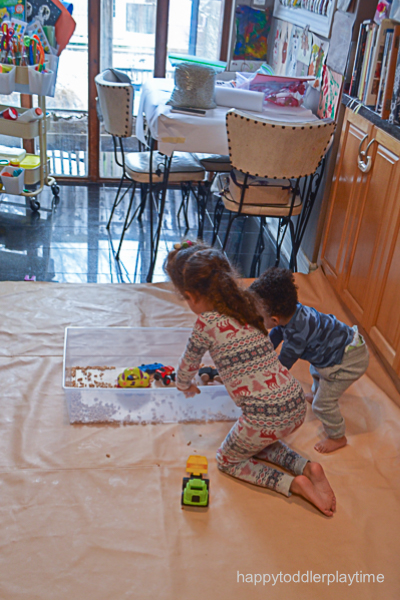
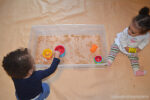
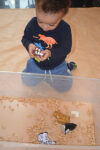
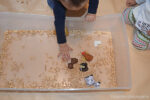
For the third sensory bin I add Little People animals. These are a favourite with my twins, especially Baby Girl. So I knew that when they saw them they would love it and I was right.
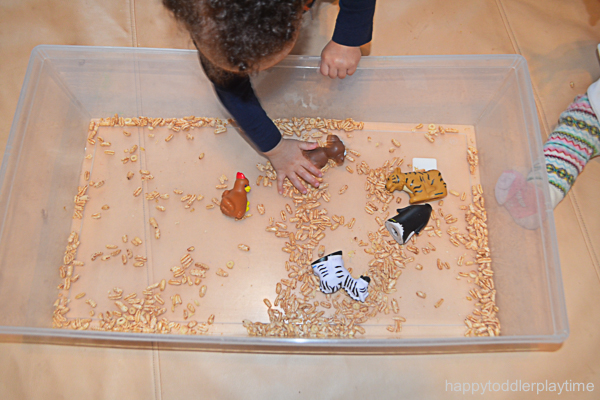
They dived right in. With this bin I showed them how they could stump and crush the cereal. I pretended that the animals were eating as well. They totally got a kick out of this.
Again, my 11 month old twins are not really able to play with the animals but they are learning. With this sensory bin I was able to show them one way to play with the animals.
Of course, I named all the animals and talked about what sounds they make all the while playing with them.

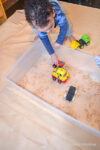
Sensory Bin #4
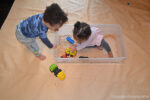
For the fourth version, I added cars and trucks. My twins love cars so they got a kick out of this as well. Driving the cars over the cereal, makes a great crunching noise that I pointed out and had them try.

This is a great time to bring out your construction vehicles if you have them!
Sensory Bin #5
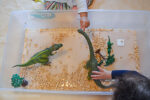
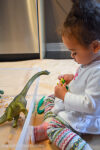
For the fifth bin I added dinosaurs. This version was a hit with my 4.5 year old but the twins enjoyed it. For them I removed the dinosaurs with sharp spikes. They were intrigued with these big kid toys and mostly just explored.
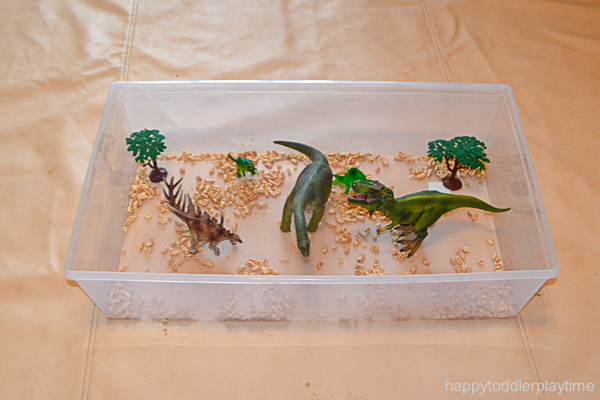
I showed them how the dinosaurs stomp on the cereal to crush it just like the cars!
Sensory Bin #6
For the final sensory bin just add a little water! Water goes with almost everything and with cereal it makes a soggy gooey sensory perfect mess!
Dealing with the Mess
Here are my tips for managing the mess:
Have a large play area.
Create a dedicated space for sensory bins. Out of the way in your kitchen or somewhere easy to clean up (i.e. not a carpeted area). Set out a
- large plastic table cloth; or
- towel; or
- shower curtain; or
- old sheet; or
- picnic blanket.
- If its disposable all you need to do is pick it up and toss it.
Do not add a lot of filler.
Just do not start out with a lot of cereal that way the mess will be less. As you can see I did not fill up the bin at all. And they were fine with that. As they get older and are able to handle more filler without making a huge mess then I can add more!
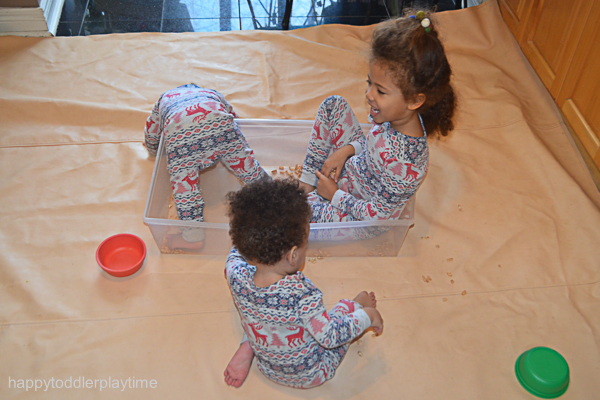
Get in there with them.
I know you want to drink that coffee (oh boy do I know) and you will but first get down on the floor and play with them. Its so important for their development and they love it. If you sit and play with them for a bit they a less likely to toss it around.
Set out the rules.
Set out the sensory bin rules for toddlers and preschoolers and enforce them! No tossing the cereal out and if they do after they have been warned and you are certain they understand the rules take the bin away and revisit it another time.
Fun and Easy
The cereal sensory bin is just plain fun and easy. And all three of my kids loved it!
Supplies
(This post and list contains affiliate links for your convenience. If you make a purchase using one of these links, I may earn a commission. Please visit my disclosure policy for more information.)
- Your kids favourite cereal
- 41 Quart, Clear Sensory Bin

- Bowls, spoons, measuring cups
- Toy Dinosaurs
- Toy trucks
- Little People Animals
- The First Years Stack Up Cups
- Plastic Sheet
WILL YOU TRY CEREAL SENSORY BIN WITH YOUR LITTLE ONES? Pin it for later!


Pingback: 7 Easy Sensory Bins for 12 Month Olds – HAPPY TODDLER PLAYTIME