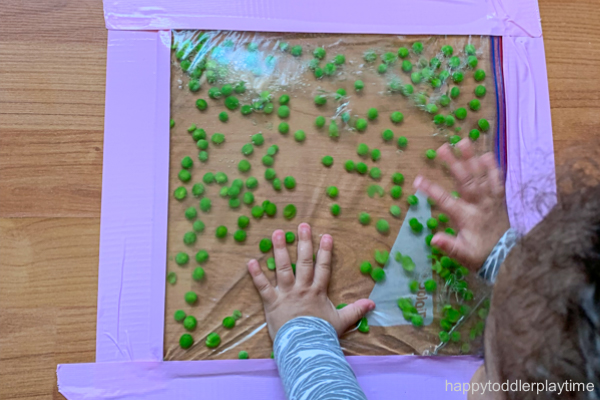
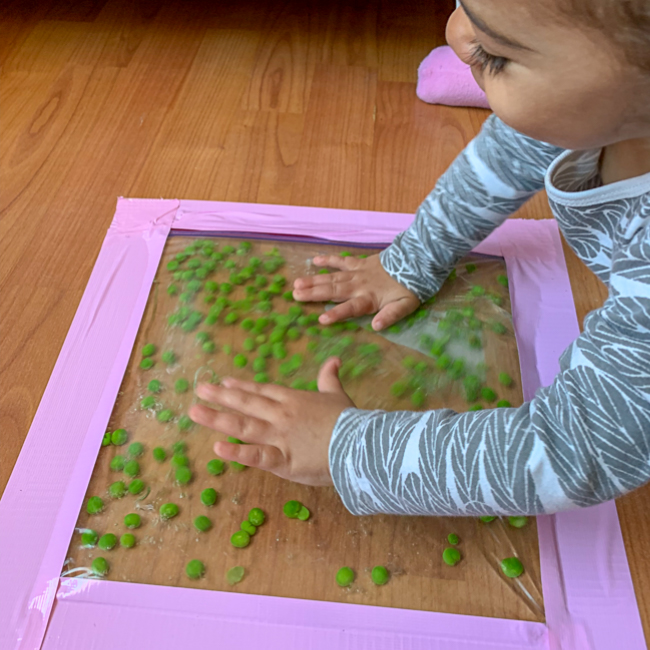
Need a quick, mess-free activity to occupy your toddler while you put lunch together? Check out this fun green pea sensory bag idea! The peas danced and bounced with every touch. It is so mesmerizing to watch!
Here’s How To Set Up A Green Pea Sensory Bag
READ MORE…How to Start Doing Activities with Your Kids
Grab a gallon size Ziploc bag and add half a cup of frozen green peas. Feel free to add more if you like, there really is no limit!
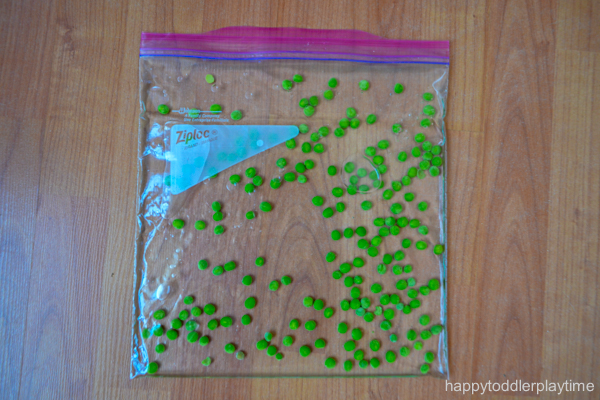
Next, add cold water. You don’t want to fill the entire bag but fill it appropriately one third of the way.
Seal the bag securely. As you close the Ziploc bag make sure to remove as much air as possible.
Lay the bag flat and test to make sure it has enough peas and water. You want the bag to jiggle when you touch it and you want the green peas to be spread all across the bag.
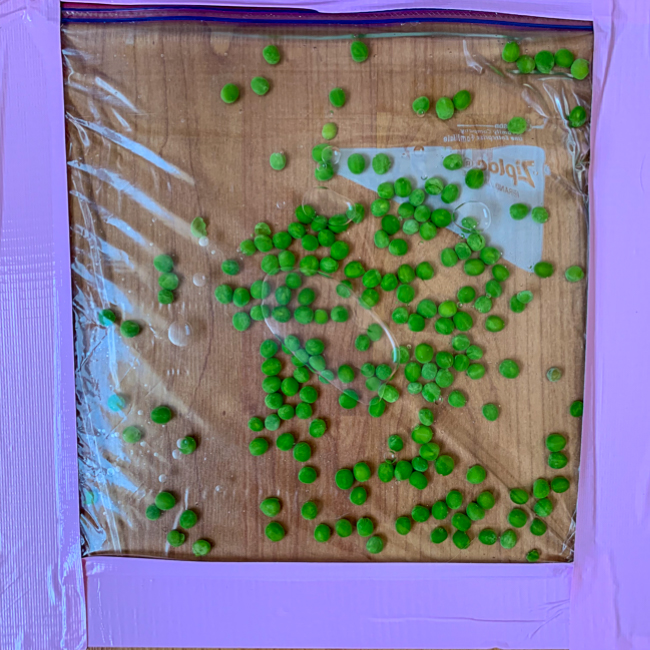
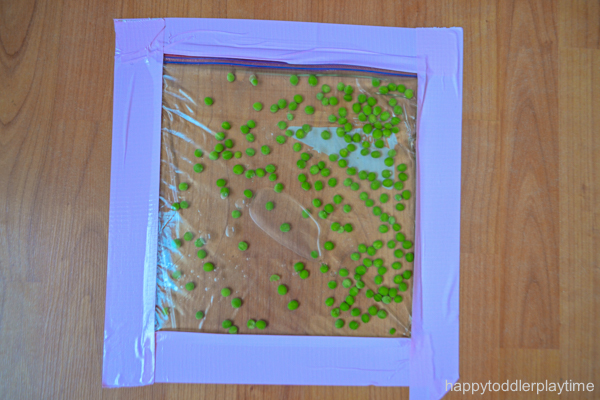
Finally, use your duct or masking tape to seal and secure the bag. I taped it to the floor. Always test the duct tape first to ensure that it won’t leave a mark on your floors. I would not use duct tape on your walls.
You can also protect your floors by taping it to a piece of cardboard, a plastic table cloth or garbage bag.
Use duct tape all around the ziplock bag to make sure no water or green peas escape from the bag while your little one plays with it.
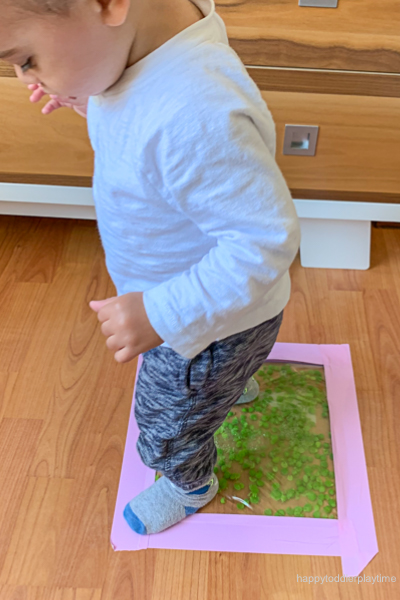
I have two toddlers so I made sure to tape the top of the bag well to keep everything inside. The first time I did this the seal was not as tight as I would have liked and it started to leak after my twins played with it with their hands and stepped all over it with their feet! So make sure your bag is sealed tight!
Tips for Keeping Everything in the Sensory Bag
When taping the bag to the floor only tape down the very edge of the bag. You do not want to tape too much otherwise the bag will become too tight and your little one won’t be able to move the peas around as easily. So make sure to put tape only along a very small portion of the outer edge of the bag.
Sensory Fun
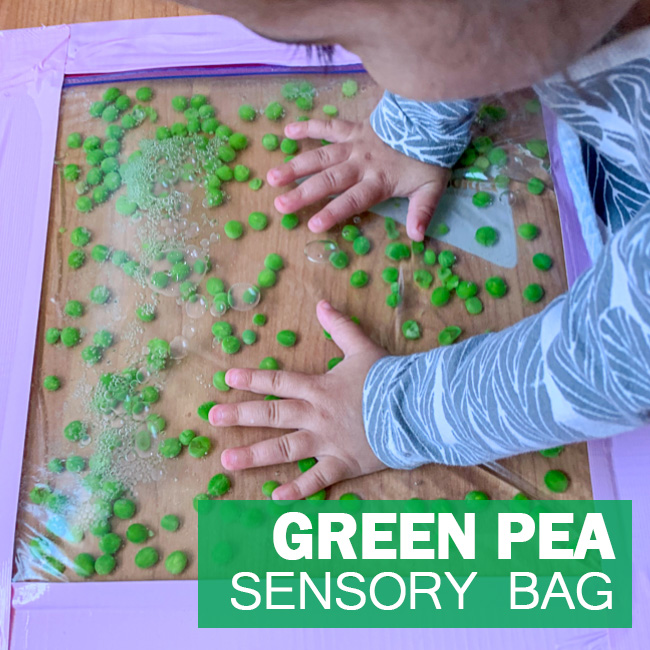
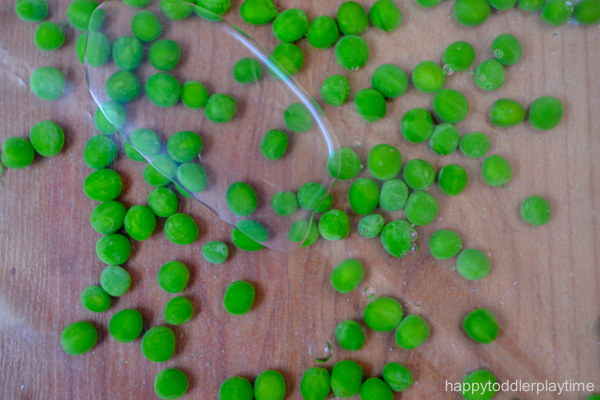
This was such a fun and easy sensory activity for my twins. Even I had a blast playing with it. It really is irresistible! The peas danced and bounced with every touch. The bag feels and moves like a water bed, jiggling and wiggling the green peas. It is so mesmerizing to watch!
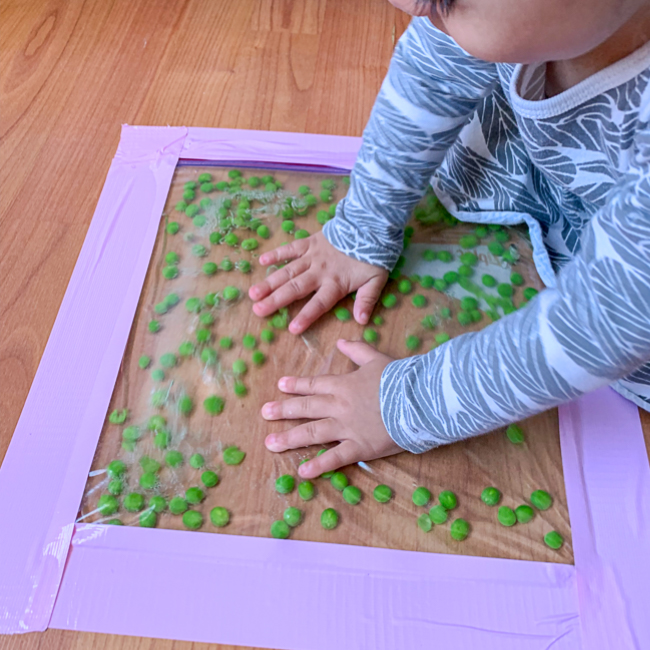
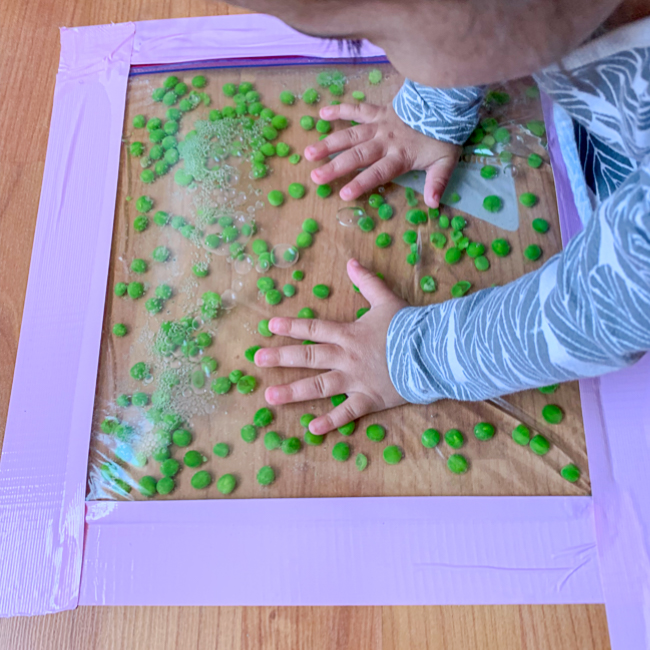
In the end the green peas do get crushed and smushed! That’s why using frozen peas and cold is good. It helps to keep them intact a bit longer. The bag will start to turn a murky green color. When that happened I asked my toddlers to try to smush the peas even further!
For older toddlers you can have them try to smush individual peas with their fingers.
Learning Opportunities
Although you may be trying to get a few things done while your little one plays with this sensory bag, there are also lots of ways you can foster a little learning. You can talk about colours, numbers, and how it feels on their hands!
Other Amazing Sensory Bag Ideas:
Supplies
(This post and list contains affiliate links for your convenience. If you make a purchase using one of these links, I may earn a commission. Please visit my disclosure policy for more information.)
- Frozen Green Peas
- Gallon size ziplock bag
- Cold Water
- Duct tape
WILL YOU TRY GREEN PEA SENSORY BAG WITH YOUR LITTLE ONE? Pin it for later!


Thank you for sharing. I think both my toddler and my 9-month old will love this!
You’re most welcome! I hope they do!
Pingback: 45+ Sensory Bags for Babies & Toddlers - HAPPY TODDLER PLAYTIME
Will use this with my toddlers. Great idea, my toddlers will have fun thanks.
You’re welcome! I hope they do!
Pingback: Farm Sensory & Discovery Bag - HAPPY TODDLER PLAYTIME
Pingback: 20 Easy & Inexpensive Sensory Activities for Infants | Joyful Bunny