Create a super fun and bug slime sensory bin using only one ingredient Green Slime Baff! It’s a super easy way to make slime with your little one.
Disclaimer: I received free product from Zimpli Kids, the makers of Green Slime Baff in exchange for my honest opinion about the product and to create a fun activity with it!

Looking for other easy sensory goo activities? Check out these fun ideas:
READ MORE…How to Start Doing Activities with Your Kids

Supplies
(This post and list contains affiliate links for your convenience. If you make a purchase using one of these links, I may earn a commission. Please visit my disclosure policy for more information.)
- Green Slime Baff
- Water
- Plastic Bugs
- Plastic containers and lids
- Spoons
- Scoopers
- Jumbo Tweezers
- 41 Qt, Clear Sensory Bin (Large) or a IKEA FLISAT Children’s Sensory Table
How to Set Up One-Step Slime Sensory Bin
Grab your large sensory bin or your IKEA FLISAT Children’s Sensory Table. When making Green Slime Baff make sure to follow the instructions in the package. I did this activity outside but you can easily do it inside as well. Green Slime Baff is designed to be used in the bathtub so I did not use the entire package to create a sensory bin activity.
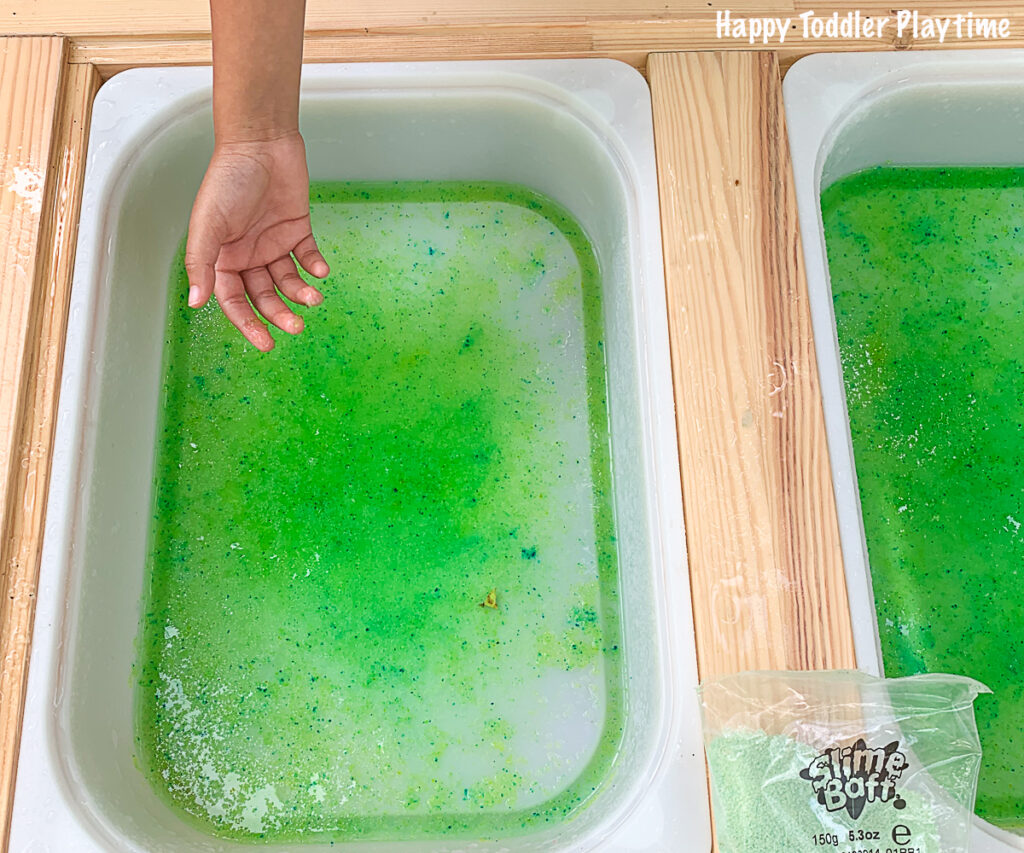
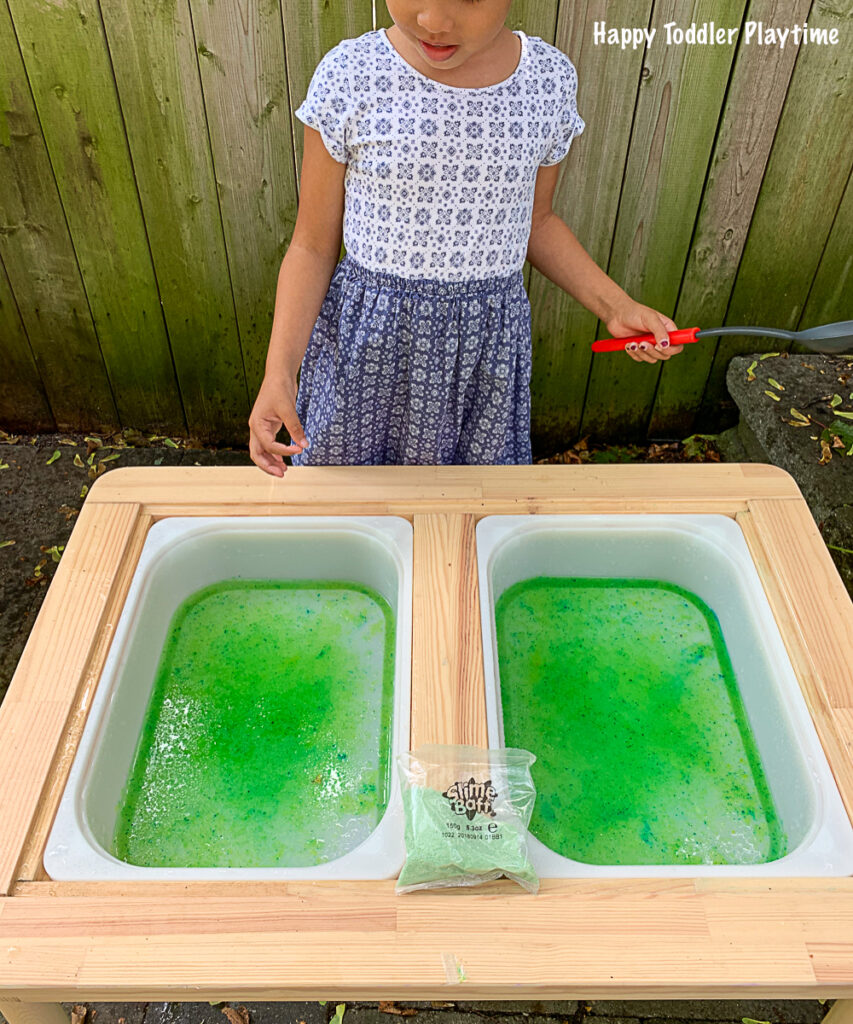
Add a small amount of warm water to your IKEA FLISAT sensory table or sensory bin. Be sure not to add too much water as you may have to add more to make the slime the right consistency.
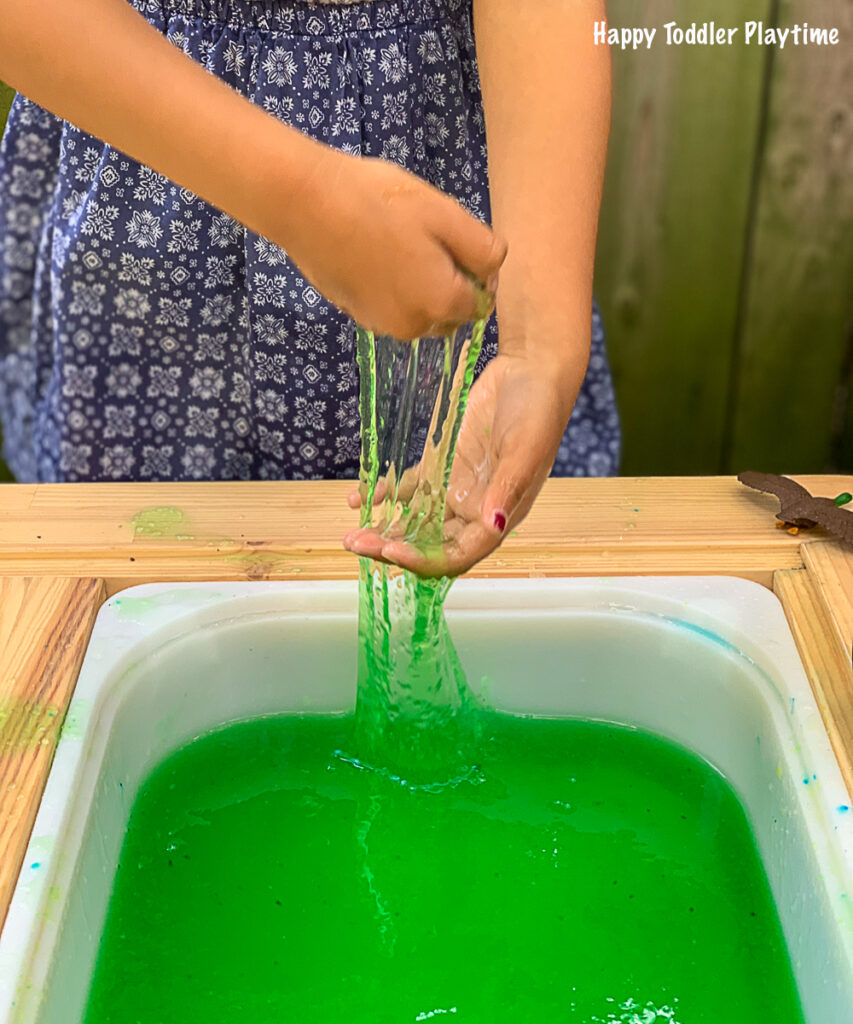
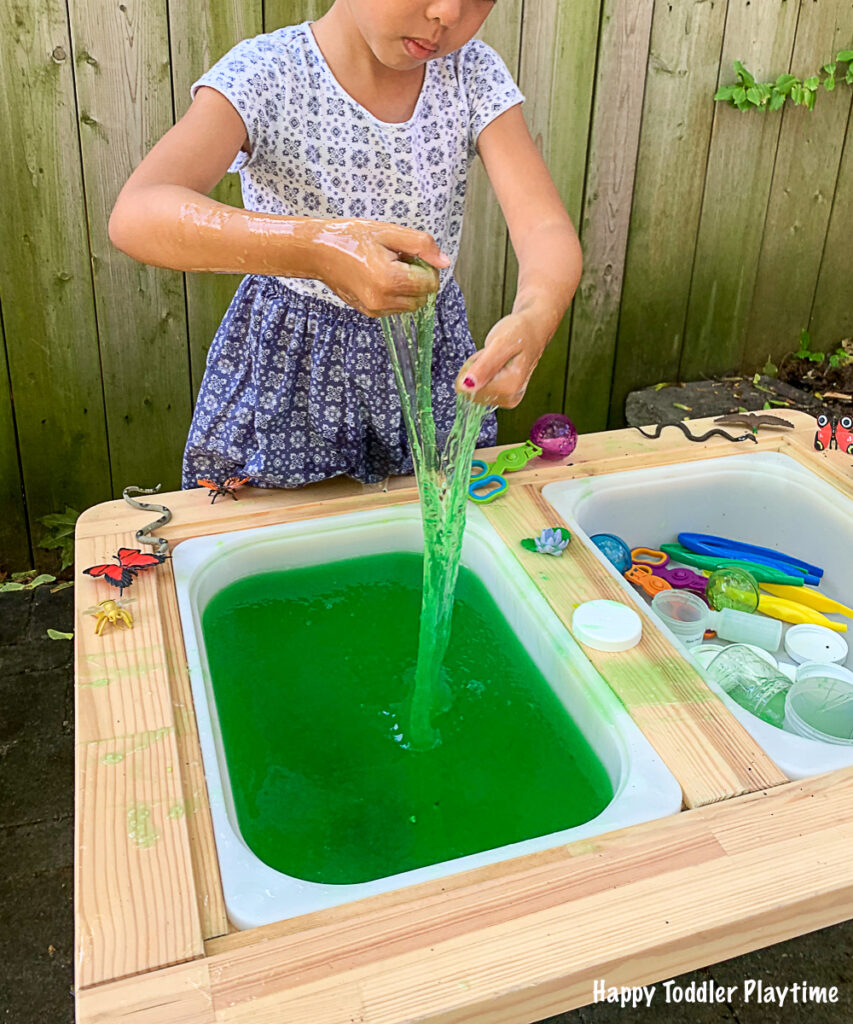
Next, add a small amount of the Green Slime Baff powder. To achieve the best results for the Green Slime Baff, make sure to follow the instructions on the box. Use a spoon to mix the Green Slime Baff solution until it turns into slime. Keeping adding warm water and powder until you have the amount of slime you want. If the slime too watery add more powder. If it is too thick add a very small amount of warm water. It took about 10 -15 minutes to create the slime and as my daughter played it got only better and better!
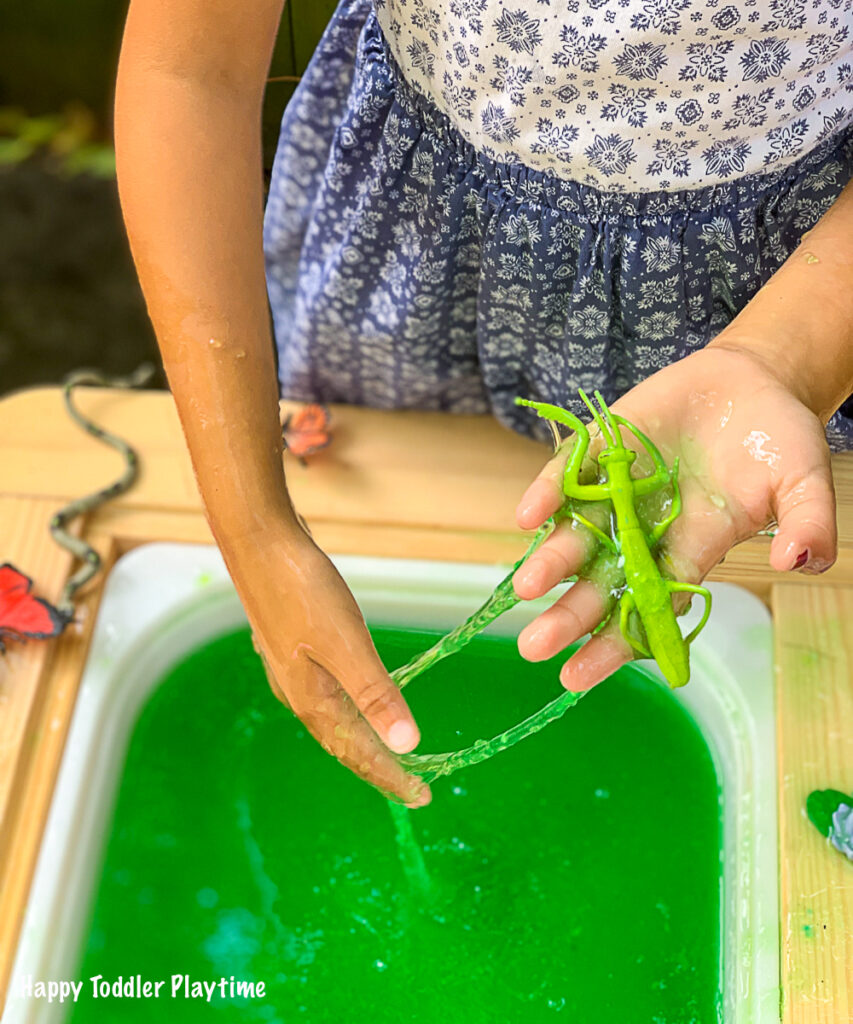
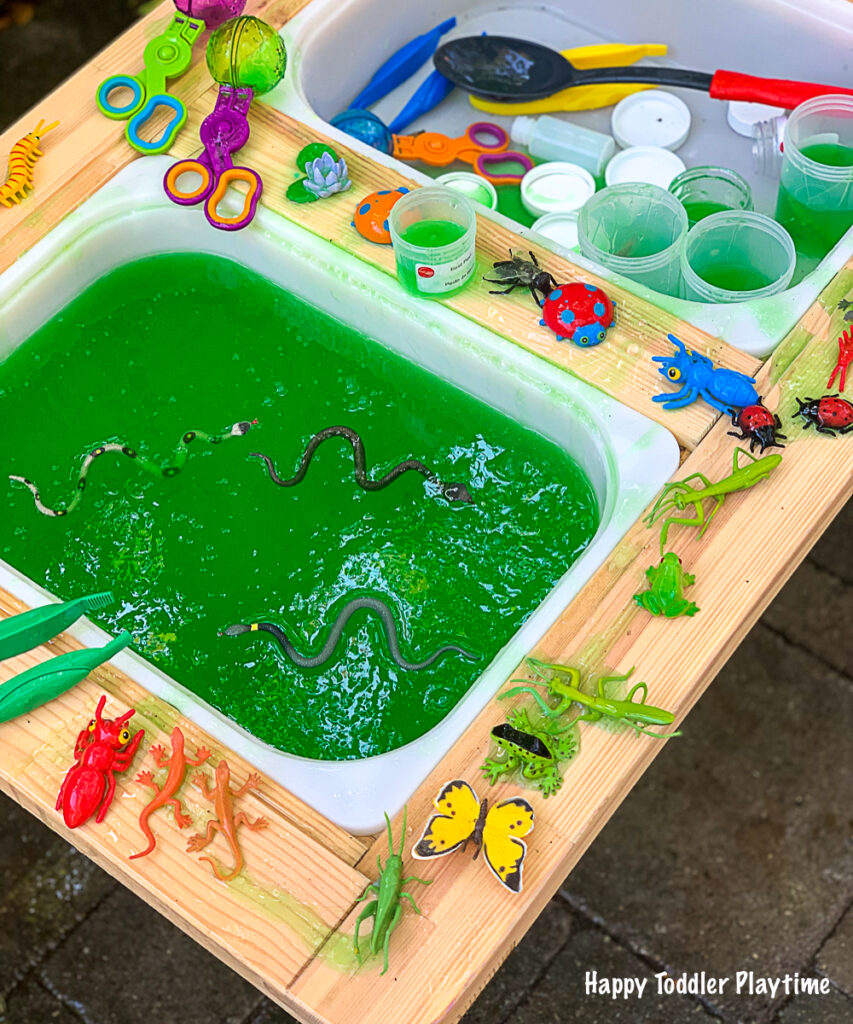
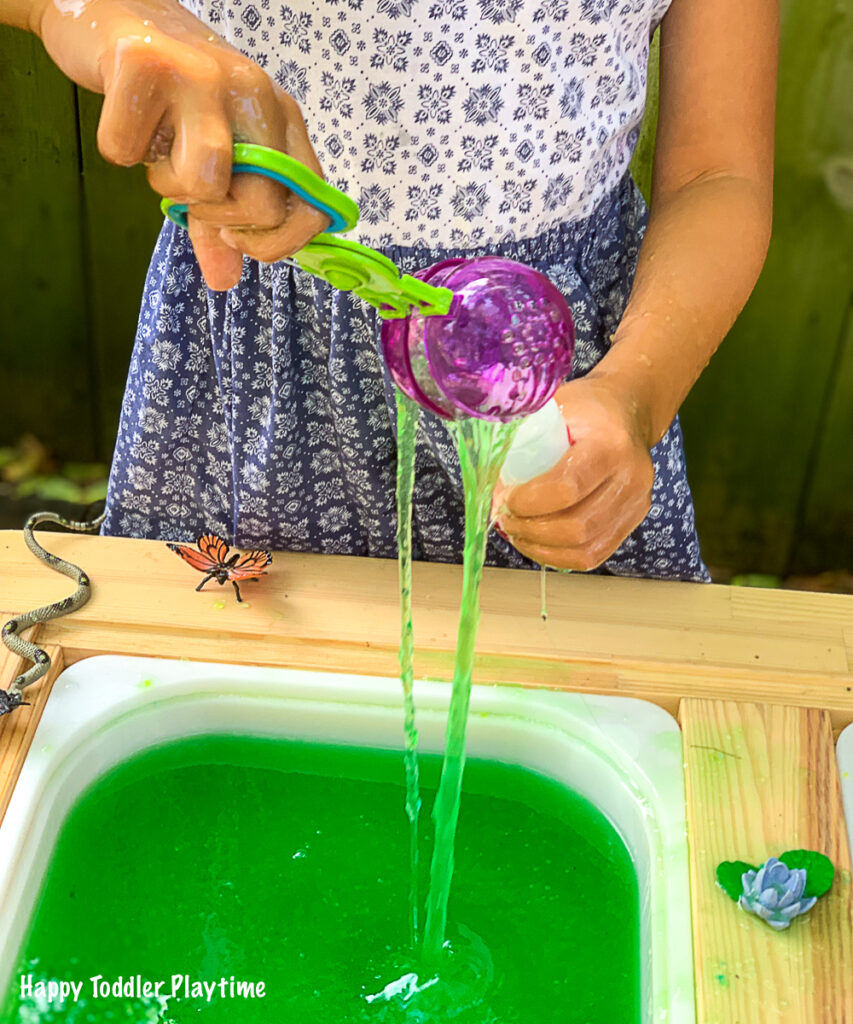
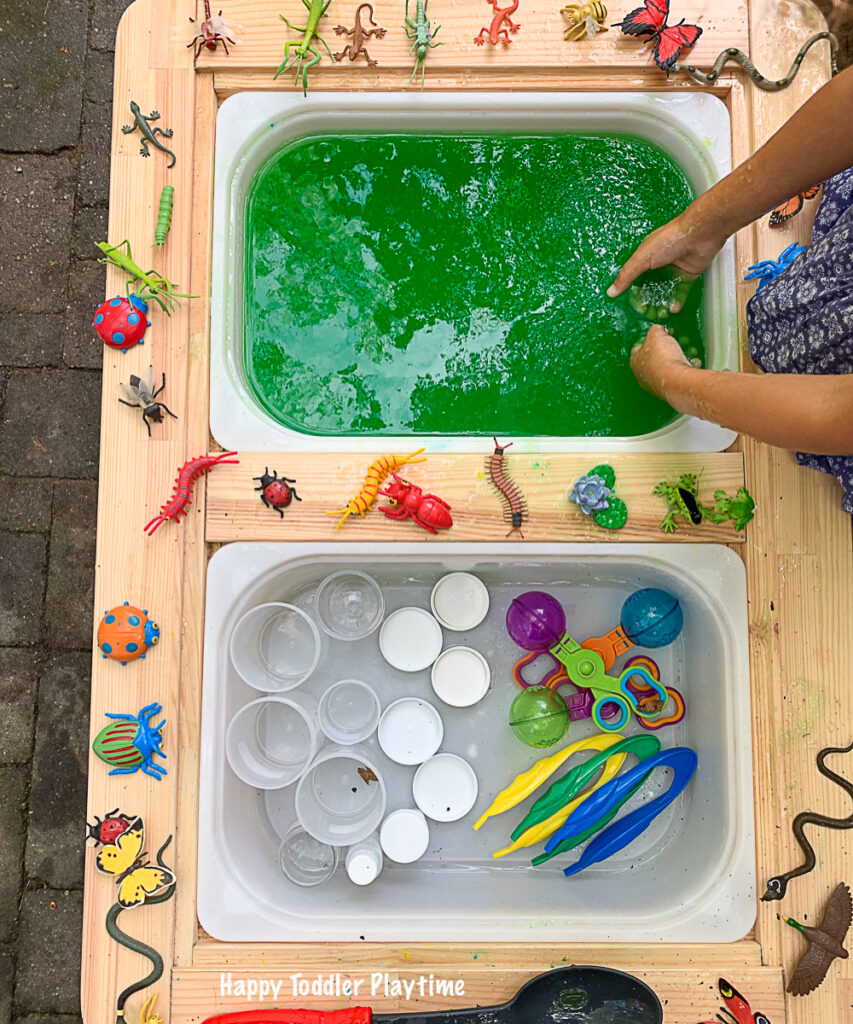
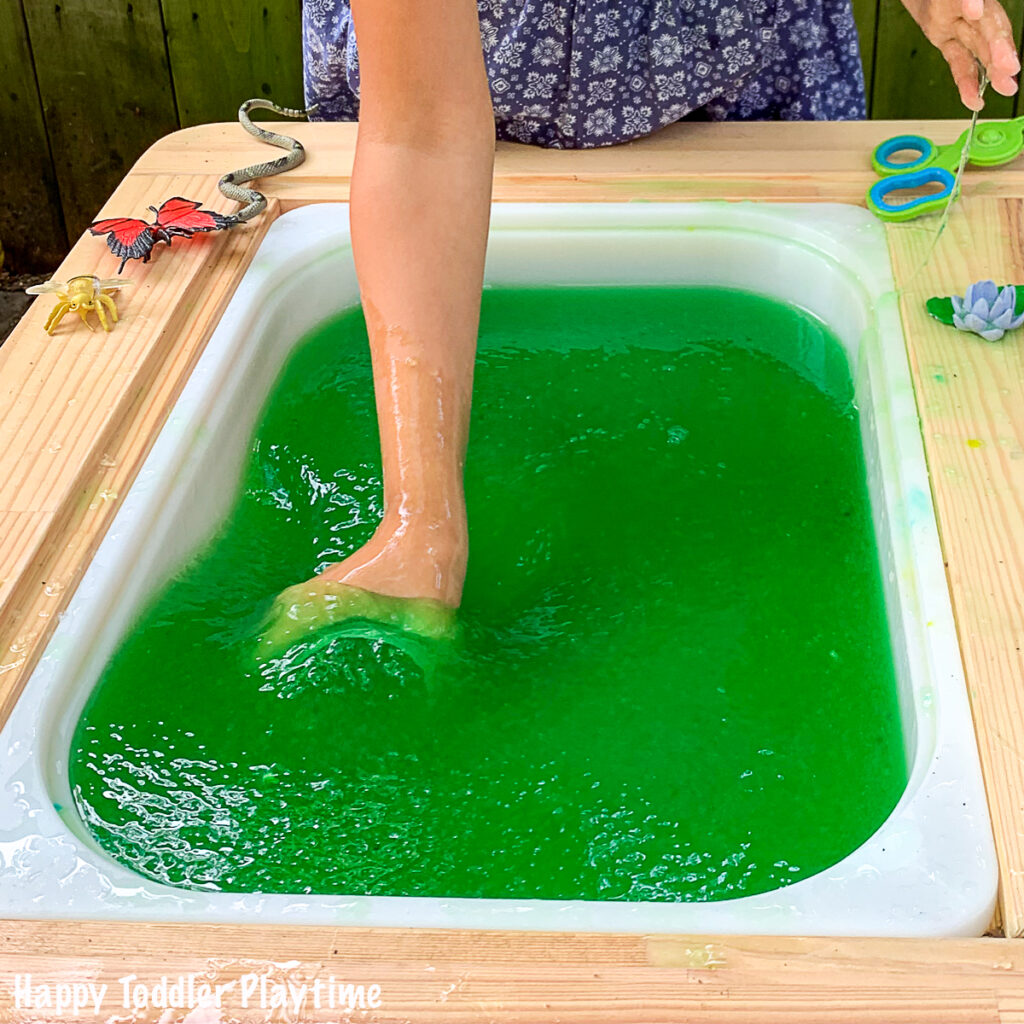
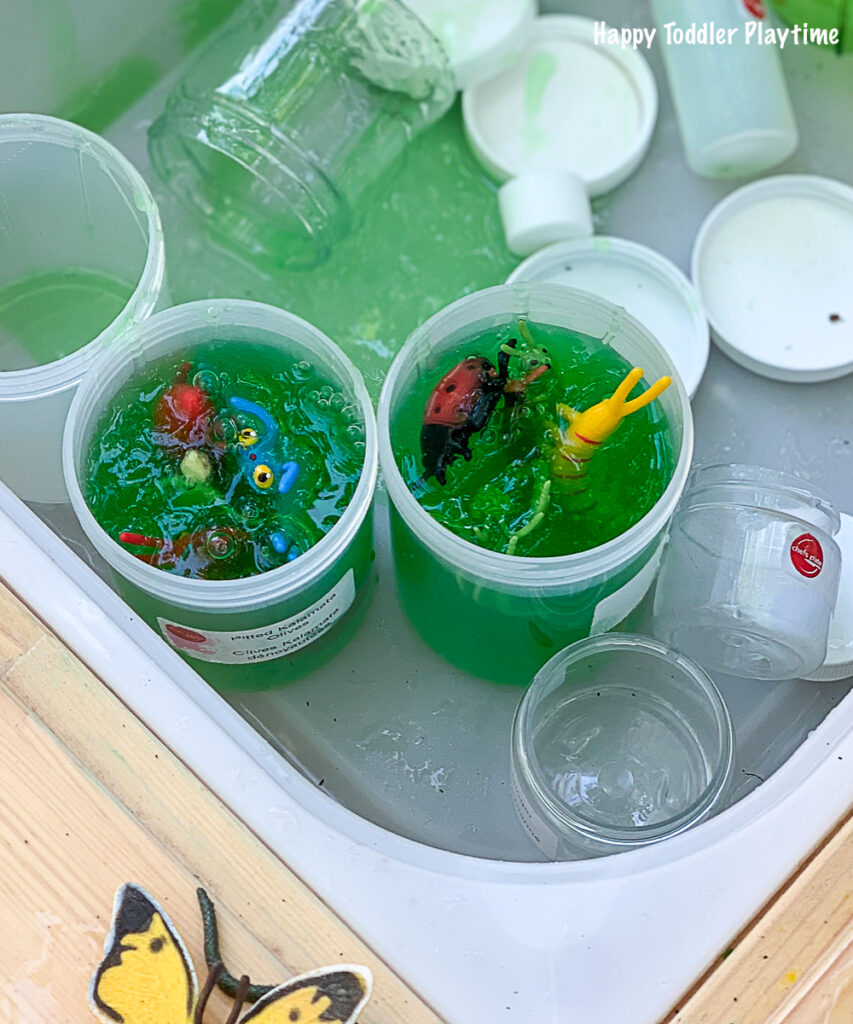
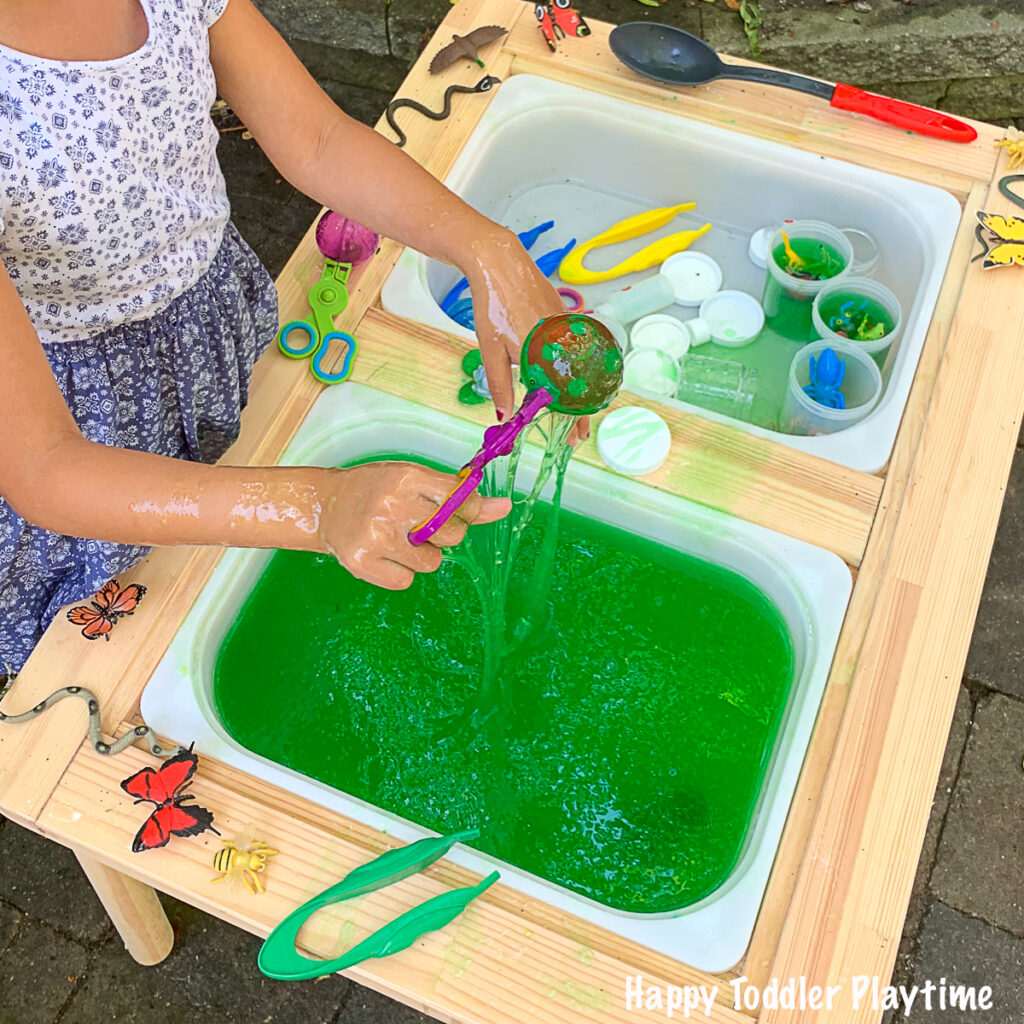
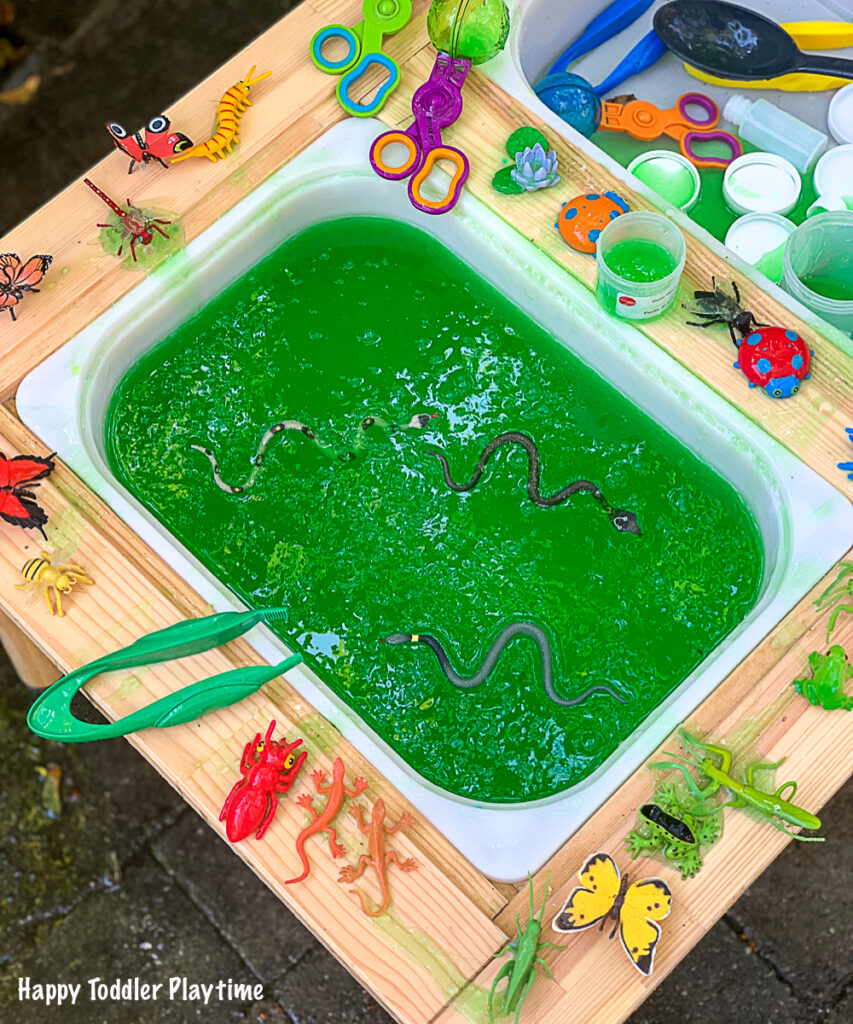
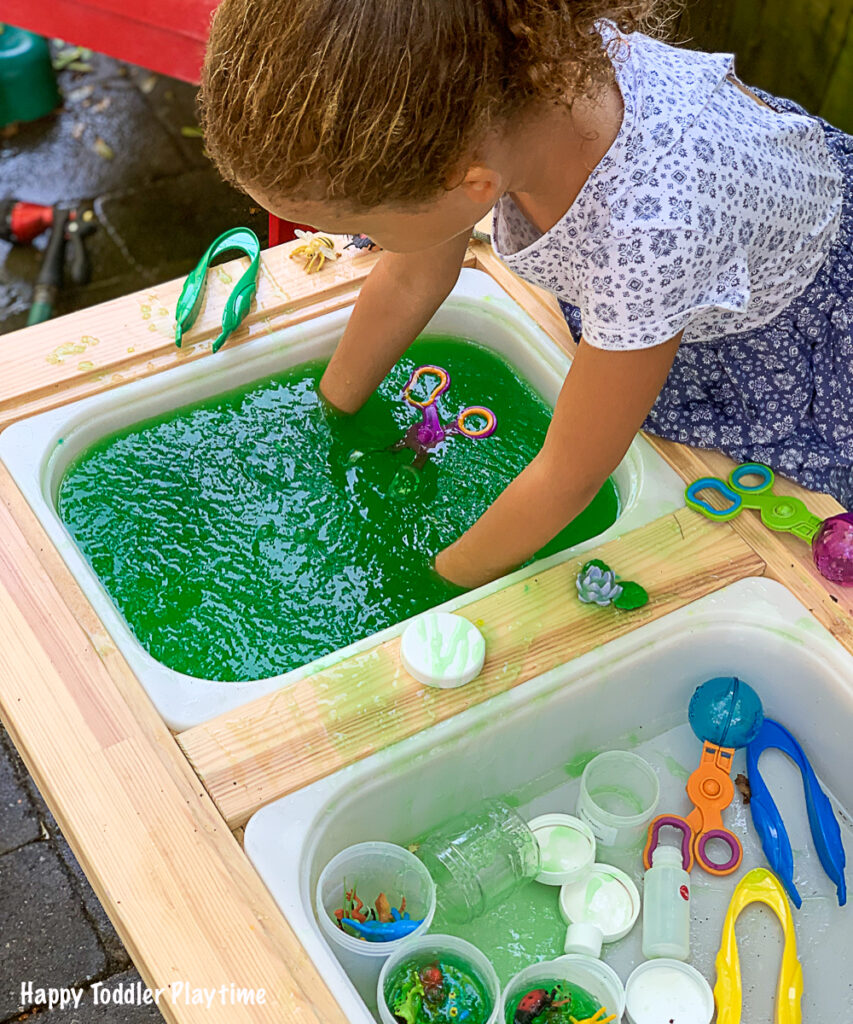
Next, decorate your sensory table or bin with plastic bugs. Add scoopers, jumbo tweezers, and plastic containers to the sensory bin.
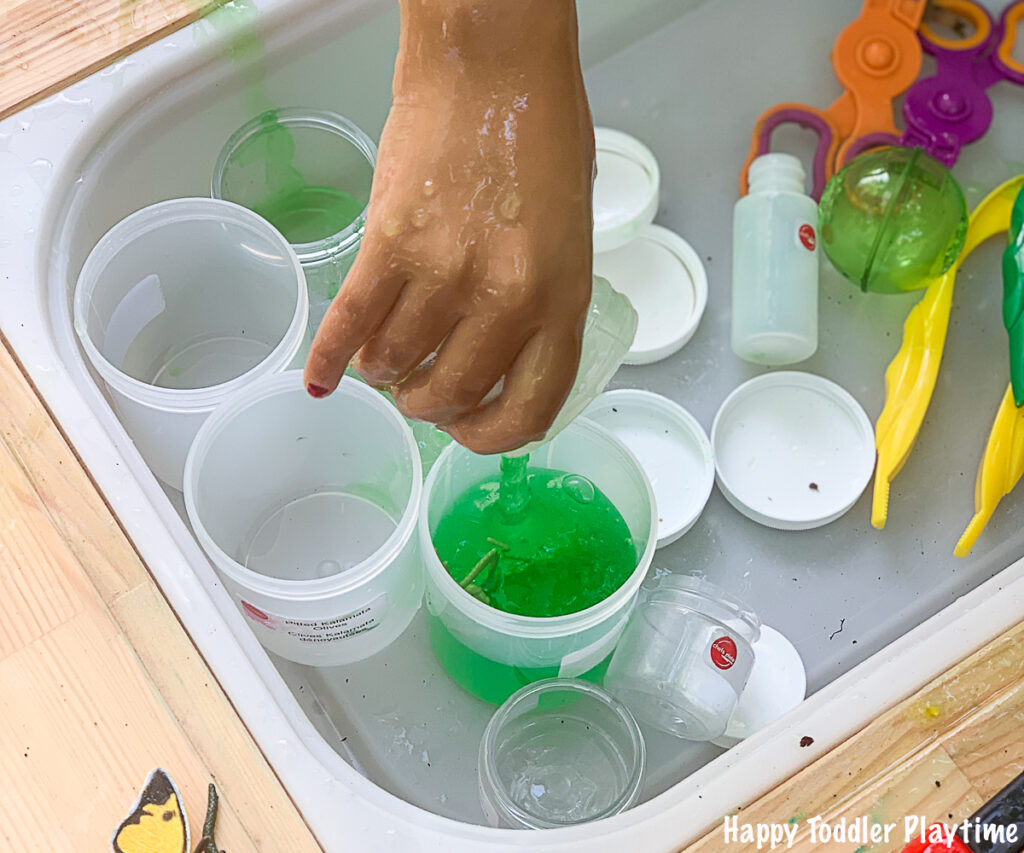
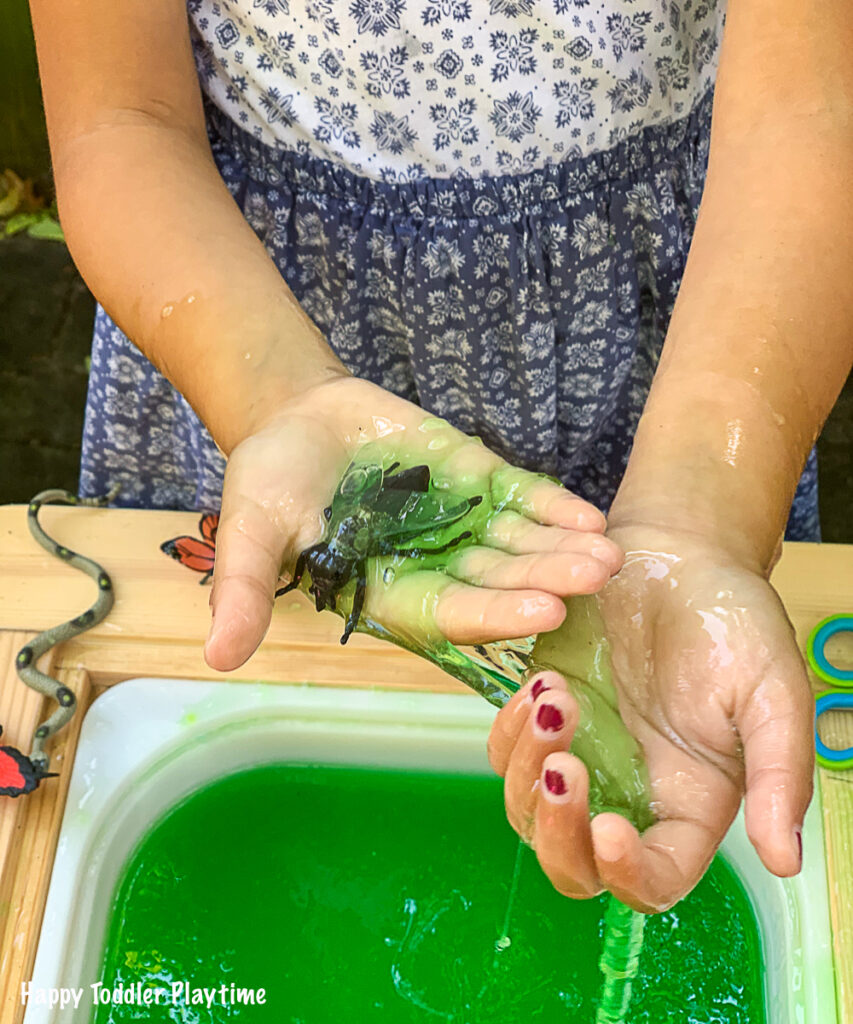
Tell your little one that they are a bug scientist and they have to collect the bugs from the swamp and put them into containers. Have them drop the bugs into the slime and then search for them using the tweezers and scoopers! The bugs will slip under and get lost in the oozy slime and your little one will have a blast searching around for them!
Slime Sensory Bin Clean Up
For the best clean up results read the instructions on the Green Slime Baff package for details. First, I put everything into one sensory bin and brought it to the sink. I added lots of warm water to the bin to dilute the slime and then poured it down the drain, as the instructions indicate. I then risnsed off all the bugs and tools with warm water.
The clean up was very easy! We will definitely be doing more Green Slime Baff activities in the future!
Skill Development Opportunities
This activity is great for Colour Recognition, Language and Vocabulary Development, Hand-Eye Coordination, Fine Motor Skills, Problem Solving, Emotional Development, Trial & Error, Visual Perception, Cognitive Development, Imaginative and Sensory Play.
Age Suitability
This activity is ideal for 3 year old preschoolers and up.
WILL YOU TRY ONE-STEP SLIME SENSORY BIN WITH YOUR LITTLE ONE? Pin it for later!!!