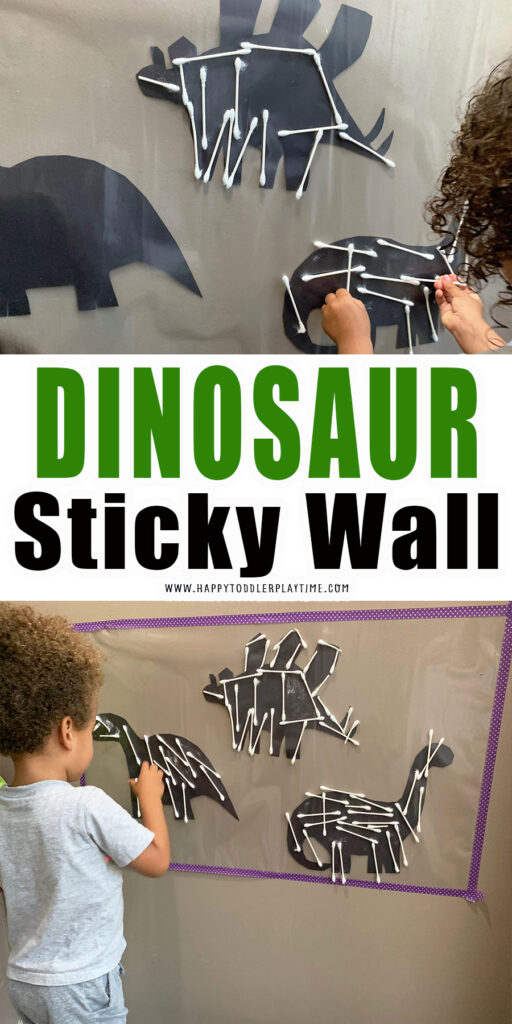
INSIDE: Create a fun dinosaur bone sticky wall with your dino-loving toddler or preschooler! This fun and creative activity uses contact paper and makes a great addition to your dinosaur preschool unit!
What is Contact Paper?
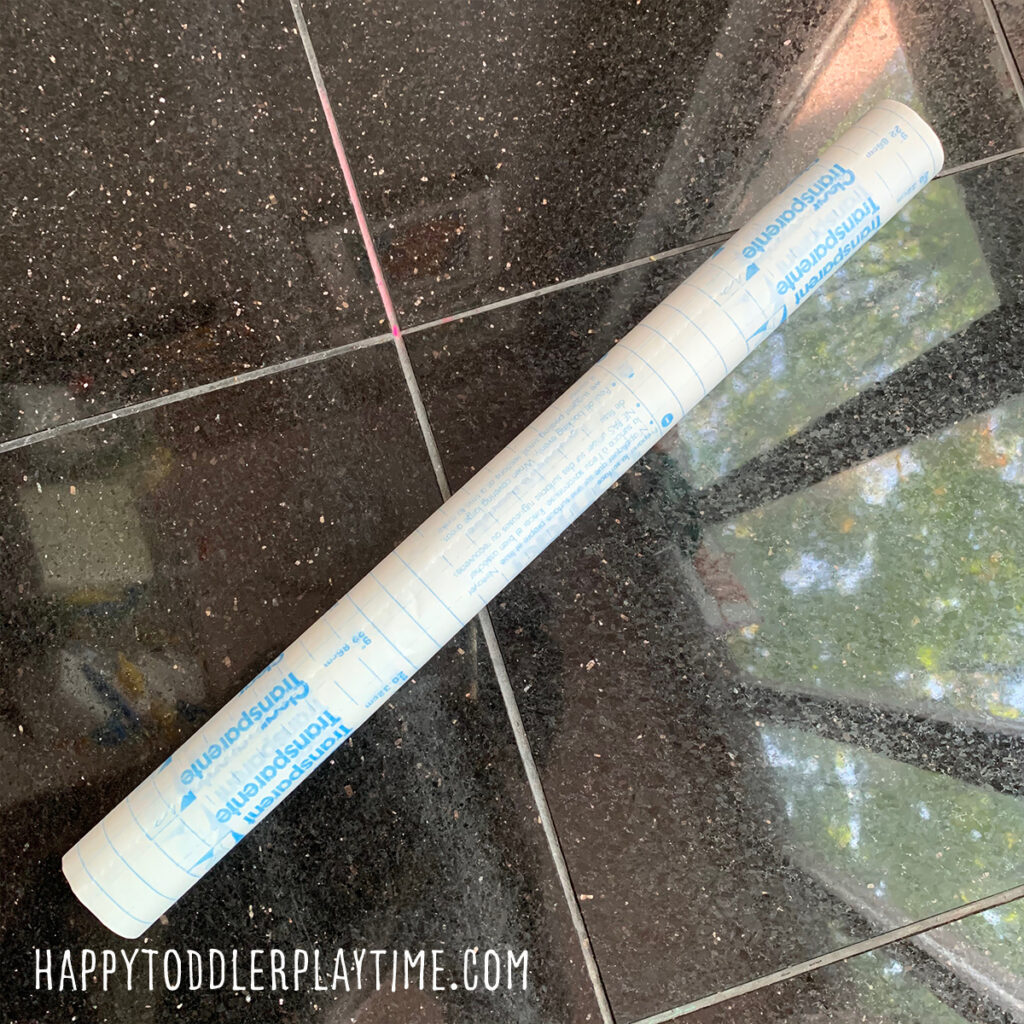
So what exactly is contact paper? It’s a translucent material that is sticky on one side. It’s great for crafts and learning activities. Generally, I like to create sticky walls with it where to you tape it up on the wall using masking or painter’s tape. But contact paper is also used for making sun catchers.
RELATED… If you are looking for more fun ways to use Contact Paper through out the year, check out 21 Amazing Sticky Wall Activities.
It’s one of my favorite materials to use with all my kids. It’s versatile – you can stick so many things on it. It’s reusable – once you have stuck it up on the wall you can reuse the same piece of Contact Paper until it looses its stickiness.
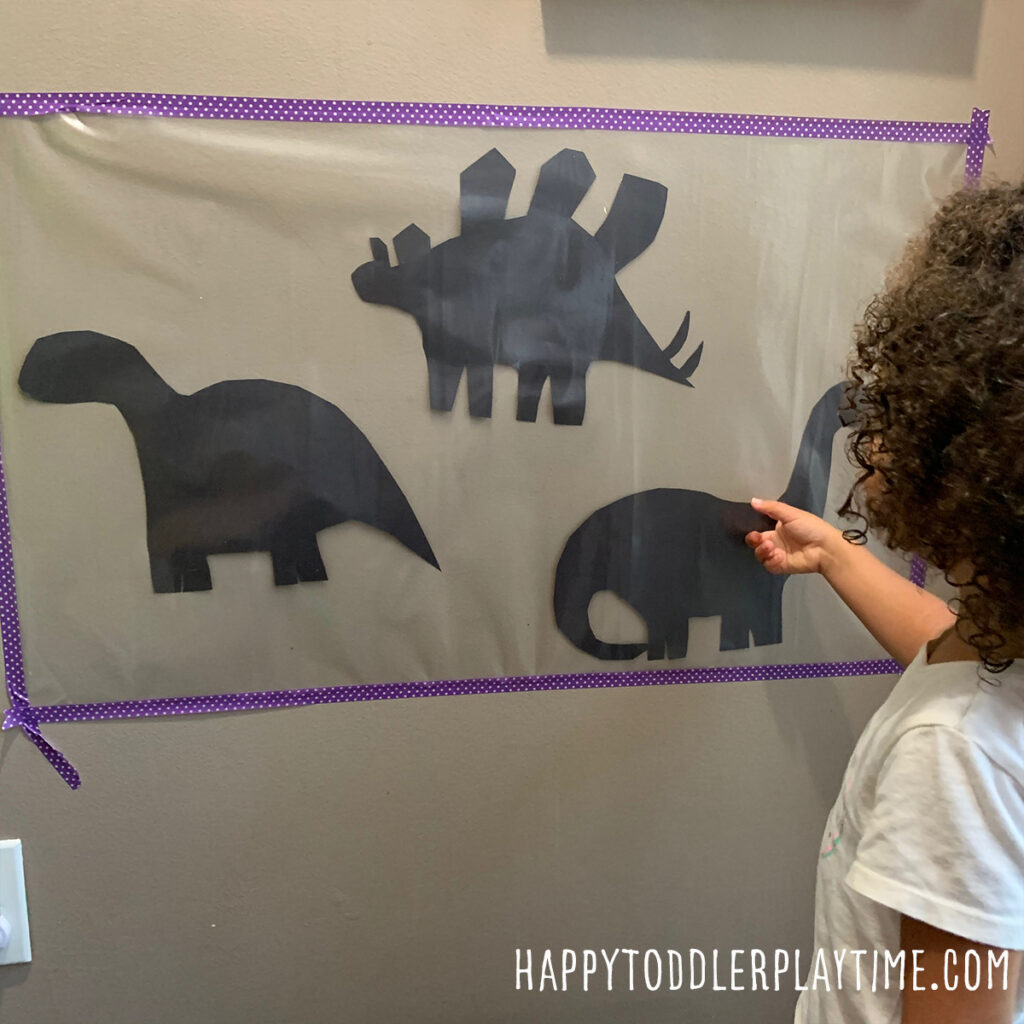
Make Your Dinosaurs
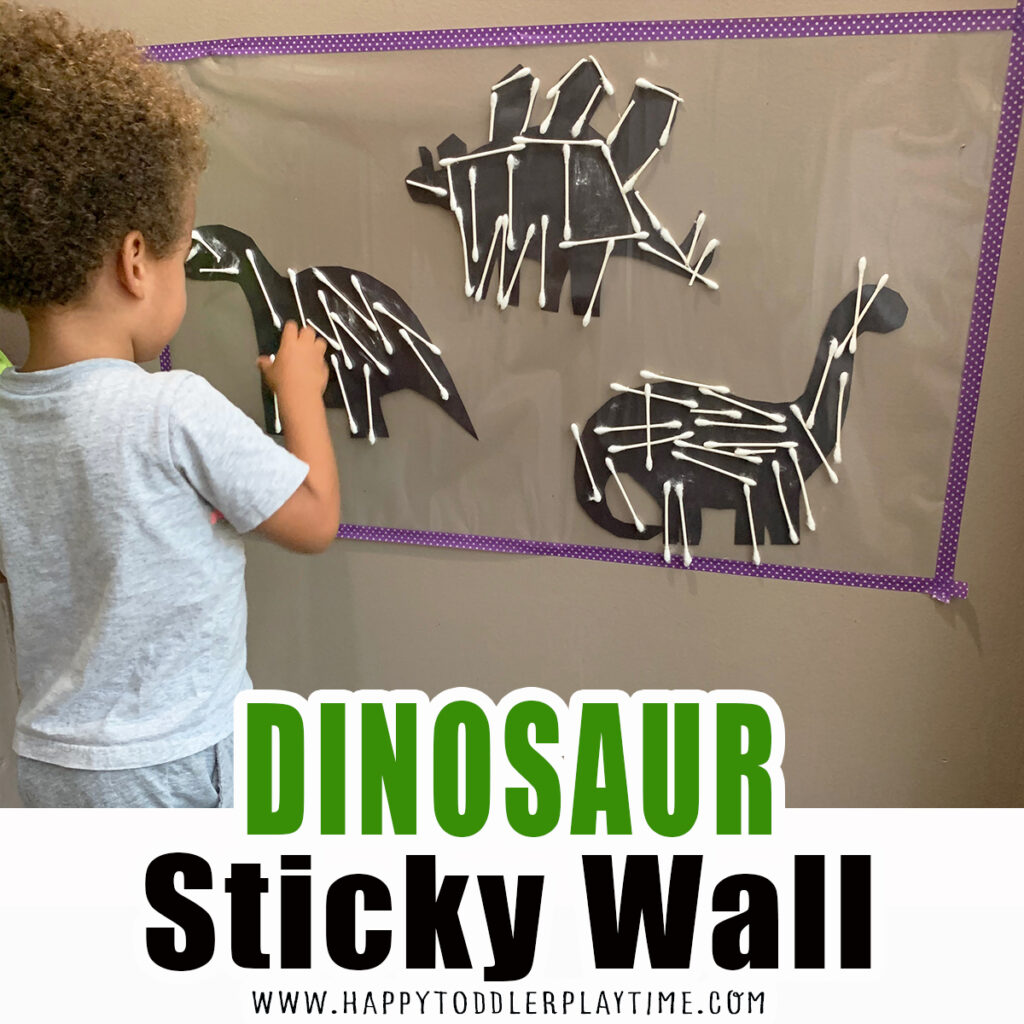
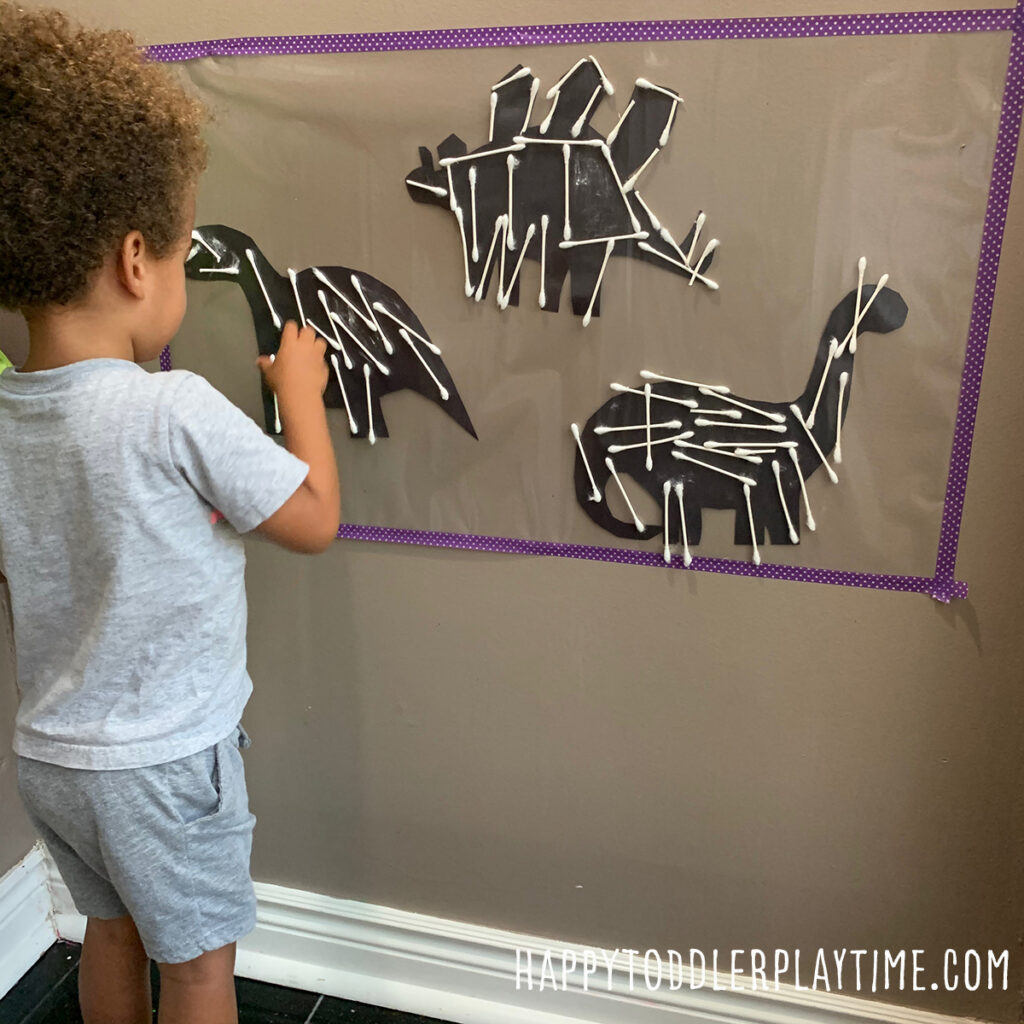
Draw a simple outline of a dinosaur on black construction paper. Cut it out and stick it up on the wall. Don’t worry if it isn’t perfect! Trust me your toddler or preschooler will still love this activity no matter what your drawing looks like!
Preparing your Sticky Wall
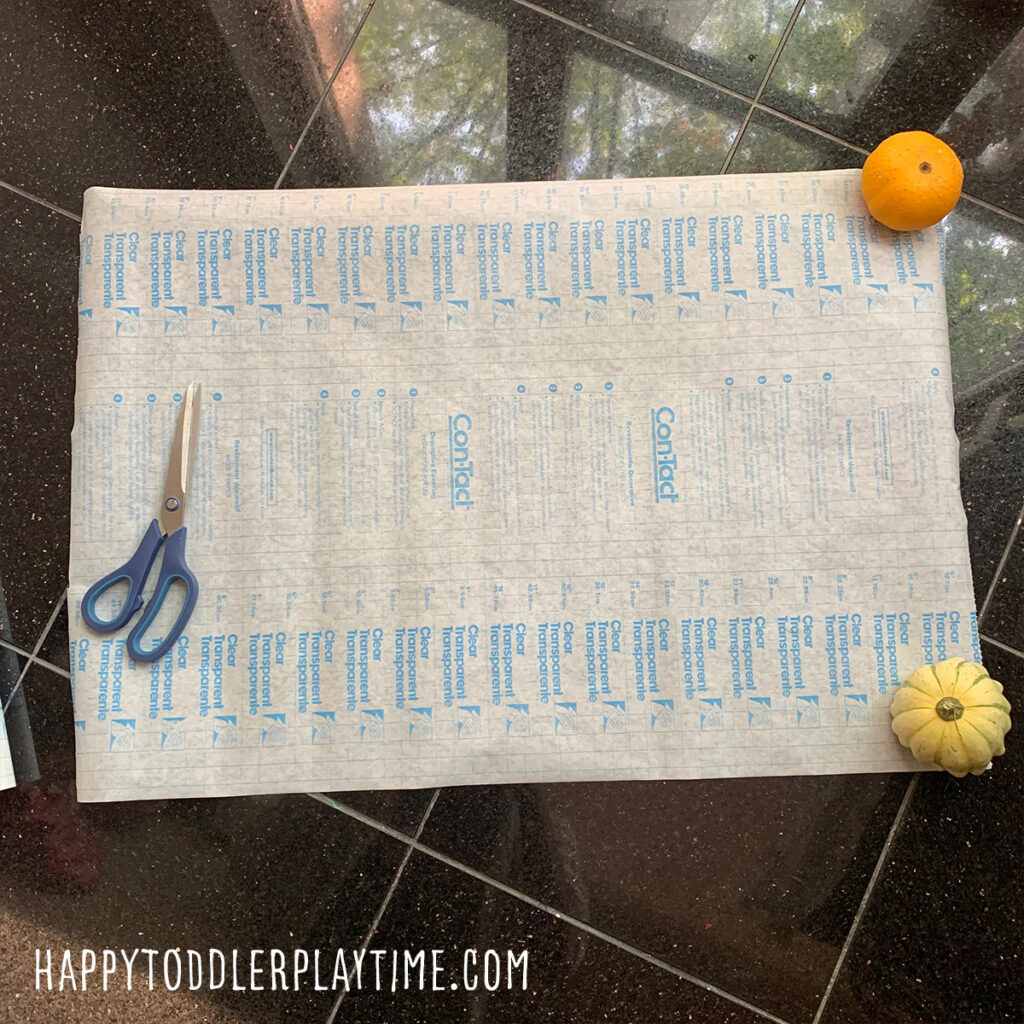
Unroll the contact paper and cut off the size required for the activity. The back of the contact paper has lines that you can follow.
RELATED… If you are looking for more fun ways to use Contact Paper through out the year, check out 21 Amazing Sticky Wall Activities.
Contact paper has one side that is very very sticky, so unrolling it and taping it to a wall can be a little tricky. Here’s how I do it:
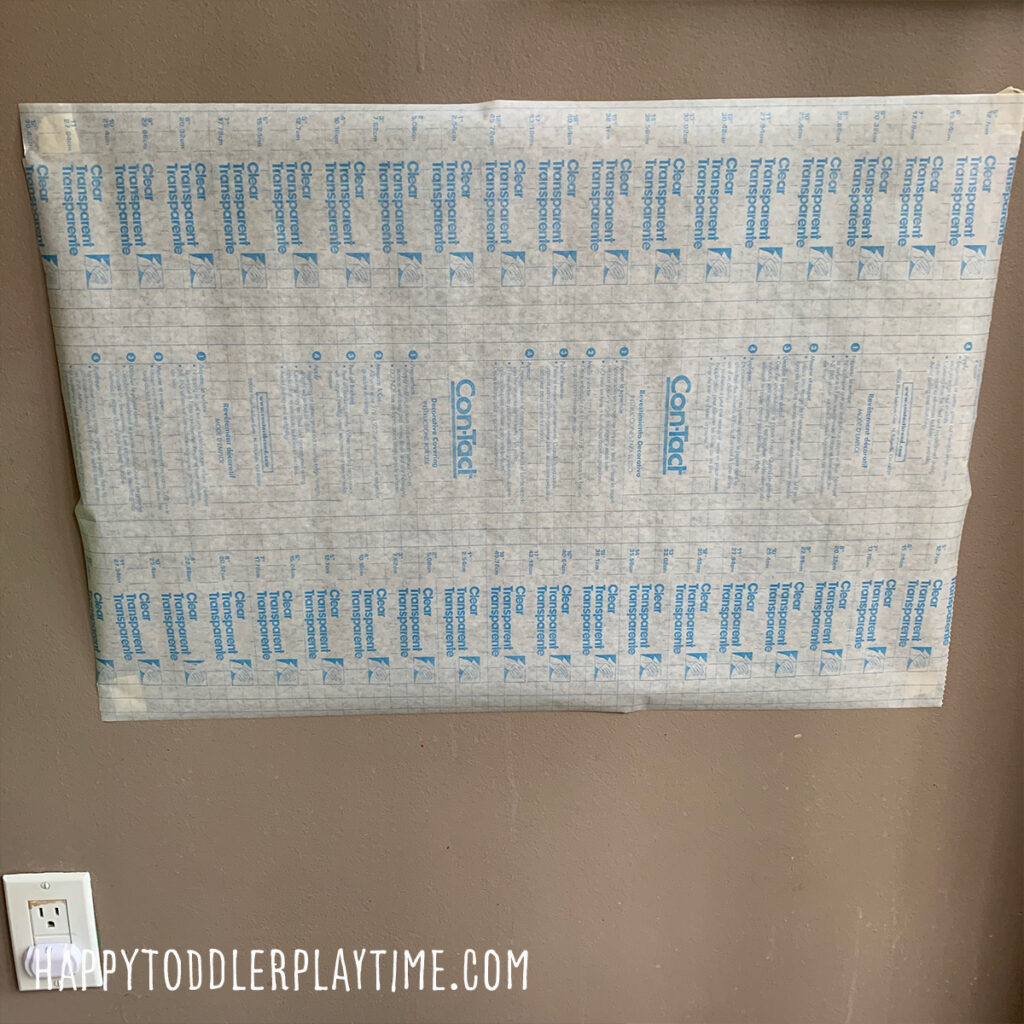
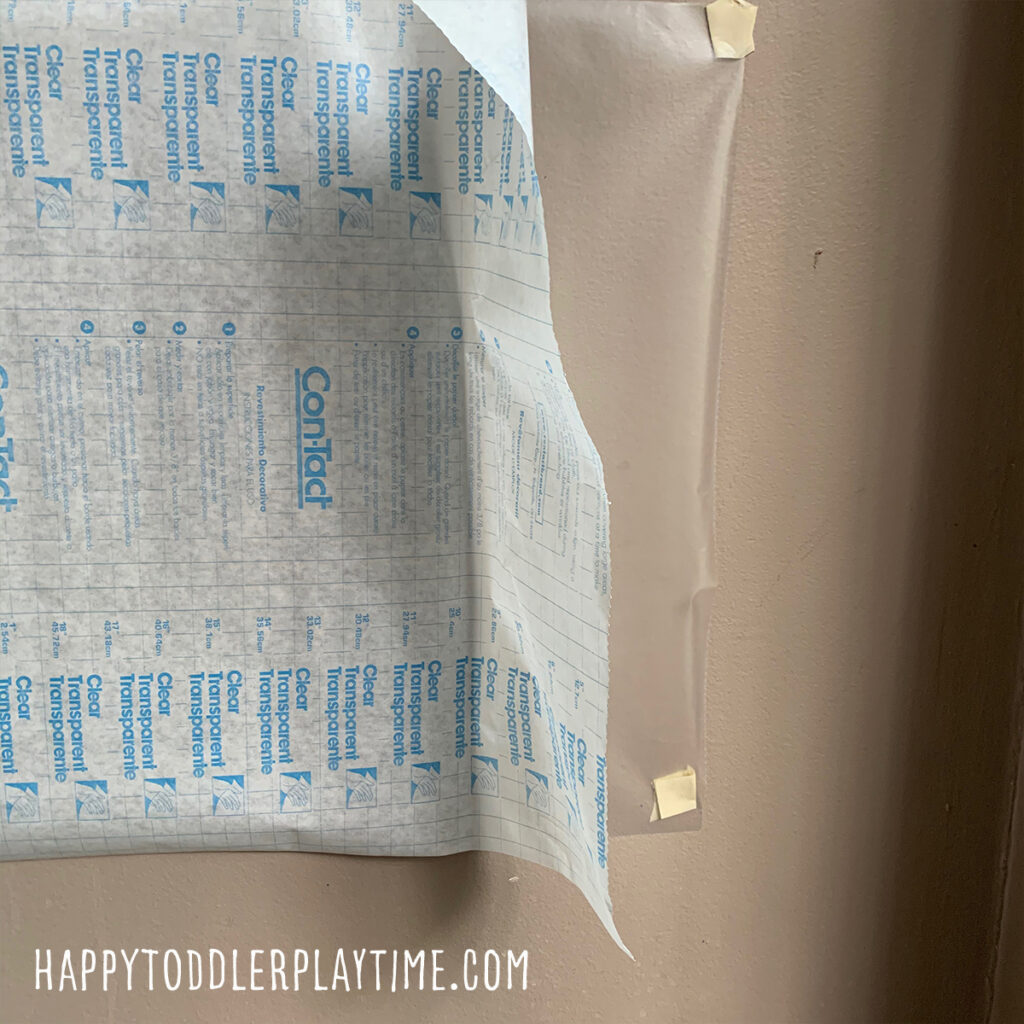
Step 1
Stick the sticky wall up on the wall using small rolled up pieces of tape in the four corners. Make sure the paper backing side is facing out.
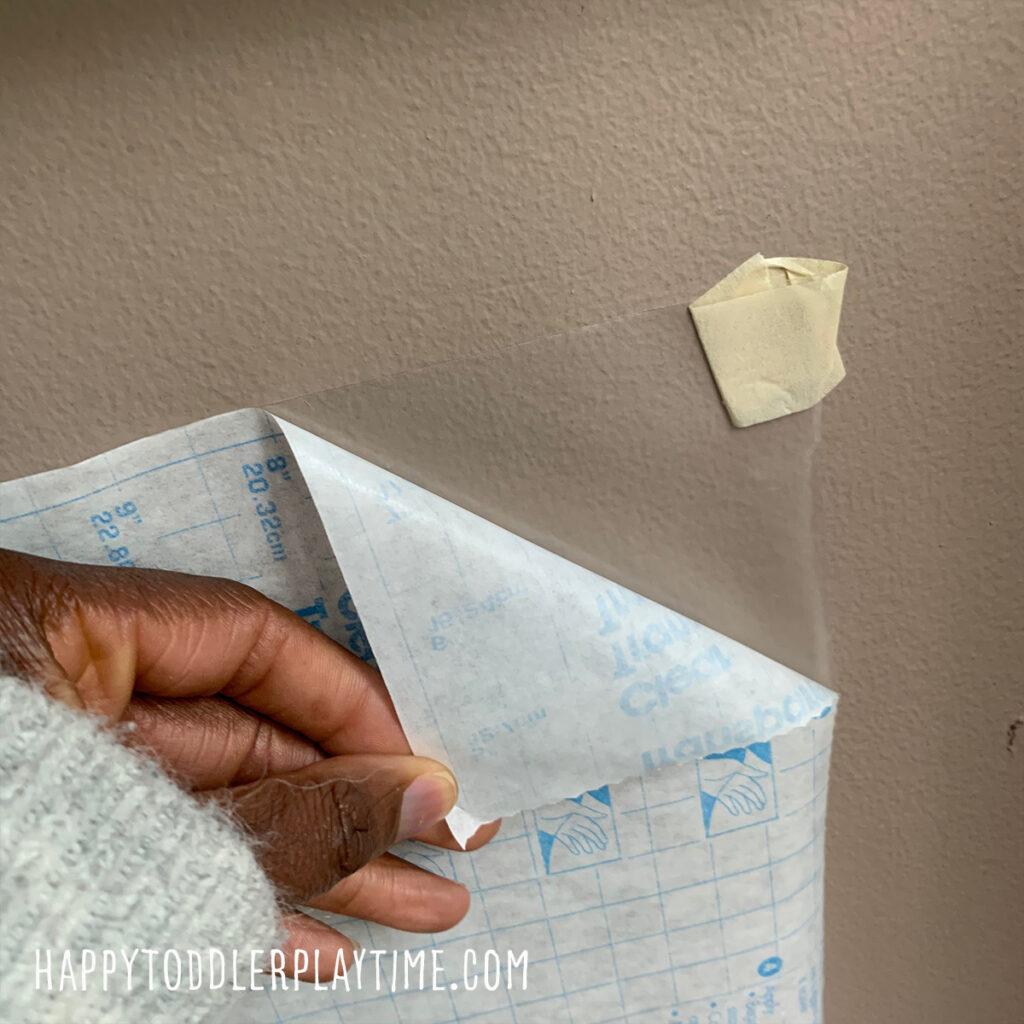
Step 2
Peel the paper backing off to expose one small corner of the sticky paper. Continue peeling the paper backing off until one side is exposed. Tape that side down fully using Painter’s tape. This will ensure that it doesn’t fall down as your child is playing.
Step 3
Slowing peel back the remaining paper backing and tape down the other side.
Step 4 (optional)
Remove the small rolled up pieces of tape from underneath the sticky wall. These rolled up pieces were just there to help you get the sticky wall set up and can be removed once your sticky wall fully up. But if you don’t mind them there you don’t have to remove them.
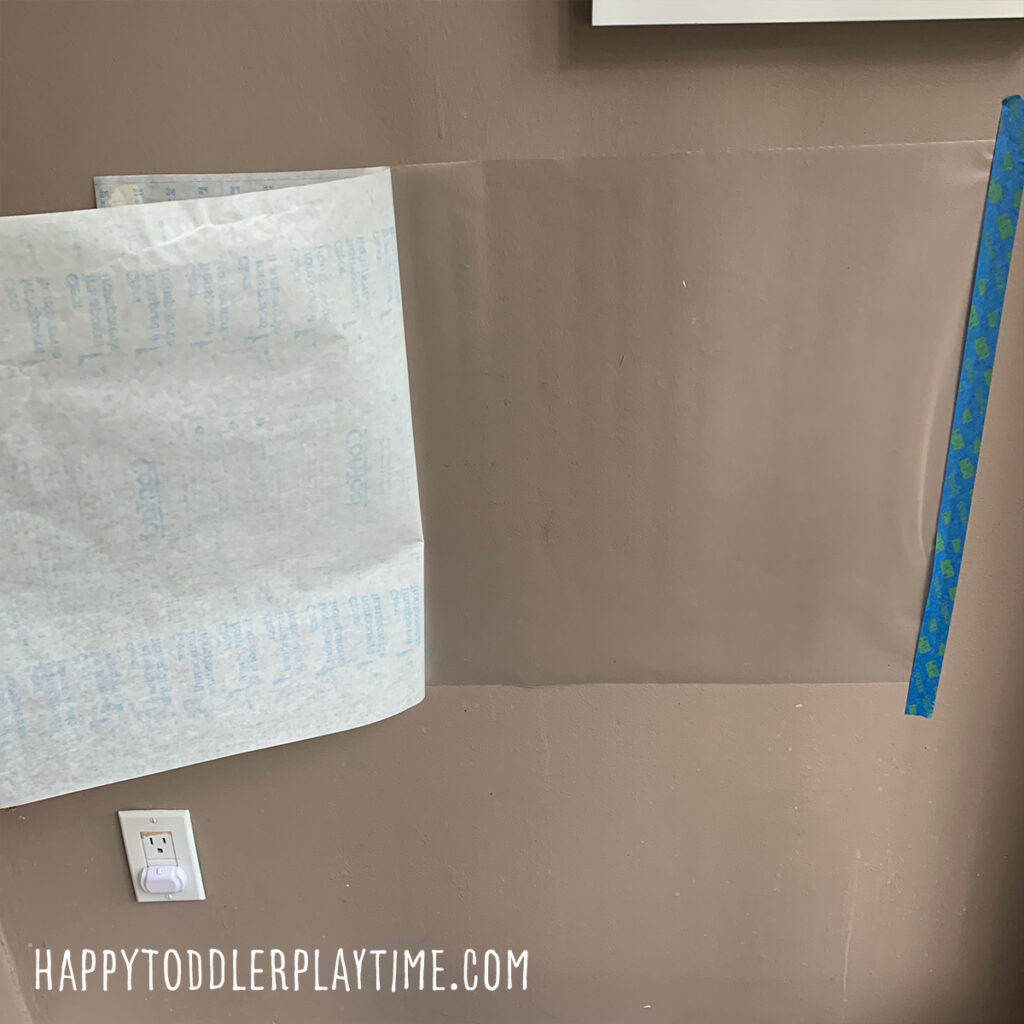
Step 5
Fully tape down your Sticky wall using painter’s tape.
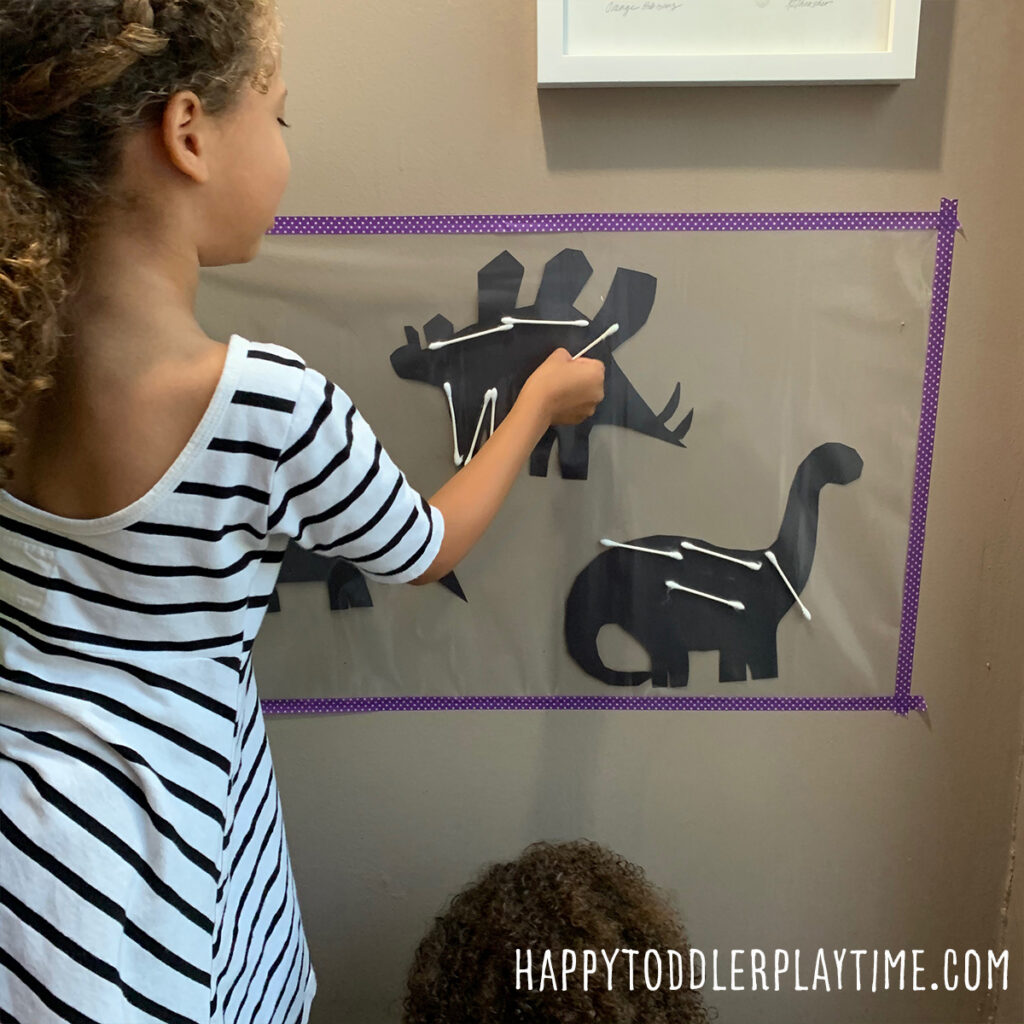
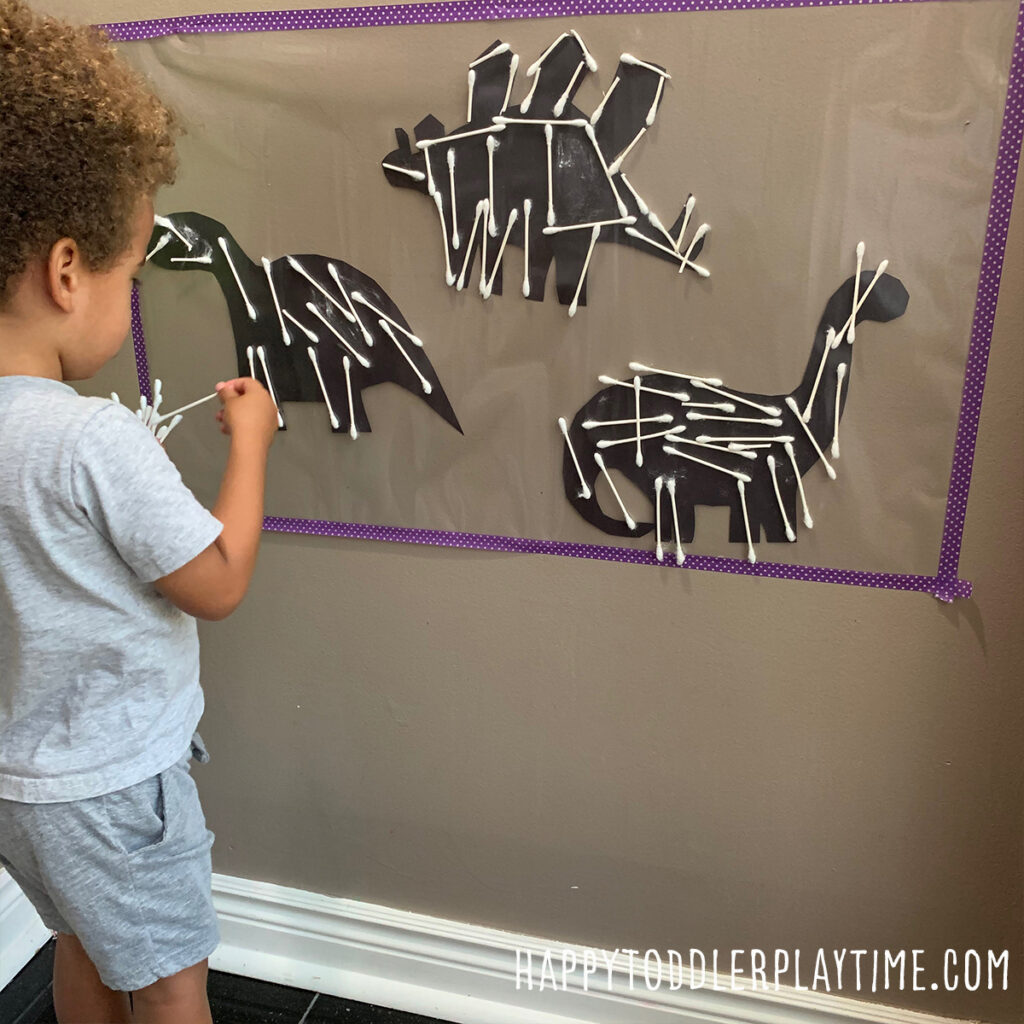
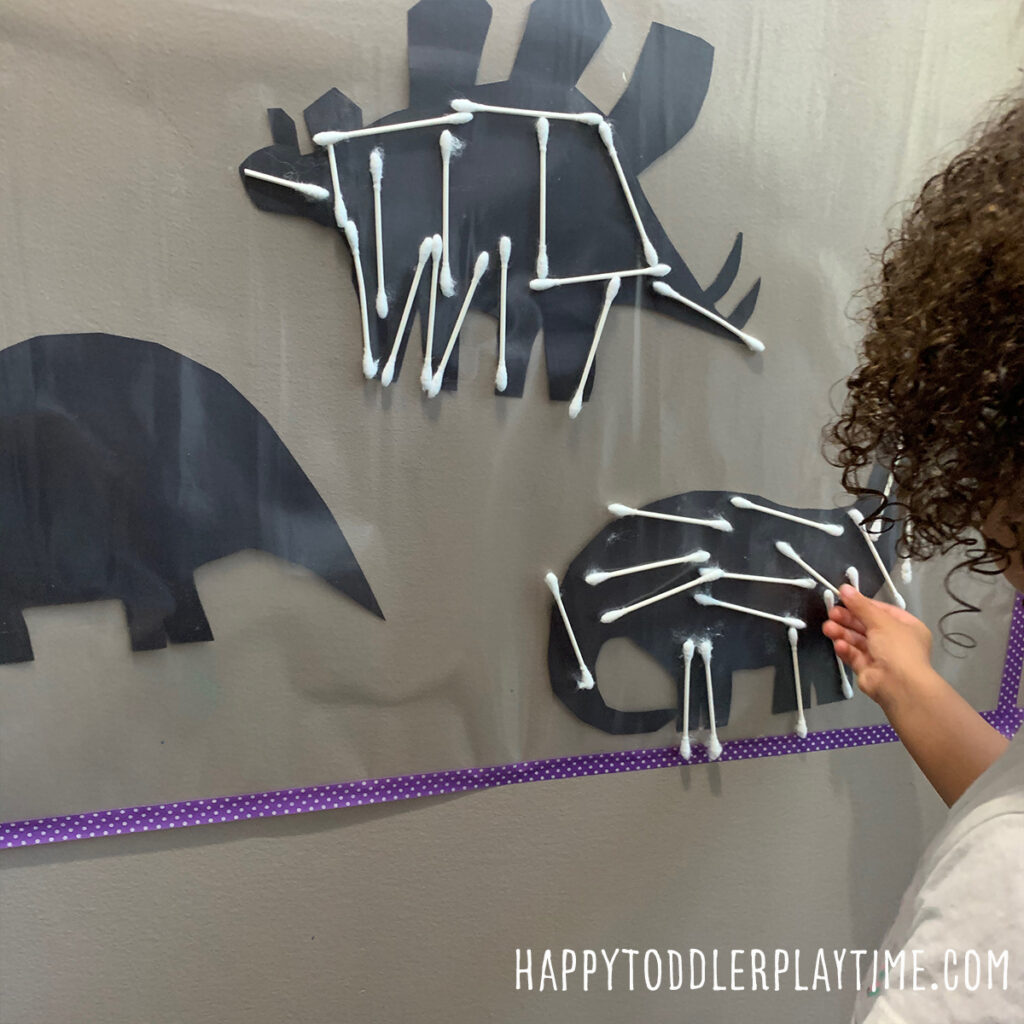
Dinosaur Bones Sticky Wall
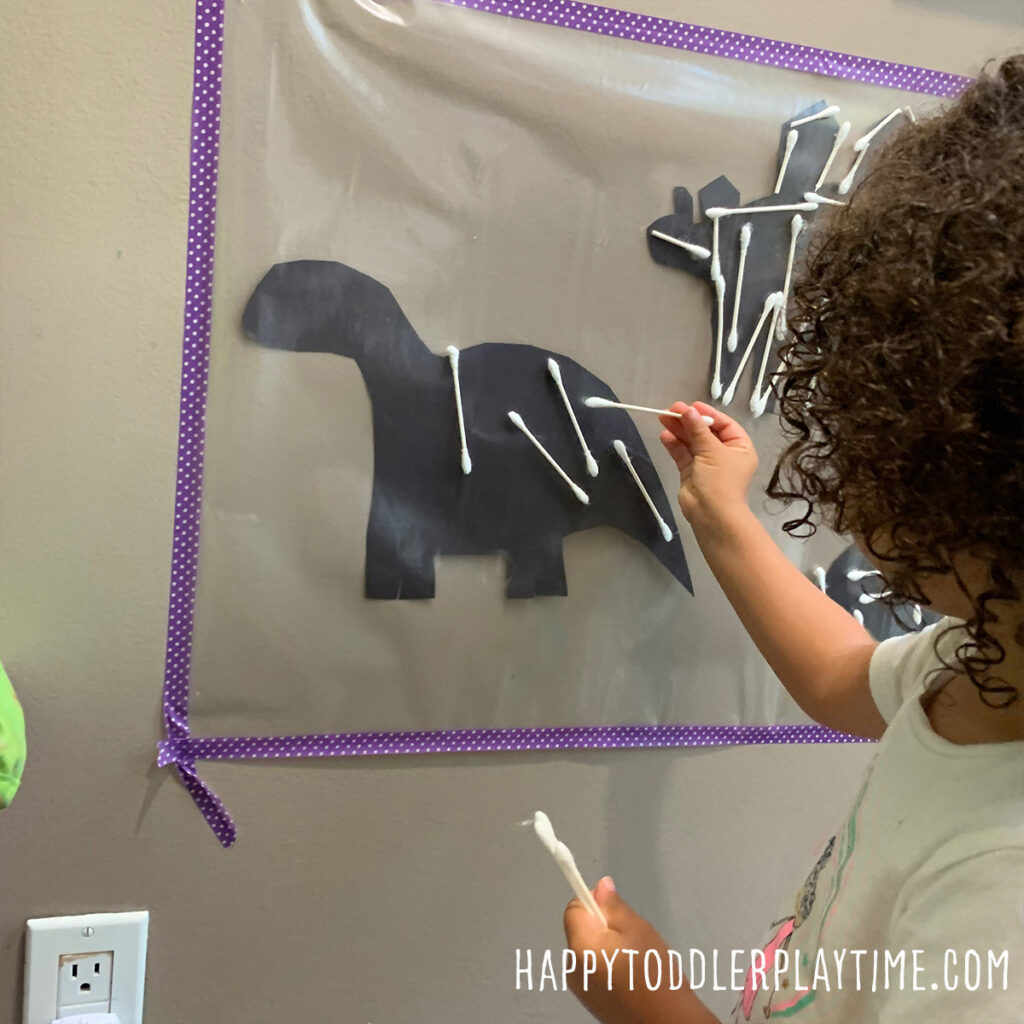
Time to give your dinosaurs a skeleton! Hand your child a few q-tips and invite them to give their dinosaur a skeleton.
A great way to start the discussion on dinosaur skeleton’s is through books. Check out these toddler books that discuss dinosaurs and dinosaur bones.
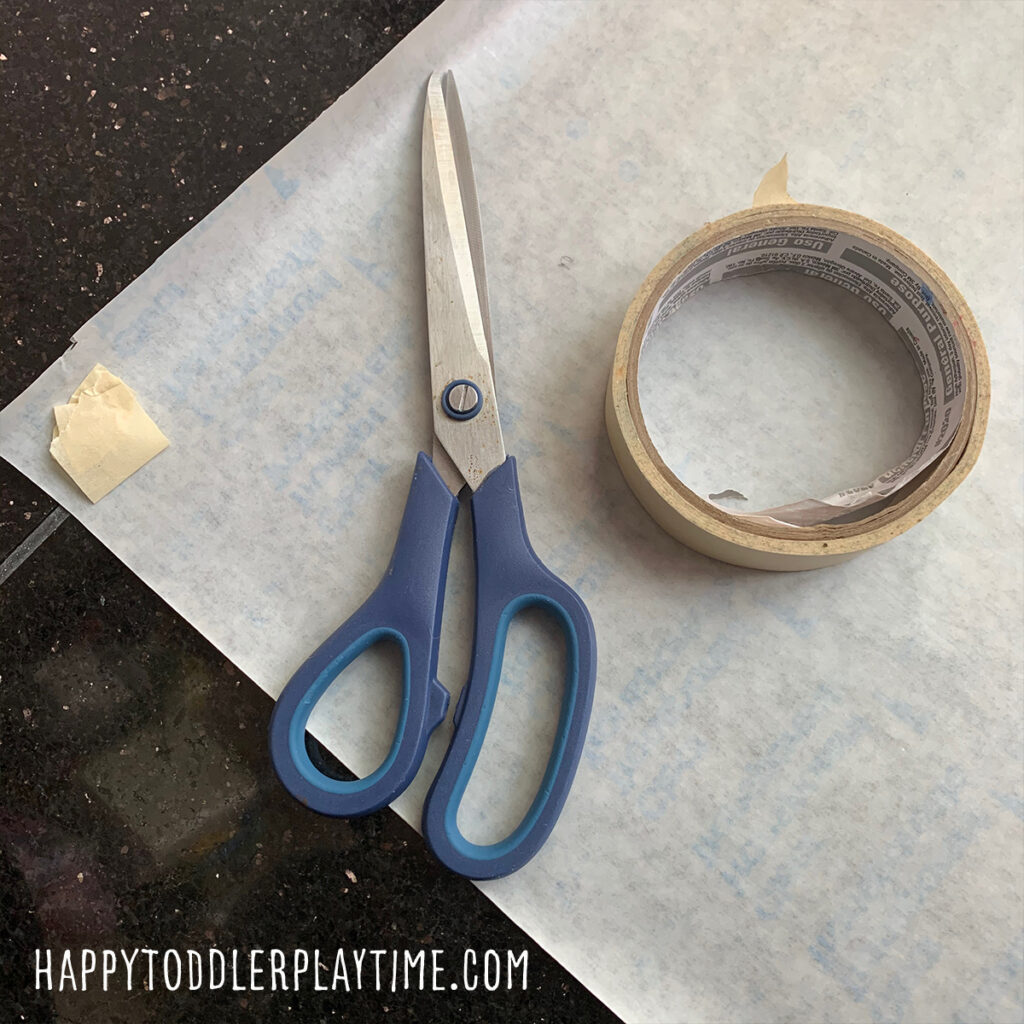
Supplies
(This post and list contains affiliate links for your convenience. If you make a purchase using one of these links, I may earn a commission. Please visit my disclosure policy for more information.)
- Contact Paper
- Black Construction Paper
- Scissors
- Painter’s Tape
- Q-Tips
WILL YOU MAKE THIS DINOSAUR BONES STICKY WALL WITH YOUR TODDLER OR PRESCHOOLER? PIN IT FOR LATER!