Paint chips are a guilty pleasure of mine. We use them a lot in crafts and activities but I do feel bad for taking 5-6 of every colour from the hardware store! (Sorry, not sorry).
The last time I stocked up on paint chips I felt so guilty that I actually asked the person working the paint department if I could pay for them. She just laughed and said don’t worry about so we went back and stocked on a few more colours!
If you haven’t used paint chips yet you are in for a treat. Just remember to grab an array of colours the next time you are at the hardware store. (Or if you are too shy to grab a bunch at the hardware store you can purchase them on Amazon using the link below).
To make your own paint chip confetti turkey here’s what you’ll need:
This post contains affiliate links.
Supplies
- Brown, red, yellow and orange Paint Chips
 (4-5 of each colour)
 - 1-inch Circle Punch
- Contact Paper
- Brown, red, orange Construction Paper
- Painter’s Tape
- Scissors
- Washable Glue
- Googly EyesCraft Paper
- Black Sharpie
Set Up
Making the Confetti
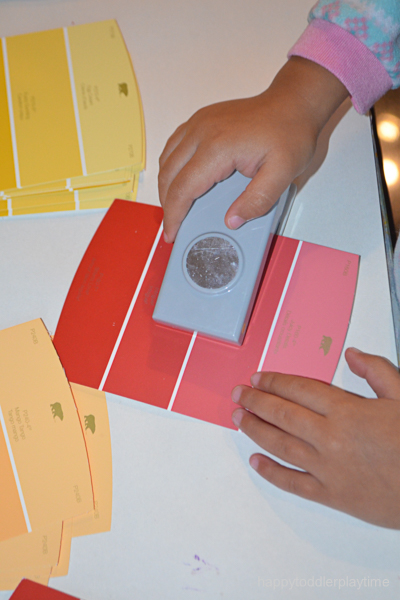
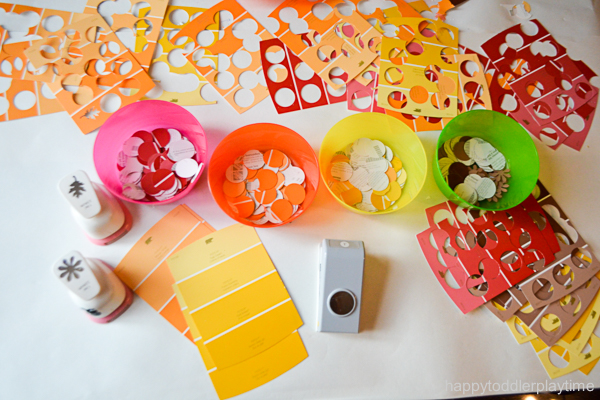
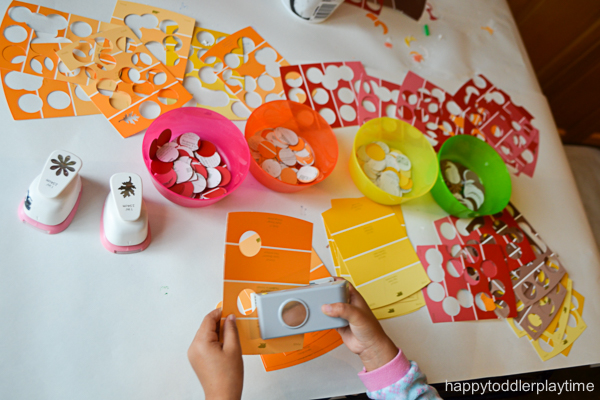
Using the lever punch, punch out 1″ circles of each colour paint chip.
Using lever punches can be a great hand strengthening activity for toddlers and preschoolers so I actually had my 3 year old help me out with this part of the prep.
Draw the outline of the turkey feathers on a piece of craft paper. I initially drew four feathers but added two more as my preschooler started putting the confetti up. Tape the feather outline to the wall.
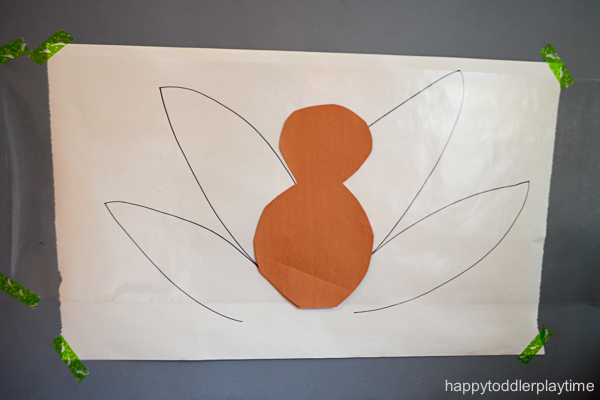
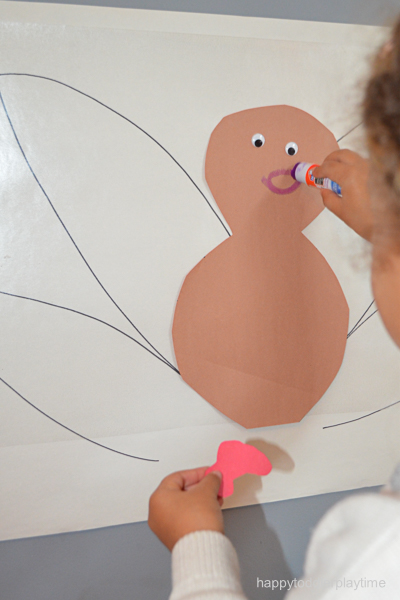
Cut out the body of the turkey using an entire piece of brown construction paper. Cut the beak out of orange paper and the snoods or wattles out of red construction paper.
Tape the contact paper to the wall, sticky side out, on top of the feathers.
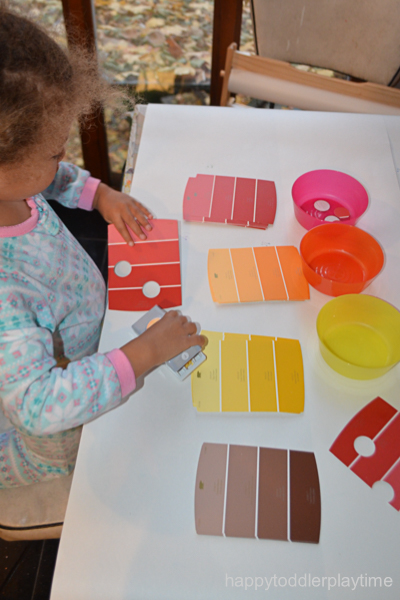
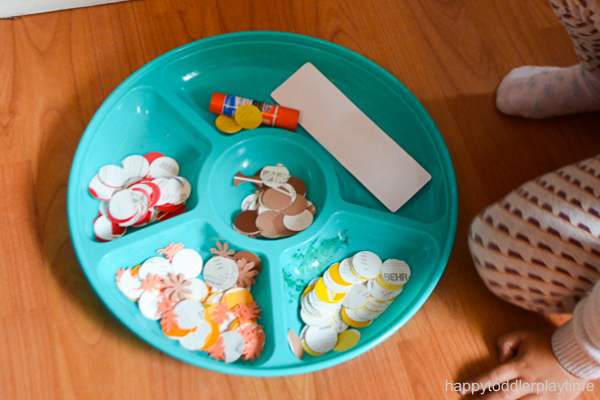
Gather all your supplies together. I put all my paint chips and turkey body parts in an appetizer serving dish but you can use a few bowls for the paint chips and lay the turkey parts and glue on the floor under your feather outline and contact paper.
Time to Stick
Now it’s time to create our turkey!
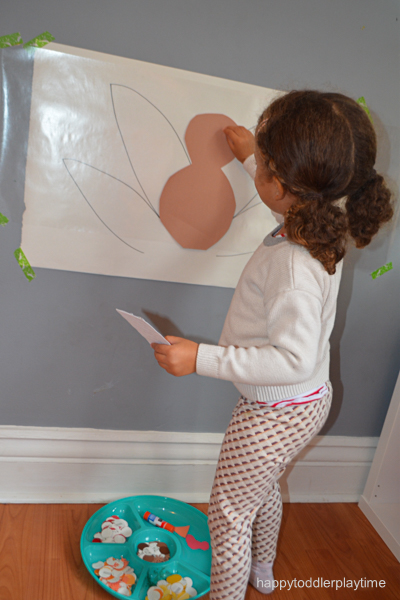
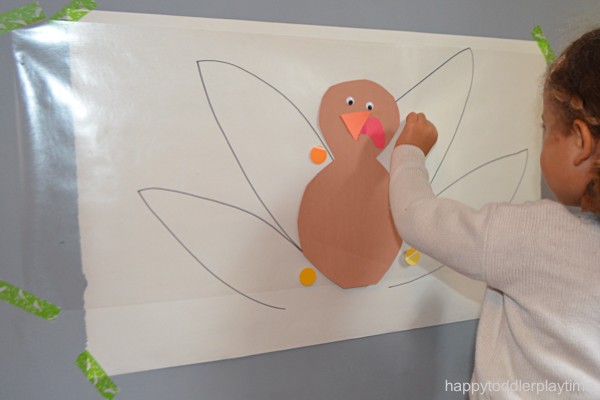
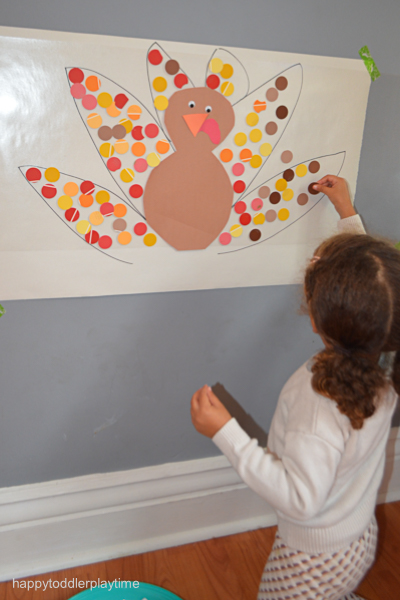
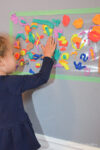
First, I had my daughter stick the turkey’s body in the center of the feather. This will stick directly on the contact paper. Next, she added googly eyes, the beak and snood using glue.
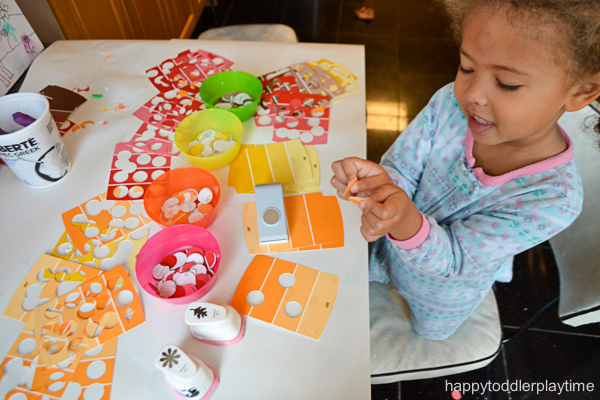
Next, she added the paint chip confetti on all the feathers.
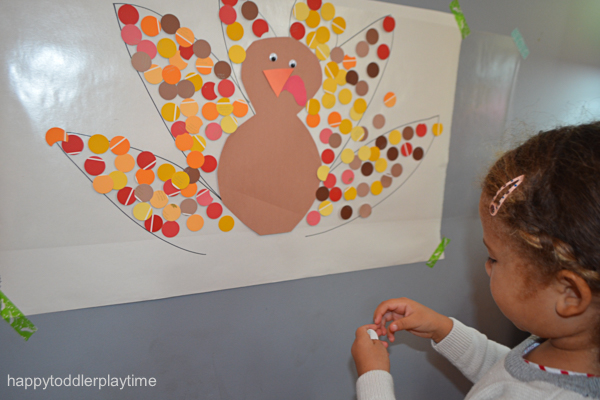
You could either make each feather one colour or make a collage like how we did.
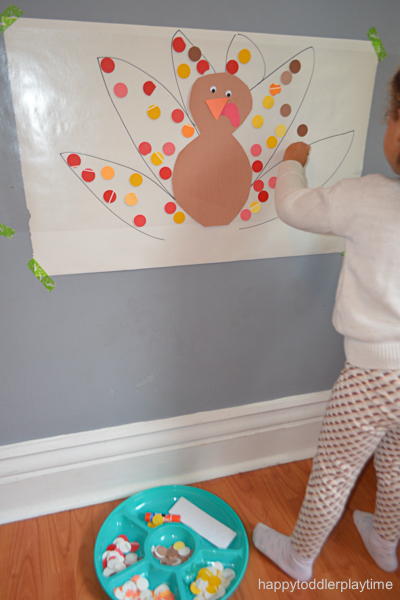
I let my daughter decide what how she wanted to decorate the feathers.
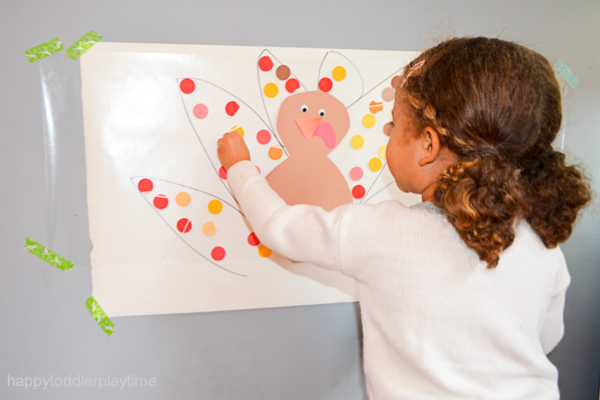
The paint chip confetti will stick directly on the contact paper.
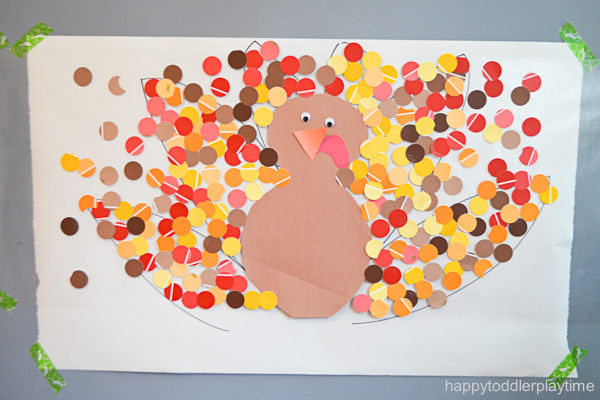
She continued until there was little to no sticky space left.
Looking for more Sticky Wall Activities?
Check out 21 Amazing Sticky Wall Activities for more great ideas!!


WILL YOU TRY PAINT CHIP CONFETTI TURKEY WITH YOUR TODDLER OR PRESCHOOLER THIS THANKSGIVING?

Purchase your supplies now on Amazon.com.


Pingback: 21 AMAZING STICKY WALL ACTIVITIES – HAPPY TODDLER PLAYTIME