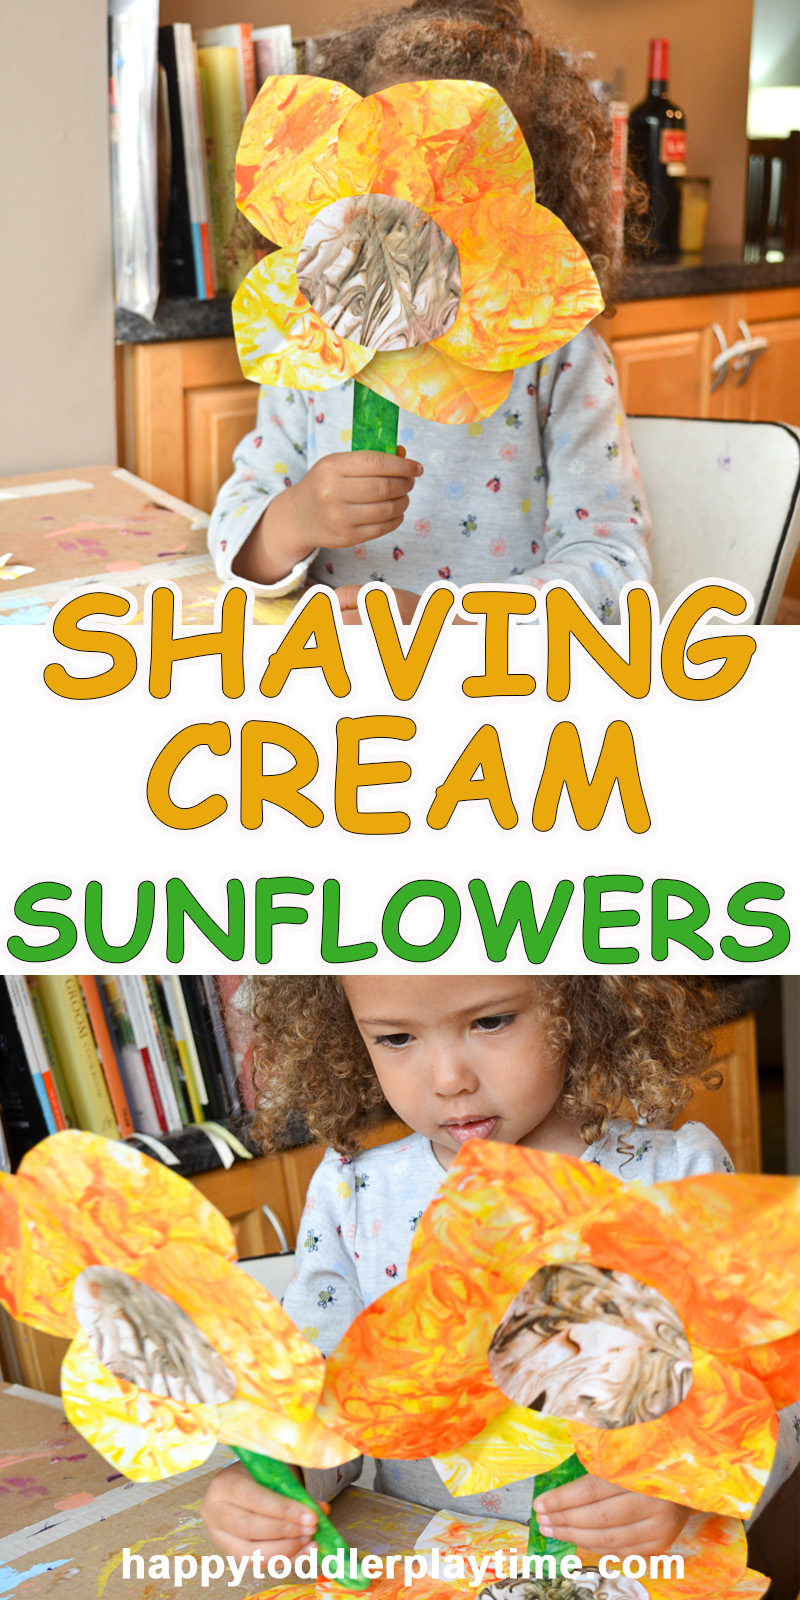
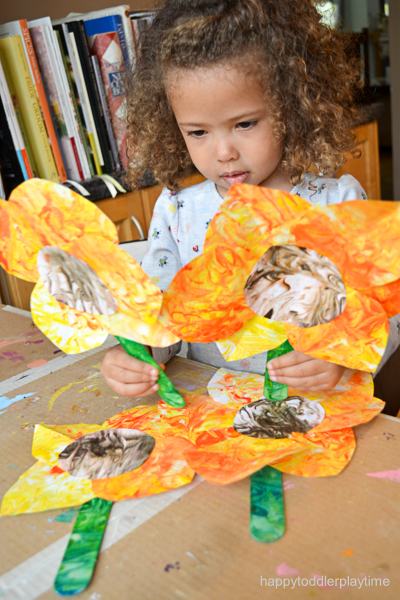
These are absolutely gorgeous little paper sunflowers are super fun to make with your toddler or preschooler. And when we were all done we had a fun shaving cream sensory bin to play in! Two activities in one! Score!
Here’s what you’ll need to make yours:
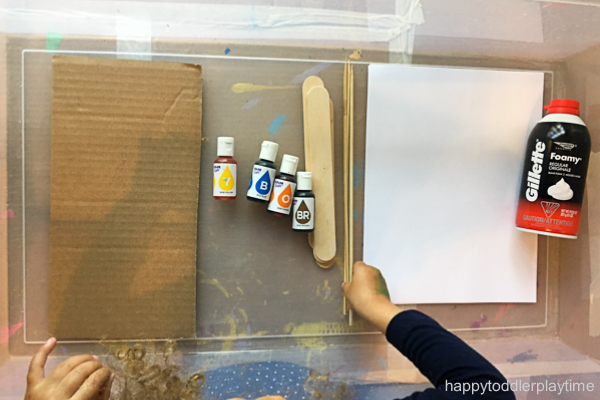
Supplies
(this list contains affiliate links for your convenience)
- Shaving cream (we used an entire can but that’s because we made 4 flowers, its fun and my toddler really loves any shaving cream activity! Good rule of thumb is to have at least one full can. The cheap stuff works best, not the gel cream)
- White Paper
 (to make 1 flower you’ll need 4 sheets of paper)
 - Jumbo Craft Sticks
- Toothpicks or Bamboo Skewers
- Storage Bin (or Sensory Bin)
- Rectangle piece of cardboard
- Yellow, Orange (optional), Green and Brown (optional) Food Coloring Liqua-Gel (I used gel cake colouring but regular food colouring will work as well)
- Glue
- Kitchen towel (to wipe hands as you go)
Set up
Now the fun begins!! Squirt the shaving cream on one side of the sensory bin covering it so that you can’t see the bottom (we are using the sensory bin in order to contain the mess – you’re welcome).
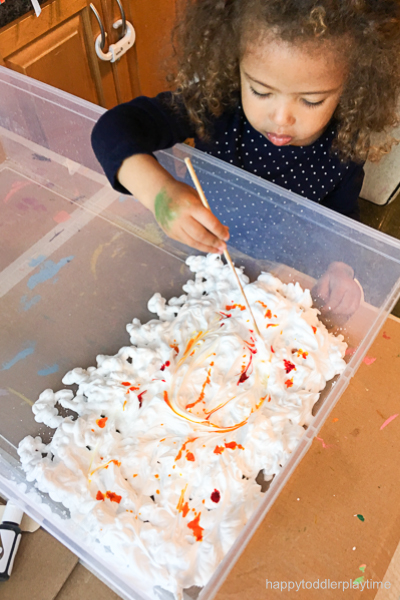
Add drops of food colouring into the shaving cream. I used a lot in order to get a beautiful pattern. For the sunflower petals I mixed yellow and orange. But you can just use yellow if you don’t have orange.
Then using your toothpicks or bamboo sticks, mix the food colouring into the shaving cream. The trick is to not mix it too much- hence the tiny mixing tool. If you mix too much the colour won’t transfer on the paper well. Don’t want try if you do, just add more colouring. Add more food colouring as needed so that that entire area has colour.
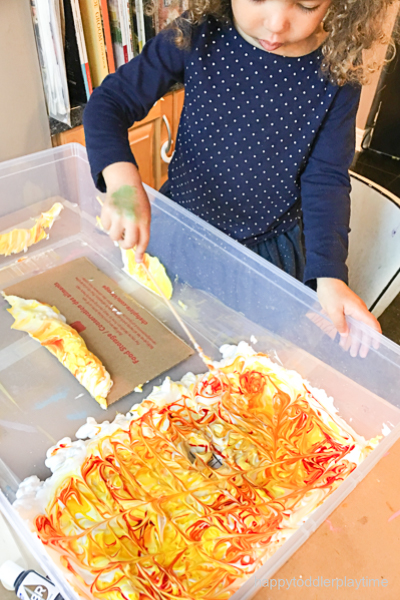
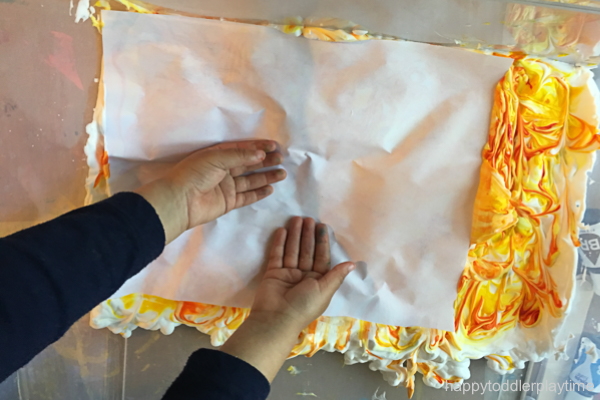
Once it is all mixed up, lay one sheet on paper on top gently and then press gently on it so that the entire sheet is in contact with the shaving cream.
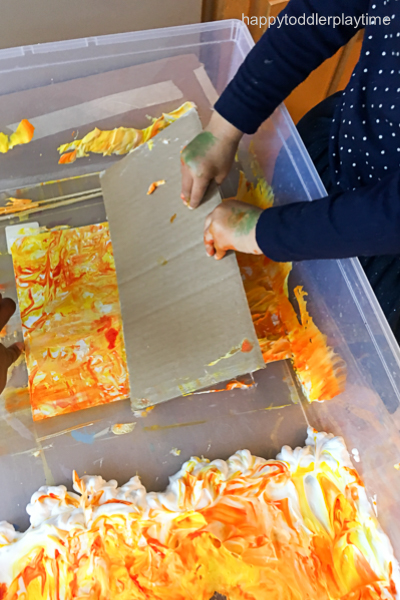
Carefully peel it off, them move it to the other side of the sensory bin and lay it down, shaving cream side up. Using their piece of cardboard, firmly swipe the shaving cream off in one direction.
The food colouring will leave a unique design on the paper, your toddler will be amazed and will want to do it again! Do this at least one more time to make sheet for another set of petals. Lay all the sheets somewhere safe to dry while you finish the rest.
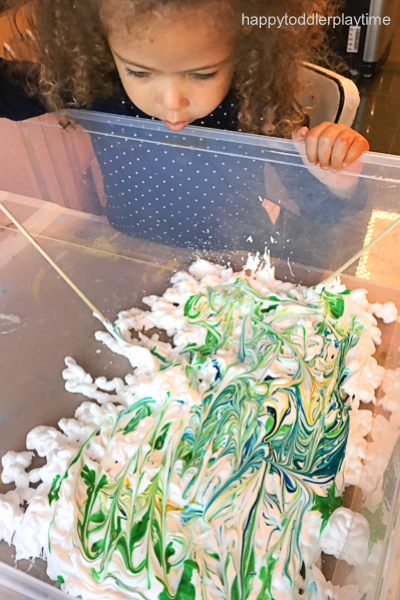
Rinse the shaving cream out of the bin and repeat the steps above using green food colouring. You only need to do 1 sheet of green.
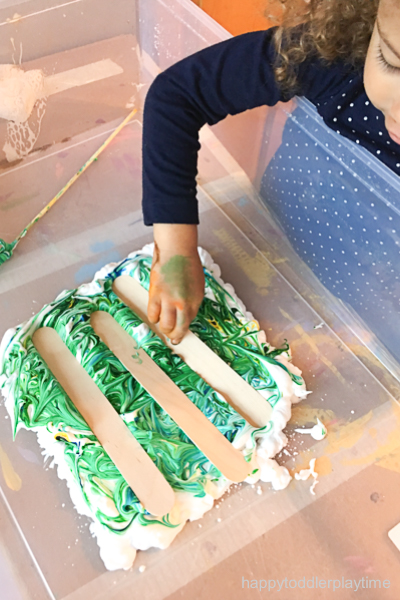
After adding in the paper, add in your craft sticks. This will give them a beautiful unique green design. Use paper towel to clean them off – do not put them in water. Set then aside to dry
Once your sheets are dry its time to cut. If your toddler is not proficient with scissors yet (mine isn’t) I would do this part quickly yourself.
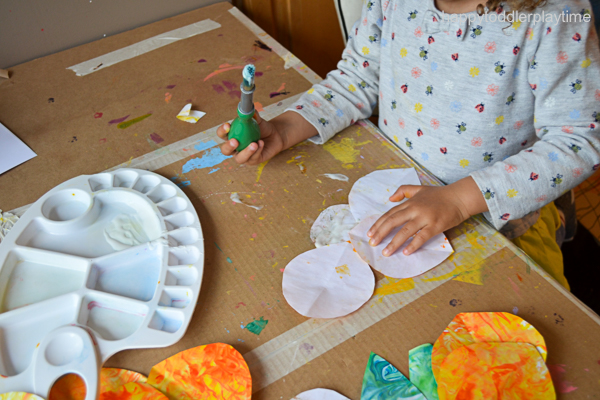
Fold the yellow sheets of paper 3 times and cut out a petal shape. For the green sheet cut out a circle for the center of your flower and 1 or 2 leaves.
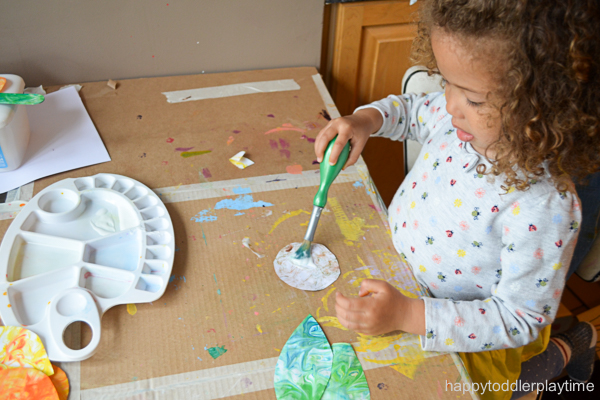
Once you have cut of the petal, center of the flower and leaves, it now time to have your toddler glue everything together! Turn the circle over so the back is facing up and have her put glue all over it. Then stick the petal in the glue (also design side down). You will need to help toddlers to ensure that petals are evenly distributed around the center of the flower.
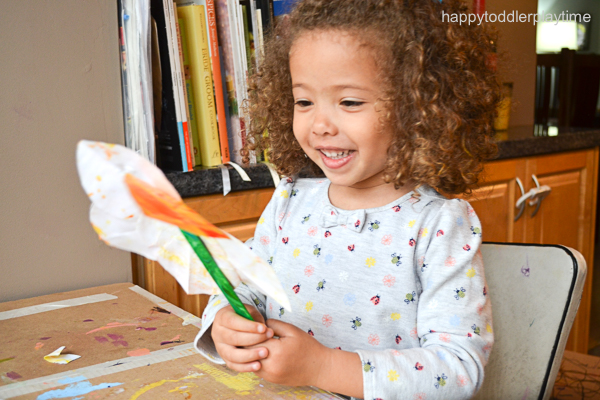
Next, glue the craft stick stem to the back of the flower.
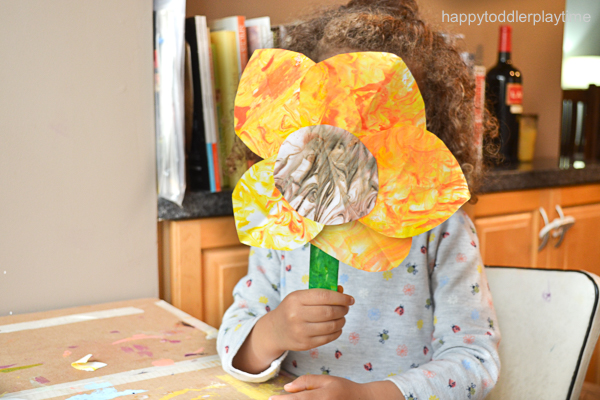
Press down to ensure everything holds and lift it up to reveal your beautiful sunflower!
Finally, glue the leaves to the craft stick stem. At this point my toddler was so in love with what she created that she didn’t want to add leaves she just wanted to play it!
WILL YOU MAKE SHAVING CREAM SUNFLOWERS WITH YOUR LITTLE ONE THIS SPRING? Pin it for later!