In the realm of creative and educational activities, constructing a boat with everyday materials can be a thrilling and educational experience. In this blog post, we will explore the process of crafting an aluminum foil boat using a tissue box as its sturdy base. To add to the excitement, we’ll also create a sail made from a foam sheet. Let’s set sail on this delightful DIY project!
Materials Needed
- Tissue box
- Aluminum foil
- Cardboard
- Tape
- Foam sheet
- Straws
- Scissors
- Glue or tape
- Marker or pen
- Water or bathtub (for testing)
How to Build an Aluminum Foil Boat
Step 1: Preparing the Tissue Box Structure
To begin, find an empty tissue box that is no longer in use. The tissue box will serve as the foundation for your aluminum foil boat. Cut a piece of cardboard the same height and length as the tissue box. Fold the piece of cardboard in half and tape it to the front or short side of the tissue box to create the point or front of the boat.
NOTE: When I was constructing our boat I only got he idea of adding the cardboard piece in the front after we had already covered the tissue box in foil. So that is why my pictures show my son wrapping just a box. You can learn from my mistake and tape on the cardboard piece on the front before wrapping the foil.

Step 2: Wrapping the Tissue Box with Aluminum Foil
Take a sheet of aluminum foil and carefully wrap it around the outside of the tissue box. Add several more sheets to ensure that the entire box is covered with at last two layers of foil. Tuck the foil around the tissue box opening to secure it into place.You want keep the tissue box opening open for the sail(s). Remember to cover all sides of the tissue box, ensuring a watertight seal.

Step 3: Constructing the Sail from a Foam Sheet
Next, grab a foam sheet in a color of your choice. Using a marker or pen, draw a sail shape on the foam sheet. Feel free to get creative with the design! Once you are satisfied with the outline, carefully cut out the sail along the marked lines. Make sure the size of the sail is appropriate for the boat, allowing it to catch the wind effectively.
Use scissors to poke a hole Position the sail on the boat, determining the ideal placement for optimal stability and wind-catching ability. Glue or tape the base of the sail securely to the top of the tissue box. Ensure that it stands upright without tipping over.

Step 4: Testing the Aluminum Foil Boat
Now comes the exciting part – testing your newly crafted boat! Fill a basin or bathtub with water or if you have a lake or pin close by head out there. Place your aluminum foil boat gently in the water, ensuring it floats steadily. Observe how it glides on the surface and how the sail catches the air when you blow on it, propelling the boat forward. Make any necessary adjustments to the sail’s angle or position to improve its performance.


Step 6: Experiment and Enhance
Once you’ve successfully tested your boat, don’t hesitate to experiment further. You can add more sails, decorate the boat with markers or stickers, or try different techniques to enhance its stability or speed. Feel free to enlist friends or family members to join in the fun and create a fleet of aluminum foil boats.
Crafting an aluminum foil boat using a tissue box structure and adding a foam sheet sail is an enjoyable project that combines creativity and exploration. It allows you to learn about buoyancy, stability, and the effects of wind on sailboats while igniting your imagination. So, gather your materials, set sail on your DIY adventure, and let your aluminum foil boat glide across the waters of discovery!
Frequently Asked Questions
1. What age is an aluminum foil boat activity for?
This STEM activity is great for preschoolers, elementary-aged children, and even older kids. Younger children will enjoy making and floating their boats, while older children can experiment with different designs and engineering ideas to build stronger boats.
2. Why do aluminum foil boats float?
Aluminum foil boats float because their shape spreads their weight over a larger surface area, allowing them to displace enough water to stay afloat. If too much weight is added or water enters the boat, it will eventually sink.
3. What can I use to test my aluminum foil boat?
Pennies are one of the most popular materials because they’re small, easy to count, and add weight gradually. You can also use marbles, small rocks, glass gems, LEGO bricks, or other small waterproof objects.
4. How can I make an aluminum foil boat hold more weight?
Encourage children to experiment with different shapes and wider bases. Boats with higher sides and a flat bottom often hold more weight because they displace more water and are less likely to tip over.
5. How many pennies can an aluminum foil boat hold?
The number depends on the size and design of the boat. Some simple boats may hold only a few pennies, while well-designed boats can hold dozens. The fun comes from making predictions, testing ideas, and redesigning the boat to improve its performance.
6. Can I turn this into a STEM challenge?
Absolutely! Challenge children to build the boat that holds the most pennies, stays afloat the longest, or carries a small toy across the water. Encourage them to make changes after each test and discuss why one design worked better than another.
7. Can aluminum foil boats be reused?
Yes! If the foil hasn’t torn, simply reshape the boat and try a new design. Children often enjoy improving their boats after each test to see if they can make them stronger or hold more weight.
8. What other materials can I use to build floating boats?
After experimenting with aluminum foil, encourage children to compare other materials like craft sticks, recycled containers, corks, sponges, or natural materials. Testing different designs is a great way to extend the engineering challenge and deepen their understanding of buoyancy.
Play2Learn Toddler & Preschool Programs for Curious Toddlers
There is no limit to your toddler’s energy and curiosity. That energy and curiosity although a joy can be challenging at times. Their interest in just about everything around them is what makes them great learners. One and two year olds can soak up so much just from their senses!
But as a teacher or parent that thirst for learning can be exhausting. That is why I created this toddler and preschooler program. To help you get the most out of this time with your curious toddler without having to come up with creative ways to play and interact with them.
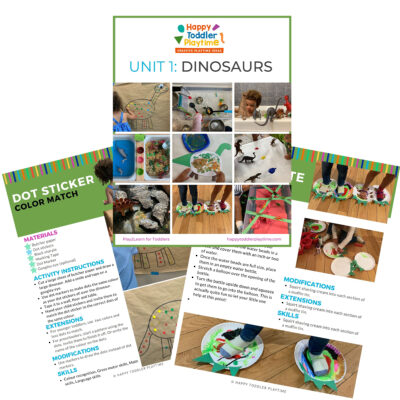
Play2Learn for Toddlers includes 20 Units for toddlers. Each 2-week toddler unit has 20 super easy to set up and engaging activities for toddlers 18 months to 3 years.
Play2Learn Preschool which includes 20 Units for preschoolers. Each 2-week preschoolers unit has 20 unique and easy to set up and engaging activities for preschoolers 3 years to 5 years. That’s over 800 learning activities for your toddler and preschooler at your fingertips! So many ideas you and your child will never be bored again!
These toddler and preschool lesson plans and activities will definitely keep you and your toddler and preschooler busy playing and learning!
Click here for more information: Play2Learn
Book: Exciting Sensory Bins for Curious Kids
Did you know I wrote a book of sensory bins? Click here for more information Exciting Sensory Bin for Curious Kids. Or grab your copy at Amazon.
Boring afternoons are made exciting with awesome animal-based bins, like Salty Shark Bay or Yarn Farm. Pretend play bins like Birthday Cake Sensory Play or Bubble Tea Party encourage creativity and imagination. And your kids will have so much fun they won’t even know they’re getting smarter with STEAM (science, technology, engineering, art and math) activities like Sink or Float Soup, Magnetic Letter Hunt or Ice Cream Scoop and Count.
Designed for toddlers 18 months and up.
Book: Super STEAM Activity Book for Kids
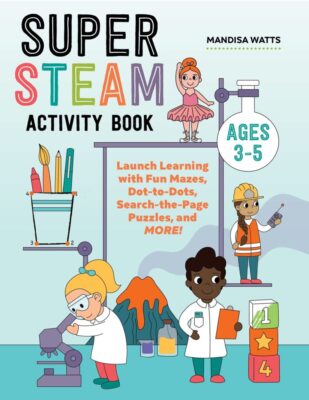
Learning all about science, technology, engineering, art, and math sets kids up for scholastic success―and it can be so much fun! Watch kids enjoy building STEAM skills as they color friendly fish, help water find its way to tree roots, solve math problems with mazes, and more.
Find out more and grab your copy here.
Designed for preschoolers 3 years old and up.
Book: Big Book of Riddles for Kids
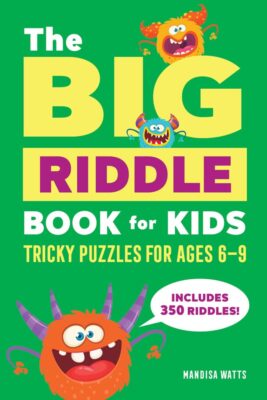
Riddle me this: What’s an exciting way to practice critical thinking while having a blast? The Big Riddle Book for Kids, of course! From hilarious puns to tough brain teasers, kids can build problem-solving skills with hundreds of riddles tha. t show them how to think outside the box.
- 350 riddles for kids—Have hours of fun with riddles, puns and jokes, and math and logic puzzles that’ll get their wheels turning!
- Level up their skills—Riddles get trickier as kids progress through the book, challenging them as they get better at solving puzzles!
- Double-check their work—Kids can check their answers in the back of the book with a handy answer key.
Help children expand their minds while having fun with this puzzle book for kids!
Designed for kids ages 6 years old and up.
TV Show: Curious Crafting
I’m so excited to share my crafting TV show Curious Crafting which launched in July 2022 on TVOkids and TVOkids YouTube! Season 2 aired in August 2023! My show was also nominated in 2023 for Best Live Action Preschool Series by the Youth Media Alliance Awards of Excellence.
Curious Crafting Season 1 is also now airing in Australia on ABC! Watch it here!
Set in the ultimate crafting space, Curious Crafting is a short form pre-school age series about the joy of making crafts. I lead a rotating cast of adorable little preschoolers (including my own) making magic out of common household objects.
In each episode we transform recycled items into magical crafts like a milk carton school bus, paper bag puppet or cotton pad turtle. The crafters learn and laugh their way through each activity while demonstrating what their young imaginations can create.
Curious Crafting shares the adventure and joy of making art with takeaway lessons for creating crafts at home.
This show designed for toddlers and preschoolers 2.5 years old and up.