Bleeding tissue paper crafts are a mesmerizing way to introduce a burst of color into any art project, especially when celebrating spring and Easter. Unlike regular tissue paper, bleeding tissue paper is specifically designed to “bleed” its colors when moistened, creating beautiful, watercolor-like effects on paper. This unique feature sets it apart, transforming simple crafts into vibrant pieces of art. Ideal for projects that require a splash of color, bleeding tissue paper can be found at most craft stores, offering a wide range of colors to spark creativity in artists young and old. The Bleeding Tissue Paper Bunny Craft we’re about to dive into is a perfect example of how this special paper can be used to celebrate the season in style.
As Easter approaches, crafting becomes a delightful way to build anticipation for the holiday. This Bleeding Tissue Paper Bunny Craft not only captures the essence of Easter with its bunny silhouette but also introduces children to the magic of color mixing and texture. Utilizing bleeding tissue paper for this project allows little ones to experiment with color in a hands-on way, watching in wonder as the paper reacts with water to dye their creation. It’s a simple, engaging activity that results in a striking piece of art, perfect for Easter decorations or gifts.

Materials:
- Bleeding tissue paper in various colors
- Easter Bunny template (get it below)
- White cardstock or watercolor paper
- Large pom pom
- Glue
- Spray bottle filled with water
- Tray
- Black construction paper
Step-by-Step Instructions:
- Prepare the Bunny Outline: Cut out the Easter Bunny template – find the link to print it below. Then, use it to trace and cut out a bunny outline from your choice of white cardstock or watercolor paper.
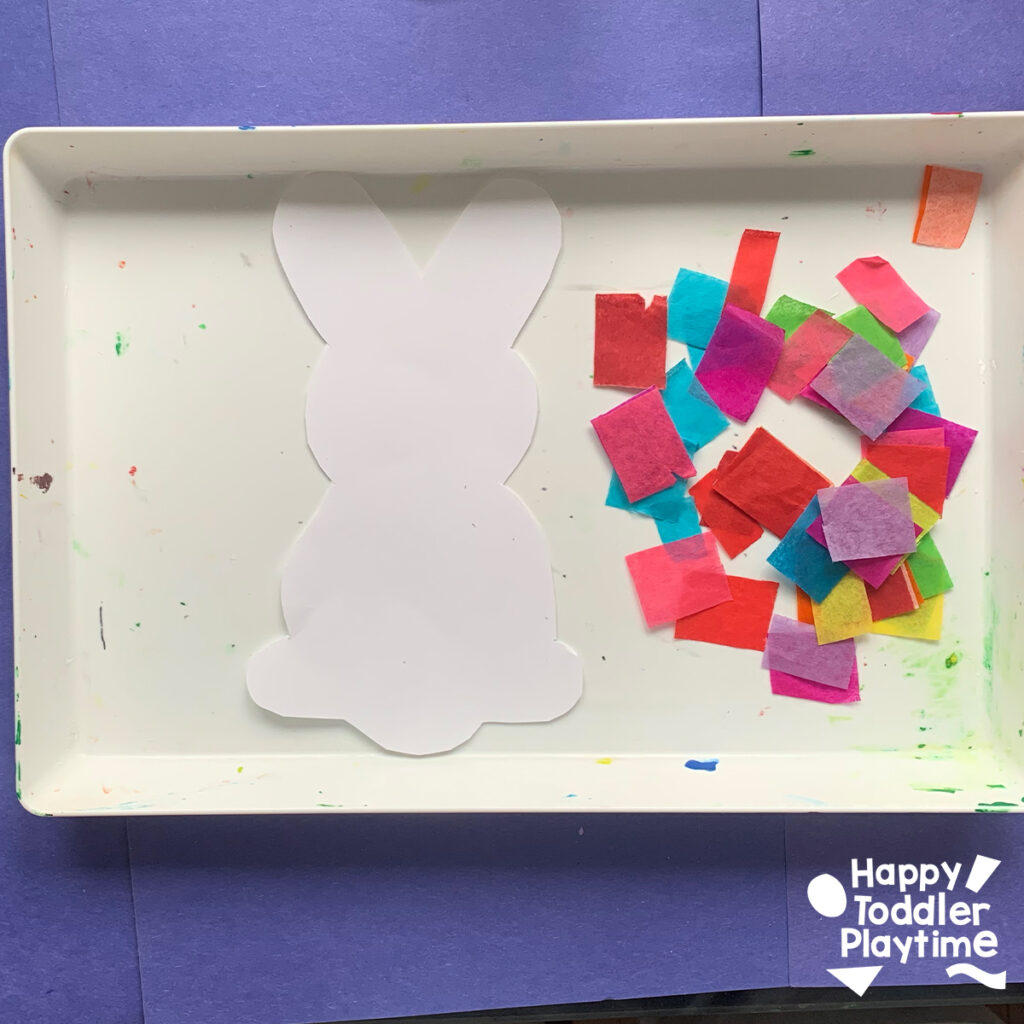
- Set Up Your Workspace: Place the bunny outline inside a tray. This will help contain the water and dye as you work.
- Prepare the Bleeding Tissue Paper: Cut the bleeding tissue paper into small squares. The size doesn’t have to be perfect, just small enough to cover different parts of the bunny outline.
- Apply the Tissue Paper: Lay the bleeding tissue paper squares onto the bunny outline, covering it completely. Feel free to overlap the pieces slightly for a more interesting color blend.

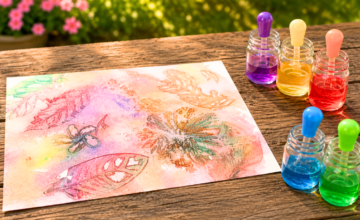
- Spray with Water: Using your spray bottle, gently spray water over the bunny, dampening all the tissue paper squares. Watch as the colors start to bleed and blend together on the paper beneath.
- Let It Dry: Set the bunny aside to dry. Depending on how much water you used, this could take a few hours.
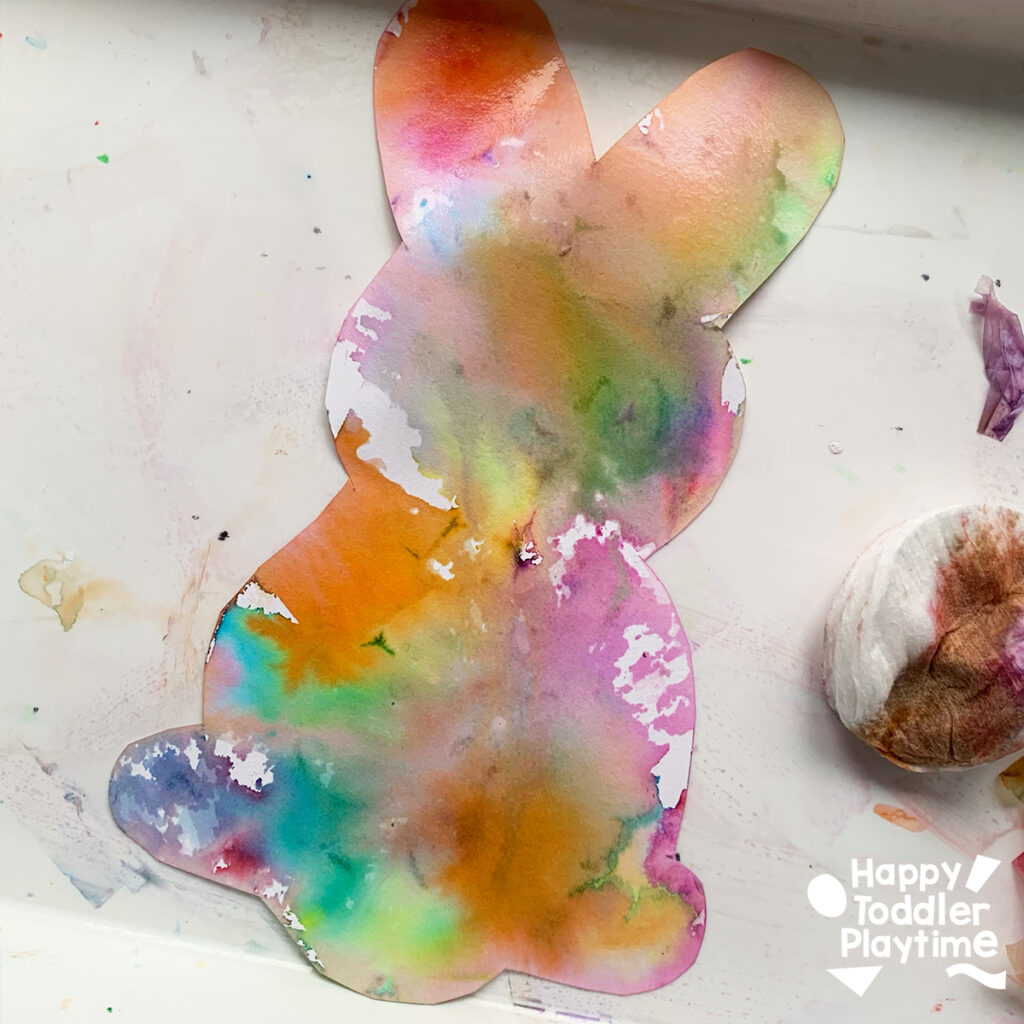
- Remove the Tissue Paper: Once dry, carefully remove the tissue paper to reveal the dyed bunny beneath.

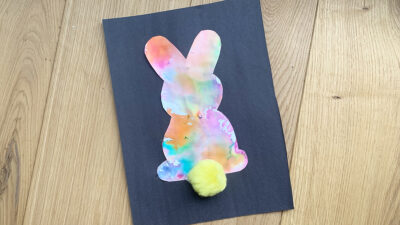
- Add Final Touches: Glue a large, colorful pom pom to the bottom of the bunny for a tail. Then, glue the entire bunny onto a sheet of black construction paper to create a striking contrast.

How My Kids Created This Craft:
My kids were fascinated by the process, especially when it came to spraying the tissue paper and watching the colors bleed. They carefully chose where to place each square, excited by the array of colors. Spraying the water was definitely their favorite part, and they were amazed to see the tissue paper’s colors transfer onto the bunny outline. Once dry, peeling off the paper to reveal their creation was like unwrapping a present, met with gasps and smiles. Gluing on the pom pom tail added a tactile element they enjoyed, rounding off the craft with a fuzzy finishing touch.
Tips for Success:
- Be mindful of how much water you spray; too much can overly dilute the colors and extend drying time.
- Lay down newspaper or a cloth under your tray to catch any excess water or dye.
- Encourage your kids to experiment with color placement but remind them that the colors will blend where the papers overlap.
Skills Learned:
- Color Theory and Mixing: Observing how different colors blend and create new shades.
- Fine Motor Skills: Cutting, gluing, and handling small pieces of tissue paper refine dexterity.
- Patience and Anticipation: Waiting for the paper to dry teaches patience and builds excitement for the final reveal.
- Creativity: Choosing colors and arranging them allows for personal expression and decision-making.
The Bleeding Tissue Paper Bunny Craft is a fantastic way to celebrate Easter and spring, combining sensory play with art for a memorable crafting experience. It’s an easy, fun way to explore creativity and introduce young children to the wonders of color transformation, all wrapped up in a festive Easter theme.
Play2Learn Toddler & Preschool Programs for Curious Toddlers
There is no limit to your toddler’s energy and curiosity. That energy and curiosity although a joy can be challenging at times. Their interest in just about everything around them is what makes them great learners. One and two year olds can soak up so much just from their senses!
But as a teacher or parent that thirst for learning can be exhausting. That is why I created this toddler and preschooler program. To help you get the most out of this time with your curious toddler without having to come up with creative ways to play and interact with them.
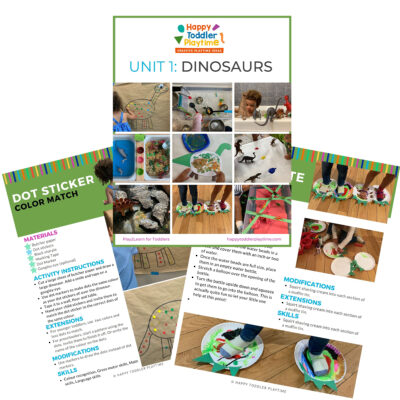
Play2Learn for Toddlers includes 20 Units for toddlers. Each 2-week toddler unit has 20 super easy to set up and engaging activities for toddlers 18 months to 3 years.
Play2Learn Preschool which includes 20 Units for preschoolers. Each 2-week preschoolers unit has 20 unique and easy to set up and engaging activities for preschoolers 3 years to 5 years. That’s over 800 learning activities for your toddler and preschooler at your fingertips! So many ideas you and your child will never be bored again!
These toddler and preschool lesson plans and activities will definitely keep you and your toddler and preschooler busy playing and learning!
Click here for more information: Play2Learn
Book: Exciting Sensory Bins for Curious Kids
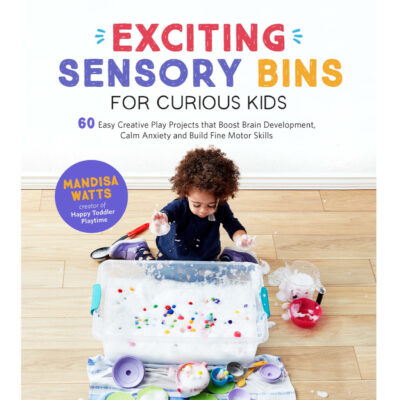
Did you know I wrote a book of sensory bins? Click here for more information Exciting Sensory Bin for Curious Kids. Or grab your copy at Amazon.
Boring afternoons are made exciting with awesome animal-based bins, like Salty Shark Bay or Yarn Farm. Pretend play bins like Birthday Cake Sensory Play or Bubble Tea Party encourage creativity and imagination. And your kids will have so much fun they won’t even know they’re getting smarter with STEAM (science, technology, engineering, art and math) activities like Sink or Float Soup, Magnetic Letter Hunt or Ice Cream Scoop and Count.
Designed for toddlers 18 months and up.
Book: Super STEAM Activity Book for Kids
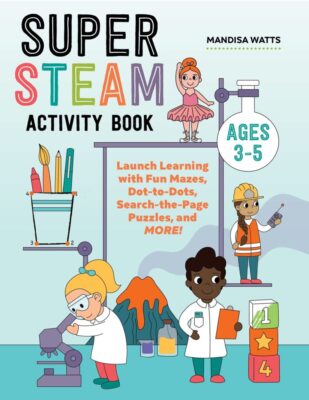
Learning all about science, technology, engineering, art, and math sets kids up for scholastic success―and it can be so much fun! Watch kids enjoy building STEAM skills as they color friendly fish, help water find its way to tree roots, solve math problems with mazes, and more.
Find out more and grab your copy here.
Designed for preschoolers 3 years old and up.
Book: Big Book of Riddles for Kids
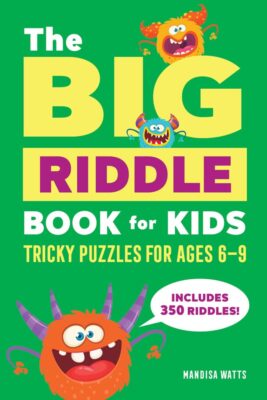
Riddle me this: What’s an exciting way to practice critical thinking while having a blast? The Big Riddle Book for Kids, of course! From hilarious puns to tough brain teasers, kids can build problem-solving skills with hundreds of riddles tha. t show them how to think outside the box.
- 350 riddles for kids—Have hours of fun with riddles, puns and jokes, and math and logic puzzles that’ll get their wheels turning!
- Level up their skills—Riddles get trickier as kids progress through the book, challenging them as they get better at solving puzzles!
- Double-check their work—Kids can check their answers in the back of the book with a handy answer key.
Help children expand their minds while having fun with this puzzle book for kids!
Designed for kids ages 6 years old and up.
TV Show: Curious Crafting
I’m so excited to share my crafting TV show Curious Crafting which launched in July 2022 on TVOkids and TVOkids YouTube! Season 2 aired in August 2023! My show was also nominated in 2023 for Best Live Action Preschool Series by the Youth Media Alliance Awards of Excellence.
Curious Crafting Season 1 is also now airing in Australia on ABC! Watch it here!
Set in the ultimate crafting space, Curious Crafting is a short form pre-school age series about the joy of making crafts. I lead a rotating cast of adorable little preschoolers (including my own) making magic out of common household objects.
In each episode we transform recycled items into magical crafts like a milk carton school bus, paper bag puppet or cotton pad turtle. The crafters learn and laugh their way through each activity while demonstrating what their young imaginations can create.
Curious Crafting shares the adventure and joy of making art with takeaway lessons for creating crafts at home.
This show designed for toddlers and preschoolers 2.5 years old and up.

Bleeding Tissue Paper Bunny Craft
Equipment
- Bleeding tissue paper in various colors
- Easter Bunny template
- White cardstock or watercolor paper
- Glue
- Spray bottle filled with water
- Tray
- Black construction paper
- Large pom pom
Instructions
- Prepare the Bunny Outline: Cut out the Easter Bunny template. Then, use it to trace and cut out a bunny outline from your choice of white cardstock or watercolor paper.
- Set Up Your Workspace: Place the bunny outline inside a tray. This will help contain the water and dye as you work.
- Prepare the Bleeding Tissue Paper: Cut the bleeding tissue paper into small squares. The size doesn't have to be perfect, just small enough to cover different parts of the bunny outline.
- Apply the Tissue Paper: Lay the bleeding tissue paper squares onto the bunny outline, covering it completely. Feel free to overlap the pieces slightly for a more interesting color blend.
- Spray with Water: Using your spray bottle, gently spray water over the bunny, dampening all the tissue paper squares. Watch as the colors start to bleed and blend together on the paper beneath.
- Let It Dry: Set the bunny aside to dry. Depending on how much water you used, this could take a few hours.
- Remove the Tissue Paper: Once dry, carefully remove the tissue paper to reveal the dyed bunny beneath.
- Add Final Touches: Glue a large, colorful pom pom to the bottom of the bunny for a tail. Then, glue the entire bunny onto a sheet of black construction paper to create a striking contrast