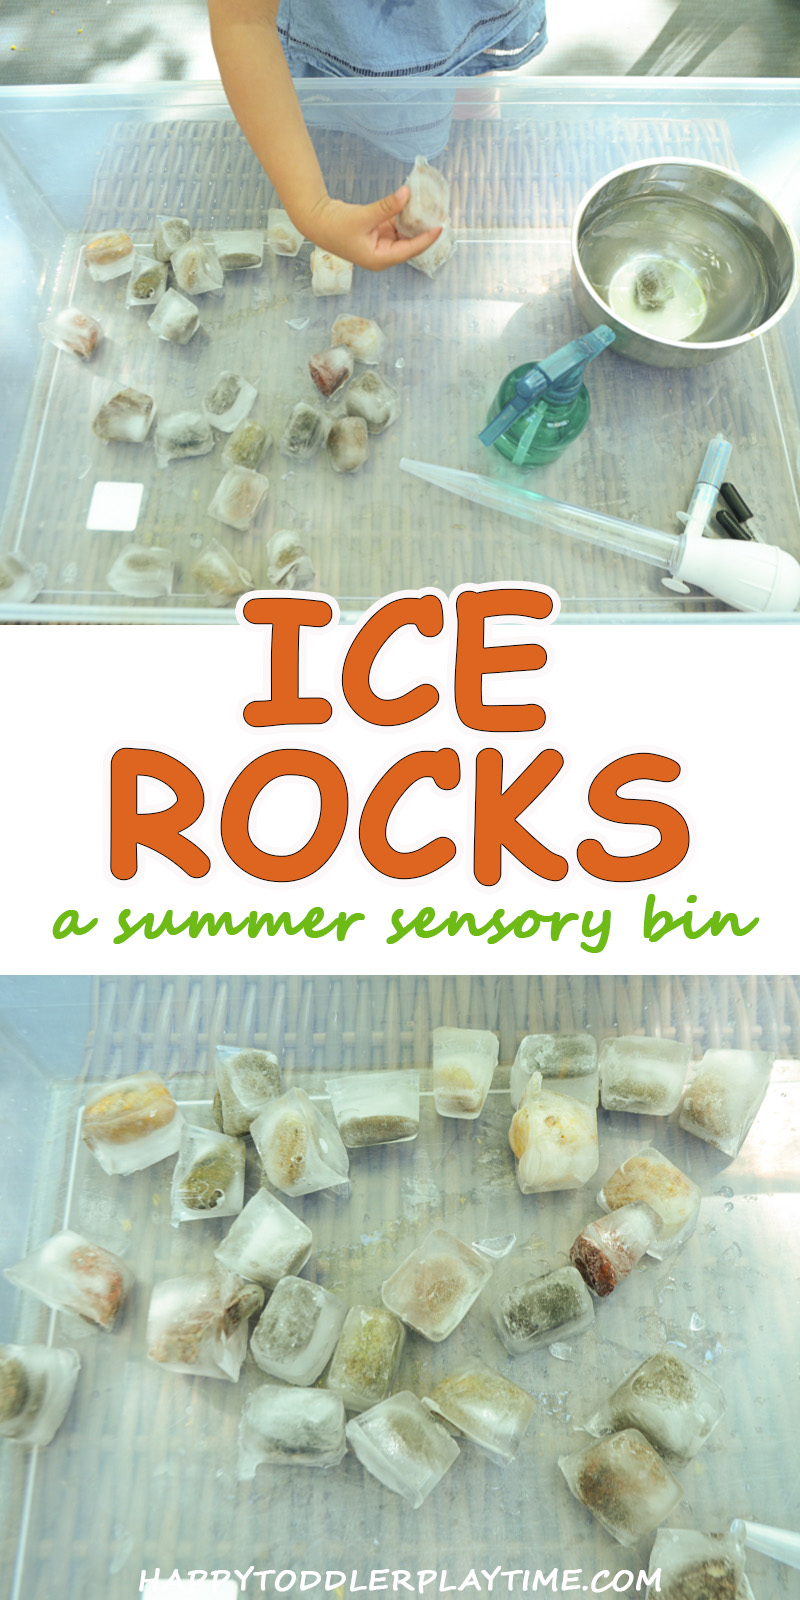
A Natural Summer Sensory Bin
When it comes to creating a sensory bin in the summer sometimes its fun to use what is already in your backyard or in your neighbourhood. For Ice Rocks we took a stroll over to our local beach to collect rocks and we came back with some pretty cool looking specimens!

For fun I decided to throw them into the freezer much like how I did with Frozen Lego. And much like Frozen Lego it was a hit with my almost 4 year old.
(I know I have been saying that a lot recently – my almost 4 year old. I hate to make her older than she actually is because 1) it means I am getting older and 2) if I say that she is 3 years old it does not give you a clear picture of how your 3 year old may play with these activities. Being a few weeks shy of 4 makes her really more 4 than 3 even though she is still just 3).
More Activity Ideas
For other ways to play with ice check out Frozen Pom Poms and Frozen Lego and Icy Letters.
And in winter check out Cookie Cutters & Snow and Snow Art!

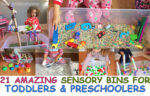
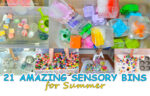
For more sensory bin ideas check out 21 Amazing Sensory Bins for Toddlers & Preschoolers and 21 Amazing Sensory Bins for Summer
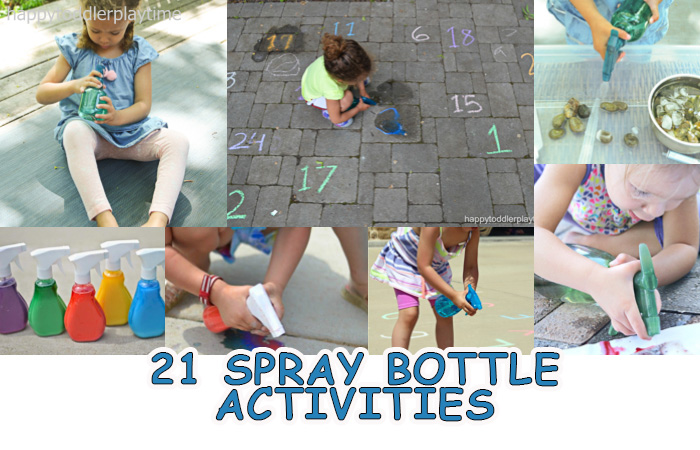
For more summer activity ideas check out 21 Amazing Spray Bottle Activities! and
Can You Melt the Ice?
For Ice Rocks I gave her a bowl of warm water to help with the melting process but you can also give them salt for an added STEM element.
Here’s what you’ll need to make your own Ice Rocks:
Supplies
(This list contains affiliate links for your convenience. If you make a purchase using one of these links, I may earn a commission. Please visit my disclosure policy for more information.)
- Small rocks, stones or pebbles
- Ice Cube Trays

 Water
Water- Turkey Baster

- Syringe
- Eye Dropper
- Squeeze Squirt Bottles
- Spray Bottle
- Toy cups, pots, spoons, bowls etc.
- Warm water
- 41 Qt, Clear Sensory Bin (Large)


Directions to Make Ice Rocks
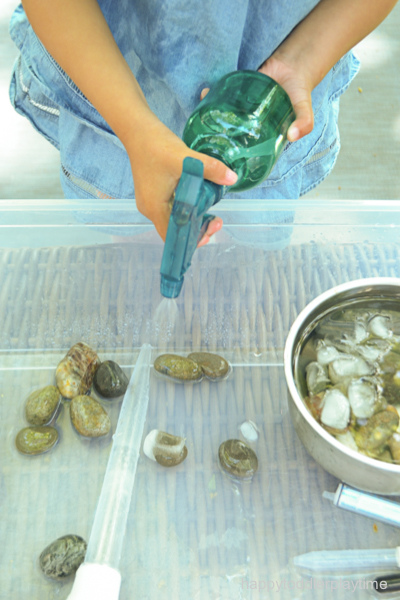
We added the stones we collected to ice trays, filled them with water and placed them in the freezer over night.
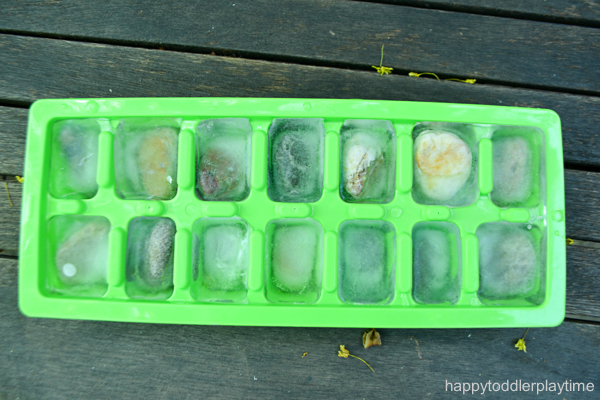
Once the water has frozen I placed the ice rocks into a sensory bin.
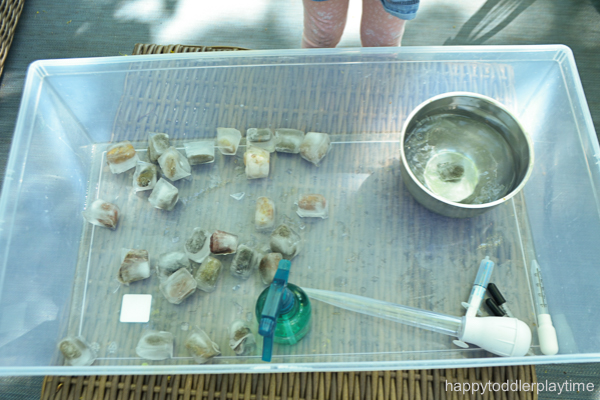
Creating the Sensory Bin
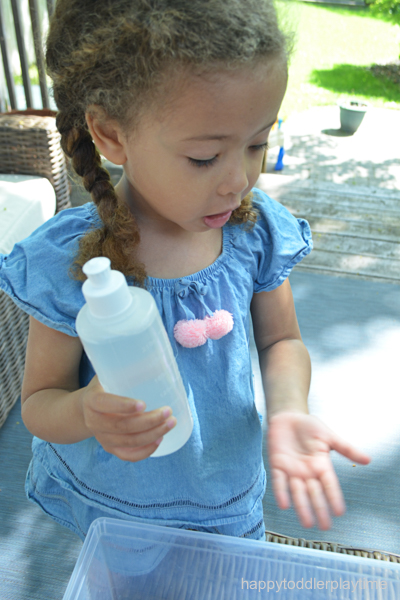
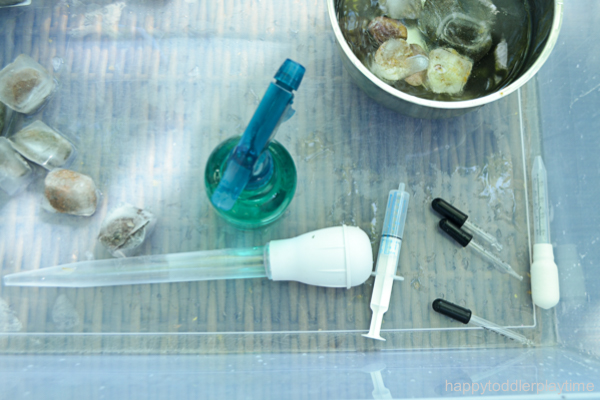
Like other ice sensory bins I wanted to keep this simple and open ended. I added some fine motor tools like a spray bottle and a squeeze bottle filled with luke warm, water eye droppers, a turkey baster and a syringe. Finally I gave her a bowl of warm water (I recommend NOT giving them a bowl but a cup instead. That way they will be forced to draw water from it using the fine motor tools – see why I say this below)!
Playing Her Way
At almost 4 (yup there it is again), she told me right away that she wanted to do this activity her way!
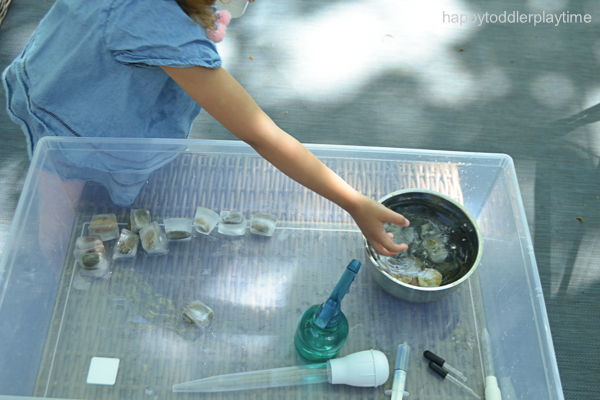
So instead of using all the fun tools I gave her she proceeded to plop the ice rocks into the bowl of warm water! Not quite what I had envisioned. Next time I will give her a smaller container of warm water so that she is forced to use the fine motor tools more.
However, she did end up using the spray bottle A LOT! If you haven’t introduced your preschooler to spray bottles get ready for a treat! Summer is the best time to do it because they can spray up the whole outside world and not your house.
Spray Bottle Fun
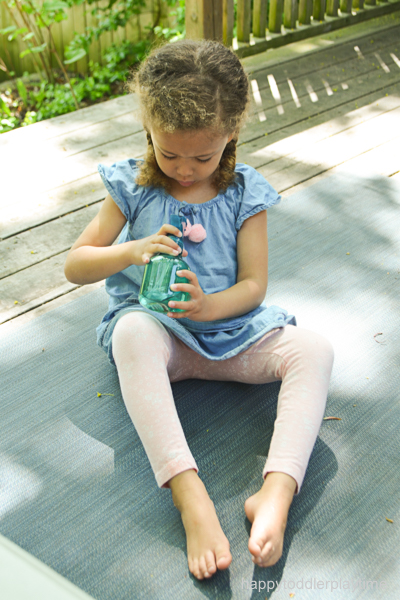
After this activity ended she proceeded to try and find different surfaces that she could spray with the spray bottle. Including my feet, her shirt, the porch, the couch cushions and more. But at least it was hot outside and everything dried quickly!
Summer Fun!
We will definitely be doing this again as the days get hotter!
WILL YOU TRY ICE ROCKS WITH YOUR LITTLE ONE? Pin it for later!


Pingback: 10 Easy Peasy Water Play Activities - How Wee Learn
Pingback: Sensory Tray Ideas That Will Make For A Sensational Summer
Pingback: 12+ Creative & Easy Ways to Play with ICE – HAPPY TODDLER PLAYTIME
Pingback: 21 Amazing Water Table Ideas for Summer – HAPPY TODDLER PLAYTIME
Pingback: Fun Indoor and Outdoor Summer Learning Activities to Help Avoid the Summer Slide — Mami of Multiples
Pingback: Frozen Lego – HAPPY TODDLER PLAYTIME
Pingback: 21 Amazing Spray Bottle Activities – HAPPY TODDLER PLAYTIME