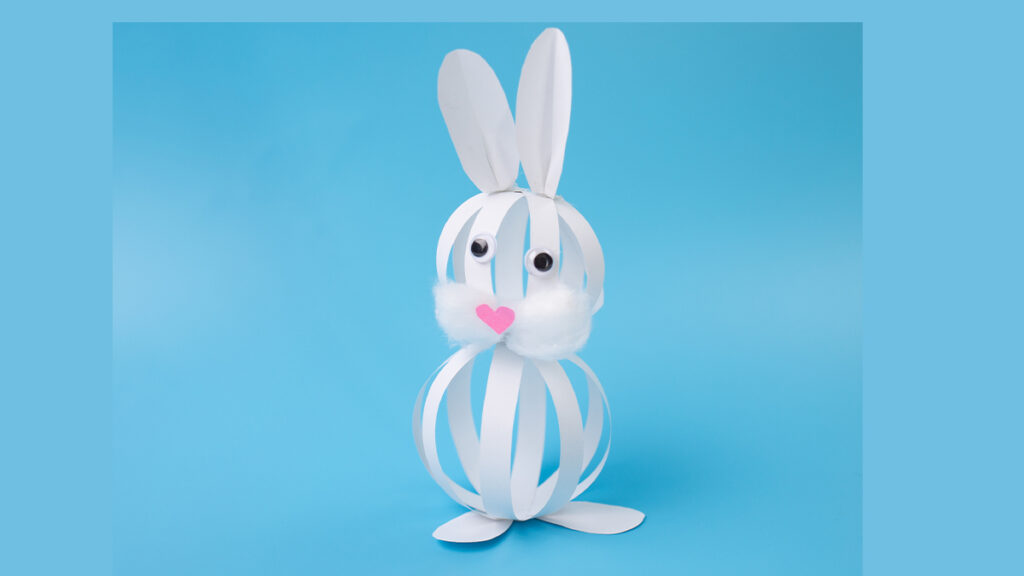
Crafting during this vibrant season offers a chance to unleash creativity and embrace the playful themes that come with it. The Paper Ball Bunny Craft stands out as a prime example of turning simple supplies into adorable, season-inspired creations. More than just crafting something cute, this activity is about igniting imagination, honing fine motor skills, and reveling in the joy of creation. Armed with just a handful of basic materials, you and your children have the opportunity to craft delightful paper bunnies, ideal for adding a touch of Easter charm to your home or brightening any space with a hint of spring flair.

Material List:
- White paper
- Scissors
- Glue or double-sided tape
- Googly eyes
- Cotton balls
- Pink construction paper
Step-by-Step Instructions for Paper Ball Bunny Craft:
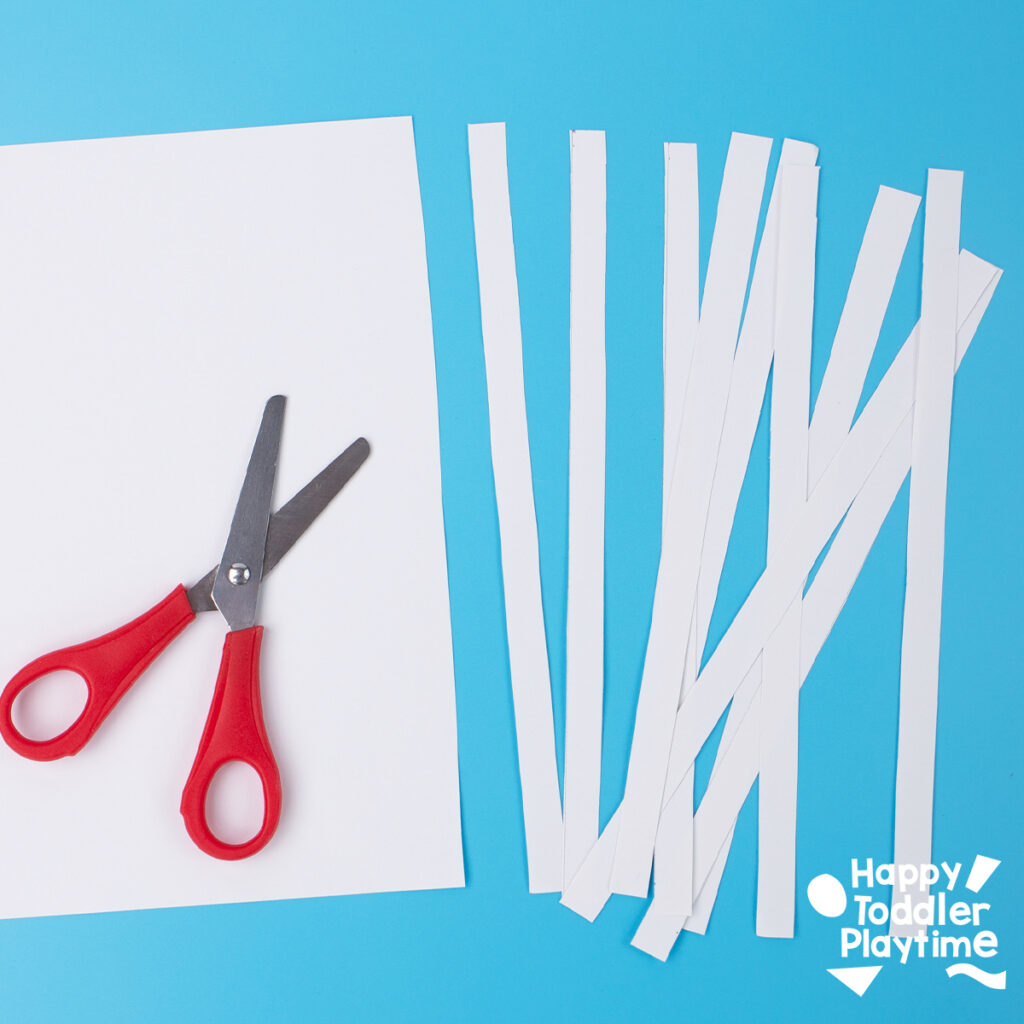
- Prepare the Paper: Cut the white paper into one-inch strips. You’ll need eight strips in total—four for the bunny’s body and four for its head.
- Form the Body: Take four strips and glue them together in the center to form a star shape. Then, take one strip and bring its ends together, securing them with glue or double-sided tape to start forming a paper ball. Repeat this with the remaining three strips to complete the body.

- Create the Head: Using the remaining four strips, trim about one inch off the ends to make them shorter. Repeat the steps to make a smaller paper ball for the bunny’s head.

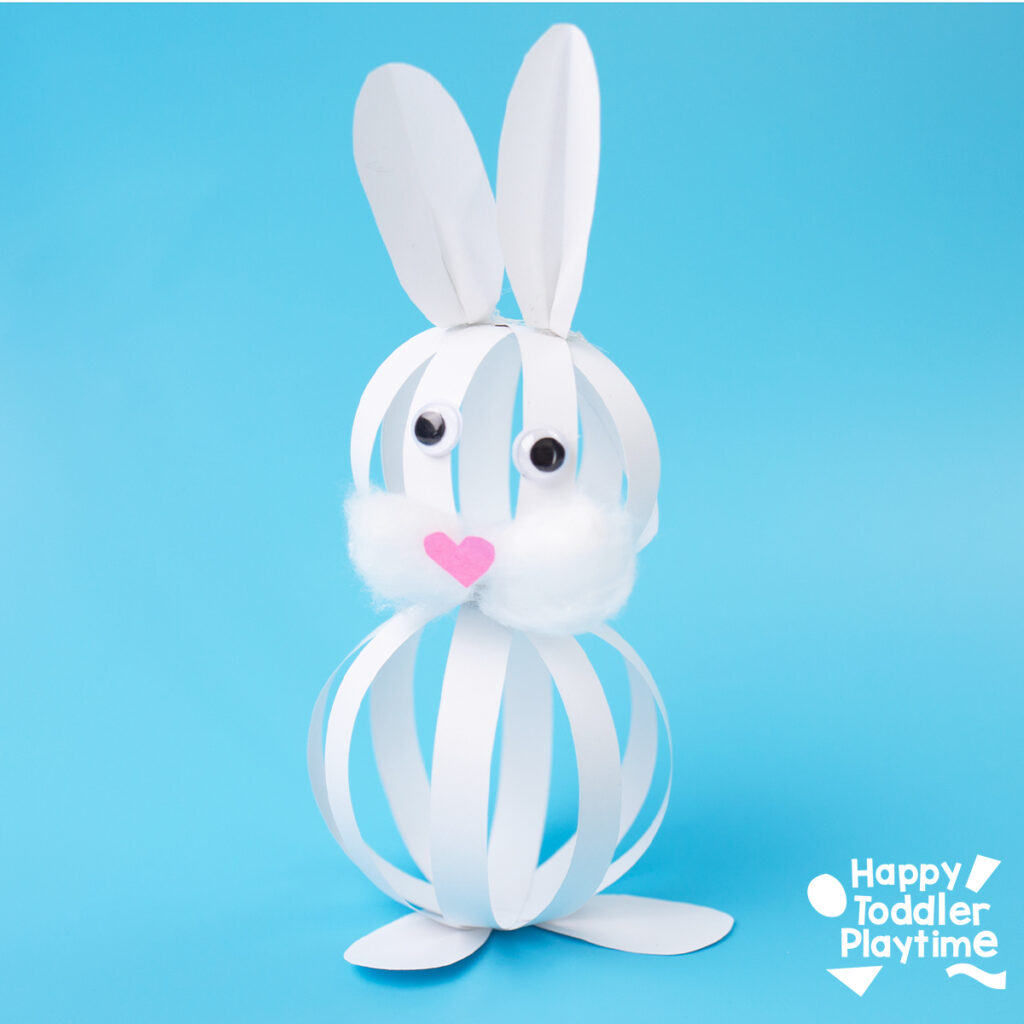
- Assemble the Bunny: Once both paper balls are complete, attach the head to the body using tape or glue.
- Add the Ears: Cut out ears from white paper and decorate the inside of the ear with a marker. Fold the bottom slightly, and tape or glue them to the top of the bunny’s head. Cut out bunny feet and glue or tape them to the bottom of the bunny body.
- Decorate: Glue googly eyes onto the head, attach two fluffy cotton ball cheeks, and cut out a small nose from pink construction paper to glue in the middle of the cheeks.
How They Played:
My kids dove into this craft with enthusiasm, each taking turns cutting strips of paper and forming the balls with a little help. The twins, loved gluing on the fluffy cheeks. My 8-year-old focused on making the ears, ensuring they were perfectly shaped and securely attached. Once their bunnies were complete, they used them as characters in a spontaneous play, creating a lively story that had the bunnies hopping around in a garden adventure.
Tips for Success:
- Ensure the paper strips are evenly cut for a uniform look.
- Be patient and let the glue dry completely before moving on to the next step to avoid any parts coming loose.
- Encourage your kids to personalize their bunnies with additional decorations or by using colored paper for a vibrant touch.
Skills Learned:
- Fine Motor Skills: Cutting, gluing, and assembling the bunny helps develop hand-eye coordination and dexterity.
- Creativity: Choosing how to decorate and personalize the bunny fosters imaginative thinking and artistic expression.
- Patience: Following the steps and waiting for glue to dry teaches children the value of patience and careful attention to detail.
The Paper Ball Bunny Craft is a fun, simple way to celebrate the season of renewal and the joy of Easter. It’s a craft that not only results in a cute decoration but also provides a valuable learning experience and plenty of fun for the whole family. So grab your supplies, and let’s hop into crafting!
Play2Learn Toddler & Preschool Programs for Curious Toddlers
There is no limit to your toddler’s energy and curiosity. That energy and curiosity although a joy can be challenging at times. Their interest in just about everything around them is what makes them great learners. One and two year olds can soak up so much just from their senses!
But as a teacher or parent that thirst for learning can be exhausting. That is why I created this toddler and preschooler program. To help you get the most out of this time with your curious toddler without having to come up with creative ways to play and interact with them.
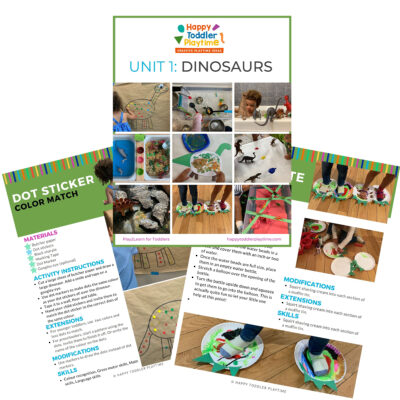
Play2Learn for Toddlers includes 20 Units for toddlers. Each 2-week toddler unit has 20 super easy to set up and engaging activities for toddlers 18 months to 3 years.
Play2Learn Preschool which includes 20 Units for preschoolers. Each 2-week preschoolers unit has 20 unique and easy to set up and engaging activities for preschoolers 3 years to 5 years. That’s over 800 learning activities for your toddler and preschooler at your fingertips! So many ideas you and your child will never be bored again!
These toddler and preschool lesson plans and activities will definitely keep you and your toddler and preschooler busy playing and learning!
Click here for more information: Play2Learn
Book: Exciting Sensory Bins for Curious Kids
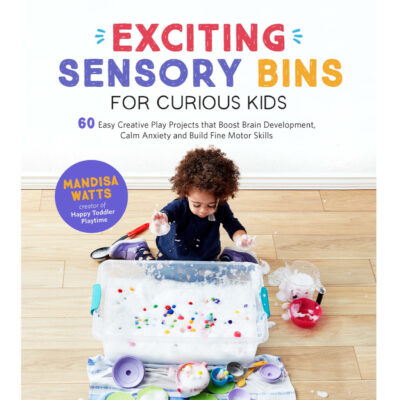
Did you know I wrote a book of sensory bins? Click here for more information Exciting Sensory Bin for Curious Kids. Or grab your copy at Amazon.
Boring afternoons are made exciting with awesome animal-based bins, like Salty Shark Bay or Yarn Farm. Pretend play bins like Birthday Cake Sensory Play or Bubble Tea Party encourage creativity and imagination. And your kids will have so much fun they won’t even know they’re getting smarter with STEAM (science, technology, engineering, art and math) activities like Sink or Float Soup, Magnetic Letter Hunt or Ice Cream Scoop and Count.
Designed for toddlers 18 months and up.
Book: Super STEAM Activity Book for Kids
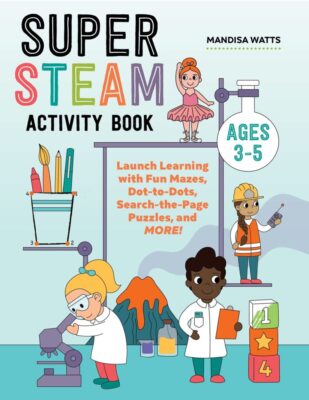
Learning all about science, technology, engineering, art, and math sets kids up for scholastic success―and it can be so much fun! Watch kids enjoy building STEAM skills as they color friendly fish, help water find its way to tree roots, solve math problems with mazes, and more.
Find out more and grab your copy here.
Designed for preschoolers 3 years old and up.
Book: Big Book of Riddles for Kids
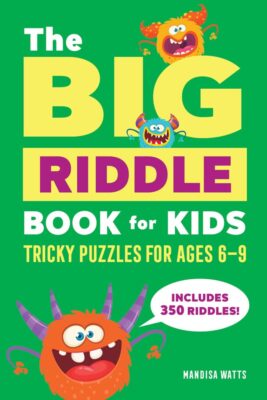
Riddle me this: What’s an exciting way to practice critical thinking while having a blast? The Big Riddle Book for Kids, of course! From hilarious puns to tough brain teasers, kids can build problem-solving skills with hundreds of riddles tha. t show them how to think outside the box.
- 350 riddles for kids—Have hours of fun with riddles, puns and jokes, and math and logic puzzles that’ll get their wheels turning!
- Level up their skills—Riddles get trickier as kids progress through the book, challenging them as they get better at solving puzzles!
- Double-check their work—Kids can check their answers in the back of the book with a handy answer key.
Help children expand their minds while having fun with this puzzle book for kids!
Designed for kids ages 6 years old and up.
TV Show: Curious Crafting
I’m so excited to share my crafting TV show Curious Crafting which launched in July 2022 on TVOkids and TVOkids YouTube! Season 2 aired in August 2023! My show was also nominated in 2023 for Best Live Action Preschool Series by the Youth Media Alliance Awards of Excellence.
Curious Crafting Season 1 is also now airing in Australia on ABC! Watch it here!
Set in the ultimate crafting space, Curious Crafting is a short form pre-school age series about the joy of making crafts. I lead a rotating cast of adorable little preschoolers (including my own) making magic out of common household objects.
In each episode we transform recycled items into magical crafts like a milk carton school bus, paper bag puppet or cotton pad turtle. The crafters learn and laugh their way through each activity while demonstrating what their young imaginations can create.
Curious Crafting shares the adventure and joy of making art with takeaway lessons for creating crafts at home.
This show designed for toddlers and preschoolers 2.5 years old and up.

Paper Ball Bunny Craft
Materials
- White paper
- Scissors
- Glue or double-sided tape
- Googly eyes
- Cotton balls
- Pink construction paper
Instructions
- Prepare the Paper: Cut the white paper into one-inch strips. You'll need eight strips in total—four for the bunny's body and four for its head.
- Form the Body: Take four strips and glue them together in the center to form a star shape. Then, take one strip and bring its ends together, securing them with glue or double-sided tape to start forming a paper ball. Repeat this with the remaining three strips to complete the body.
- Create the Head: Using the remaining four strips, trim about one inch off the ends to make them shorter. Repeat the steps to make a smaller paper ball for the bunny's head.
- Assemble the Bunny: Once both paper balls are complete, attach the head to the body using tape or glue.
- Add the Ears: Cut out ears from white paper and decorate the inside of the ear with a marker. Fold the bottom slightly, and tape or glue them to the top of the bunny's head.
- Decorate: Glue googly eyes onto the head, attach two fluffy cotton ball cheeks, and cut out a small nose from pink construction paper to glue in the middle of the cheeks.