This is a fun and easy Christmas craft that involves creating festive Santa Bellies using a potato masher.
Here’s how to make Potato Masher Santa Bellies
Directions
Gather your supplies.

Next, cut out a long rectangle from the black construction paper. This will be Santa’s belt.

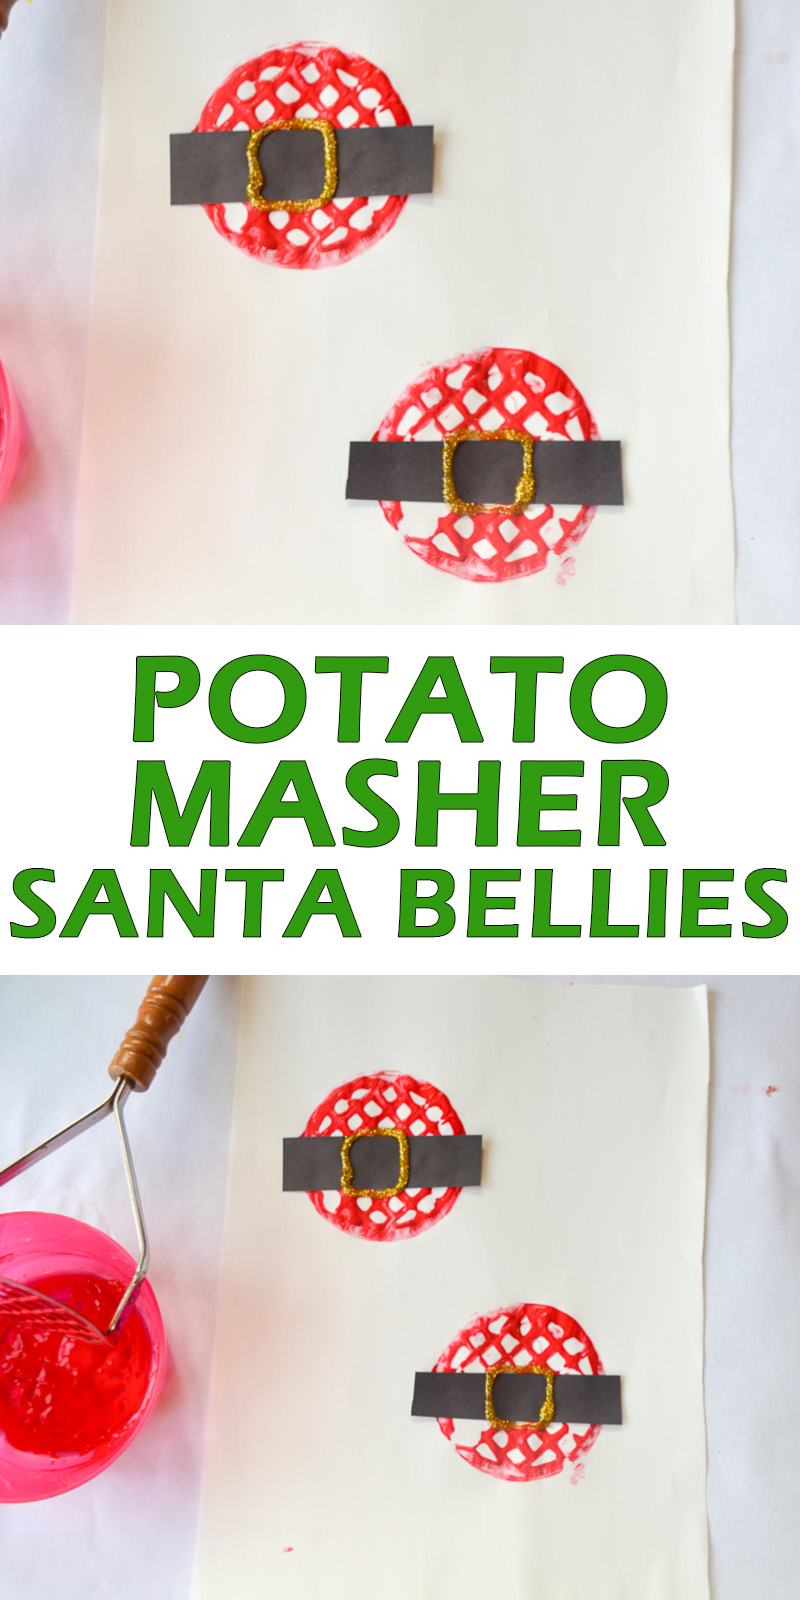
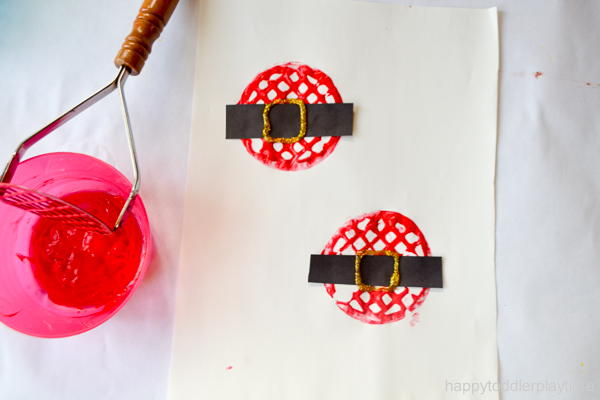
Set out your red paint. I like to either use paper plates, bowls or a paint pallets for easy dipping. Let your little one dip the potato masher into the paint and stamp the white paper with the red paint to make Santa’s belly.
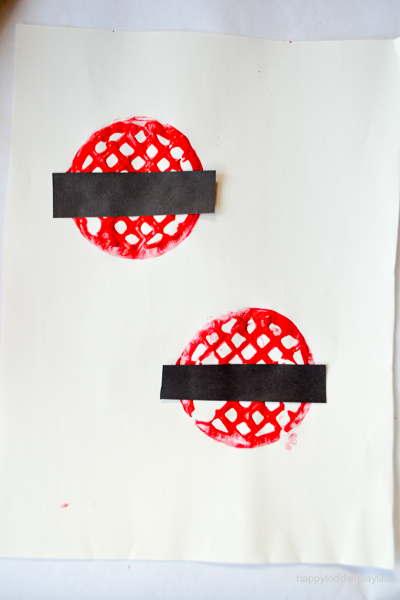
We did not use glue to stick the belt on to Santa’s belly . Instead we it directly into the wet paint and they stayed once the paint dried.

To guarantee that everything will stick, it is best to wait until the paint dries and them use glue, however, if your little one is like mine and cannot wait that long you can do what we did and stick everything in the wet paint. This is how we do all of our potato masher crafts and they almost always hold once the paint dries.
Decorate the Belt
Using the gold glitter glue make a square in the center of the belt to create Santa’s belt buckle.
Christmas Fun
This was a really fun and super easy to set up craft that is great for Christmas at home or in the classroom!
Supplies
(This list contains affiliate links for your convenience. If you make a purchase using one of these links, I may earn a commission. Please visit my disclosure policy for more information.)
- Round potato masher
- White paper
- Red Washable Kid’s Paint

- Black Construction Paper
- Scissors
- Glue
- Bowls or Paper Plates and/or paint palette
- Gold Glitter Glue


 and/or paint
WILL YOU TRY POTATO MASHER SANTA BELLIES WITH YOUR LITTLE ONE? PIN IT FOR LATER!!