Looking for a versatile and budget-friendly crafting material that will keep your kids engaged and inspired? Look no further than homemade air dry clay! I will guide you through the process of creating your very own air dry clay, perfect for a wide range of crafts. This simple and fun DIY project will not only spark your child’s creativity but also provide them with a tactile and sensory experience as they mold, shape, and bring their imagination to life. So, let’s roll up our sleeves, gather our materials, and dive into the exciting world of homemade air dry clay!
Air dry clay is a fantastic medium for kids’ crafts as it’s easy to work with, dries on its own without the need for baking or firing, and allows for endless possibilities of exploration and creation. Making your own clay at home adds an extra layer of excitement and ownership to the crafting process. Plus, it’s a great opportunity to involve your child in the making of the materials they’ll be using. Creating air dry clay together fosters a sense of pride and accomplishment, as they witness the transformation of simple ingredients into a pliable and versatile crafting medium.
By making their own air dry clay, children can not only engage in a hands-on activity but also learn about the properties of different materials and the science behind clay drying. It’s an excellent way to introduce them to the world of sculpting, pottery, and three-dimensional art. Whether they’re shaping small figurines, designing unique jewelry, or experimenting with textures and patterns, the homemade air dry clay opens the door to endless artistic possibilities.
WILL YOU TRY MAKING AIR DRY CLAY WITH YOUR CHILD? Pin it for later!

Materials:
- 1 cup baking soda
- 1/2 cup cornstarch
- 3/4 cup water
- Optional: food coloring or acrylic paint for coloring
Instructions:
- In a medium-sized saucepan, combine the baking soda and cornstarch. Mix them together until well blended.

- Gradually add water to the mixture while stirring. Continue stirring until the mixture is smooth and free of lumps.
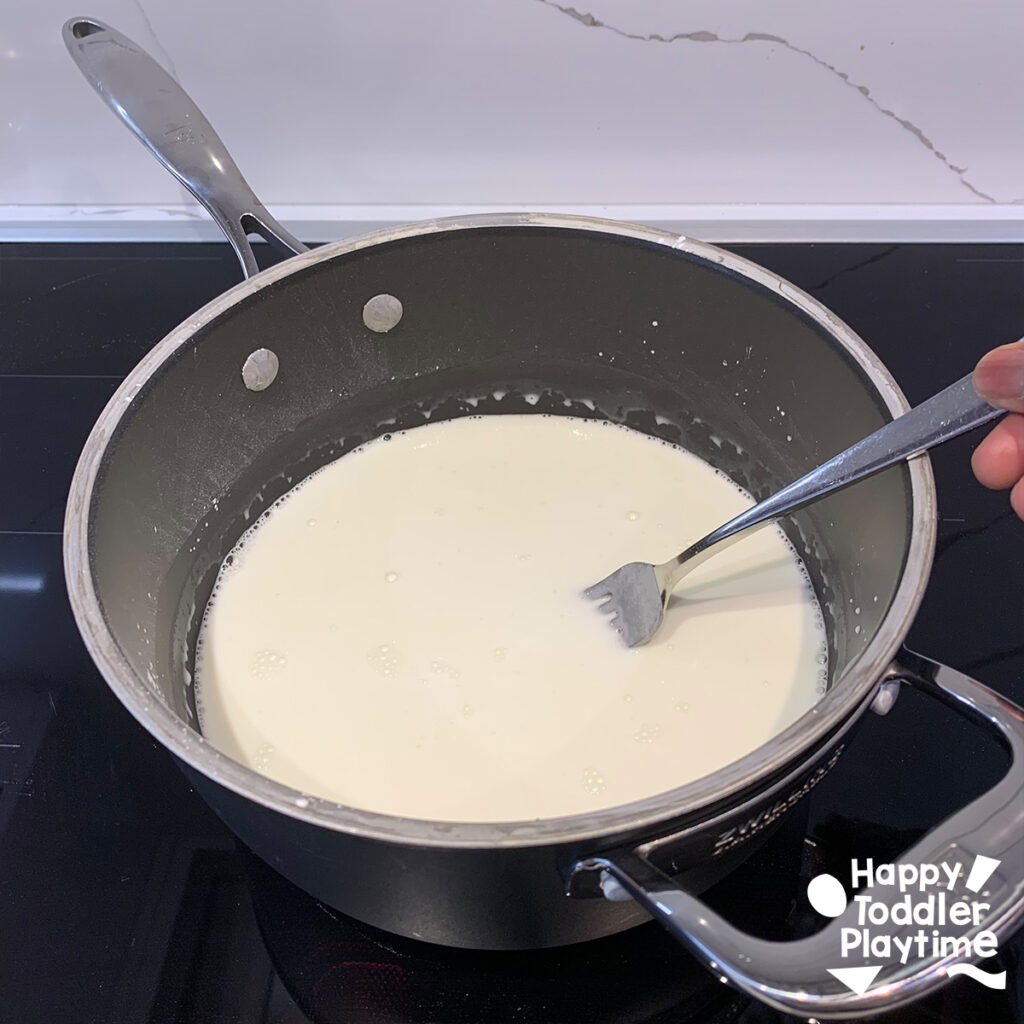
- Place the saucepan over low heat on the stove.
- Cook the mixture, stirring constantly, until it thickens and forms a mashed potato-like consistency. This typically takes about 10-15 minutes of heating.


- Once the mixture has thickened, remove the saucepan from the heat immediately and let it cool for a few minutes until it is safe to handle. Don’t overcook it!
- Dust a clean surface or cutting board with cornstarch to prevent sticking, and transfer the clay onto it.

- Knead the clay with your hands until it becomes smooth and pliable. If the clay feels too sticky, add a small amount of cornstarch and continue kneading until it reaches the desired consistency.
- Optional: If you wish to add color to the clay, divide the clay into smaller portions and add a few drops of food coloring or acrylic paint to each portion. Knead the clay again until the color is evenly distributed. Repeat this step for each desired color.
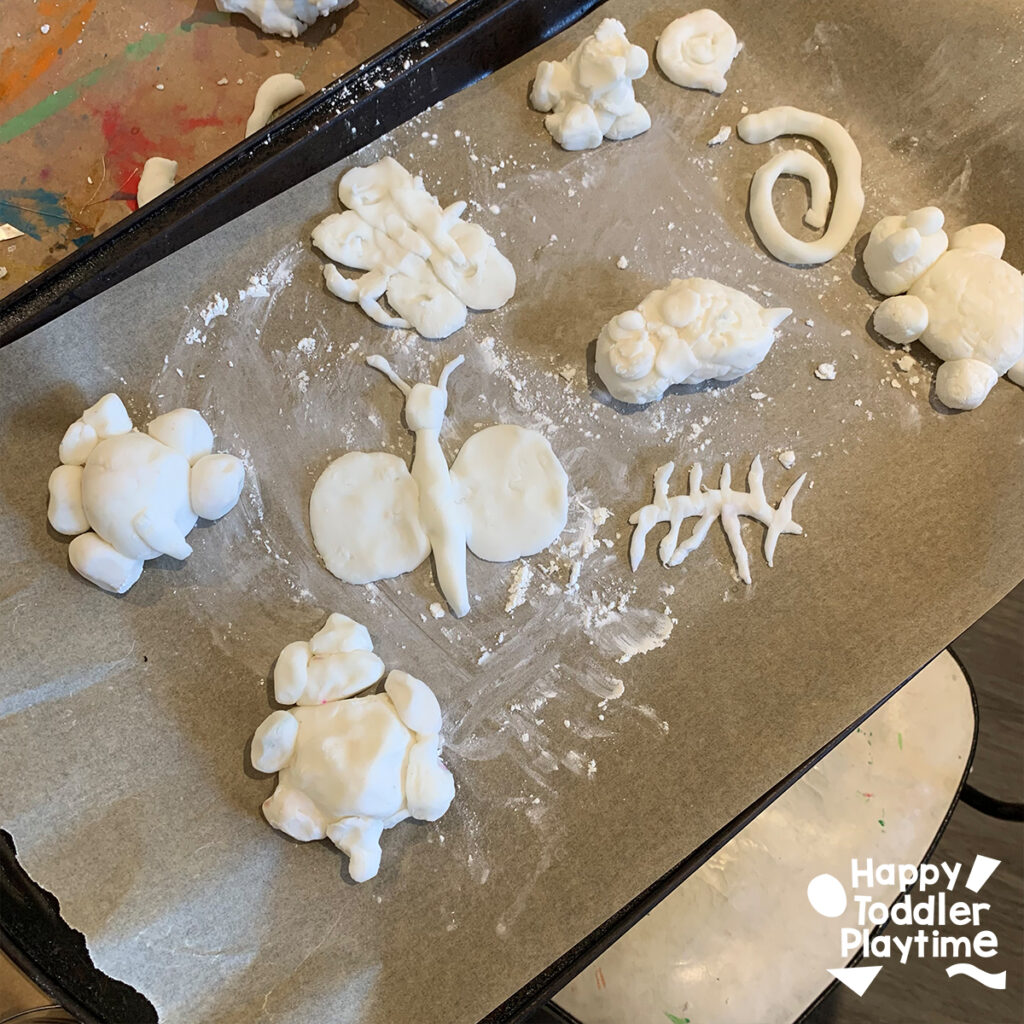
- Once the clay is ready, it can be used for sculpting or molding. Encourage the kids to get creative and shape the clay into their desired forms.

- Allow the clay creations to air dry thoroughly. This may take a couple of days or even longer, depending on the thickness of the clay. Make sure to place the clay creations on a flat surface while drying to prevent warping.
- Once the clay has completely dried, the kids can paint and decorate their creations using acrylic paints, markers, or other art supplies.
Tips:
- Store any unused clay in an airtight container or ziplock bag to keep it from drying out.
- To prevent cracking while drying, consider creating thicker and more robust structures. If making larger sculptures, using an armature (such as wire or foil) as a supportive structure inside the clay can be helpful.
Using the stove heating method allows for precise control over the consistency of the clay mixture, resulting in a smoother and more uniform texture. Ensure proper supervision when using the stove and follow all safety guidelines to ensure a safe and enjoyable crafting experience for the kids.

How Long Does Air Dry Clay Take to Dry?
The drying time for air dry clay can vary depending on several factors, including the brand of clay, the thickness of the clay, the humidity levels in the environment, and the size of the project. As a general guideline, air dry clay typically takes about 24 to 72 hours to dry completely.
For smaller and thinner clay projects, they may dry within 24 to 48 hours. Larger and thicker clay creations may require additional time to dry thoroughly, sometimes taking up to 72 hours or even longer. It’s essential to allow sufficient drying time to ensure that the clay is completely dry before handling or painting it.

Keep in mind that factors such as humidity, temperature, and air circulation can affect the drying process. If you’re working in a humid environment, it may take longer for the clay to dry. Conversely, if the environment is warm and has good airflow, the clay may dry more quickly.
To determine if the clay is dry, you can gently touch the surface or the thickest part of the clay creation. If it feels firm and cool to the touch without any soft or squishy areas, it’s likely fully dried.
Be patient and allow the air dry clay ample time to dry to avoid any issues with cracking, warping, or incomplete drying.
How to Bake the Clay to Help it Dry faster?
Air dry clay is designed to dry naturally without the need for baking. However, if you’re looking to speed up the drying process, you can use the oven to accelerate it. Here’s a guide on how to bake air dry clay to dry faster:
- Preheat the Oven: Preheat your oven to a low temperature, usually between 200-275°F (93-135°C). Avoid setting the oven to a high temperature as it can cause the clay to crack or burn.
- Prepare the Clay: Shape and sculpt your air dry clay creation as desired.
- Place on a Baking Sheet: Place the clay creations on a baking sheet lined with parchment paper or a silicone baking mat. This will prevent the clay from sticking to the baking surface.
- Bake the Clay: Put the baking sheet with the clay creations in the preheated oven. The exact baking time will depend on the thickness and size of the clay objects. As a general guideline, bake the clay for about 15-30 minutes per 1/4 inch (6mm) of thickness. Monitor the clay closely to avoid over-baking or burning.
- Cool and Inspect: Once the baking time is complete, remove the clay creations from the oven and let them cool completely on a heat-safe surface. Check for any signs of cracking or damage. If the clay is still not fully dry, you can continue air drying it at room temperature until it reaches the desired consistency.
Important Tips:
- Keep a close eye on the clay while it’s baking to prevent over-drying or burning.
- If the clay is thin or delicate, reduce the oven temperature and extend the baking time to minimize the risk of cracking.
- Avoid placing the clay too close to the heating elements in the oven, as this can cause uneven drying or burning.
- Always prioritize safety when using the oven.
Remember that air dry clay is primarily intended to dry naturally, and oven baking is an alternative method that may alter the texture or appearance of the clay. It’s recommended to experiment with a small test piece before baking larger or more intricate clay creations to ensure the desired results.
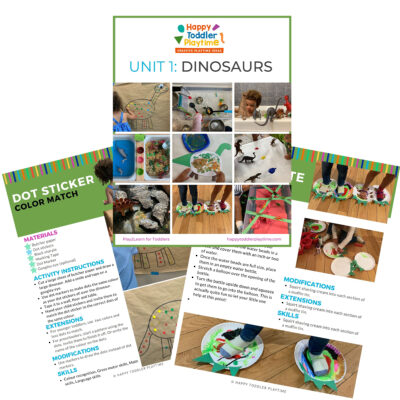
Play2Learn Toddler & Preschool Programs for Curious Toddlers
There is no limit to your toddler’s energy and curiosity. That energy and curiosity although a joy can be challenging at times. Their interest in just about everything around them is what makes them great learners. One and two year olds can soak up so much just from their senses!
But as a teacher or parent that thirst for learning can be exhausting. That is why I created this toddler and preschooler program. To help you get the most out of this time with your curious toddler without having to come up with creative ways to play and interact with them.
Play2Learn for Toddlers includes 20 Units for toddlers. Each 2-week toddler unit has 20 super easy to set up and engaging activities for toddlers 18 months to 3 years.
Play2Learn Preschool which includes 20 Units for preschoolers. Each 2-week preschoolers unit has 20 unique and easy to set up and engaging activities for preschoolers 3 years to 5 years. That’s over 800 learning activities for your toddler and preschooler at your fingertips! So many ideas you and your child will never be bored again!
These toddler and preschool lesson plans and activities will definitely keep you and your toddler and preschooler busy playing and learning!
Click here for more information: Play2Learn
Book: Exciting Sensory Bins for Curious Kids
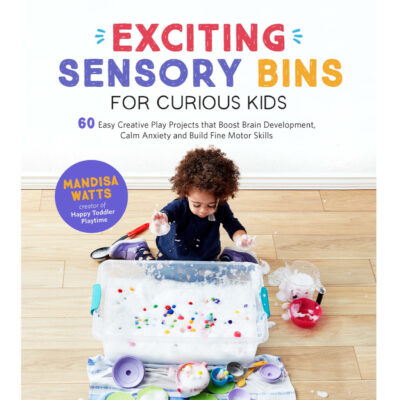
Did you know I wrote a book of sensory bins? Click here for more information Exciting Sensory Bin for Curious Kids. Or grab your copy at Amazon.
Boring afternoons are made exciting with awesome animal-based bins, like Salty Shark Bay or Yarn Farm. Pretend play bins like Birthday Cake Sensory Play or Bubble Tea Party encourage creativity and imagination. And your kids will have so much fun they won’t even know they’re getting smarter with STEAM (science, technology, engineering, art and math) activities like Sink or Float Soup, Magnetic Letter Hunt or Ice Cream Scoop and Count.
Designed for toddlers 18 months and up.
Book: Super STEAM Activity Book for Kids
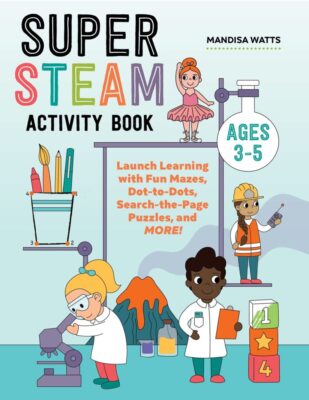
Learning all about science, technology, engineering, art, and math sets kids up for scholastic success―and it can be so much fun! Watch kids enjoy building STEAM skills as they color friendly fish, help water find its way to tree roots, solve math problems with mazes, and more.
Find out more and grab your copy here.
Designed for preschoolers 3 years old and up.
Book: Big Book of Riddles for Kids

Riddle me this: What’s an exciting way to practice critical thinking while having a blast? The Big Riddle Book for Kids, of course! From hilarious puns to tough brain teasers, kids can build problem-solving skills with hundreds of riddles tha. t show them how to think outside the box.
- 350 riddles for kids—Have hours of fun with riddles, puns and jokes, and math and logic puzzles that’ll get their wheels turning!
- Level up their skills—Riddles get trickier as kids progress through the book, challenging them as they get better at solving puzzles!
- Double-check their work—Kids can check their answers in the back of the book with a handy answer key.
Help children expand their minds while having fun with this puzzle book for kids!
Designed for kids ages 6 years old and up.
TV Show: Curious Crafting
I’m so excited to share my crafting TV show Curious Crafting which launched in July 2022 on TVOkids and TVOkids YouTube! Season 2 aired in August 2023! My show was also nominated in 2023 for Best Live Action Preschool Series by the Youth Media Alliance Awards of Excellence.
Curious Crafting Season 1 is also now airing in Australia on ABC! Watch it here!
Set in the ultimate crafting space, Curious Crafting is a short form pre-school age series about the joy of making crafts. I lead a rotating cast of adorable little preschoolers (including my own) making magic out of common household objects.
In each episode we transform recycled items into magical crafts like a milk carton school bus, paper bag puppet or cotton pad turtle. The crafters learn and laugh their way through each activity while demonstrating what their young imaginations can create.
Curious Crafting shares the adventure and joy of making art with takeaway lessons for creating crafts at home.
This show designed for toddlers and preschoolers 2.5 years old and up.

DIY Air Dry Clay Recipe for Kids
Materials
- 1 cup baking soda
- 1/2 cup cornstarch
- 3/4 cup water
- Optional: food coloring or acrylic paint for coloring
Instructions
- In a medium-sized saucepan, combine the baking soda and cornstarch. Mix them together until well blended.
- Gradually add water to the mixture while stirring. Continue stirring until the mixture is smooth and free of lumps.
- Place the saucepan over low heat on the stove. Cook the mixture, stirring constantly, until it thickens and forms a mashed potato-like consistency. This typically takes about 5-10 minutes of heating. Once the mixture has thickened, remove the saucepan from the heat immediately and let it cool for a few minutes until it is safe to handle. Don't overcook it!
- Dust a clean surface or cutting board with cornstarch to prevent sticking, and transfer the clay onto it.Knead the clay with your hands until it becomes smooth and pliable. If the clay feels too sticky, add a small amount of cornstarch and continue kneading until it reaches the desired consistency.
- Optional: If you wish to add color to the clay, divide the clay into smaller portions and add a few drops of food coloring or acrylic paint to each portion. Knead the clay again until the color is evenly distributed. Repeat this step for each desired color. Once the clay is ready, it can be used for sculpting or molding. Encourage the kids to get creative and shape the clay into their desired forms. Allow the clay creations to air dry thoroughly. This may take a couple of days or even longer, depending on the thickness of the clay. Make sure to place the clay creations on a flat surface while drying to prevent warping. Once the clay has completely dried, the kids can paint and decorate their creations using acrylic paints, markers, or other art supplies.
WILL YOU TRY MAKING AIR DRY CLAY WITH YOUR CHILD? Pin it for later!