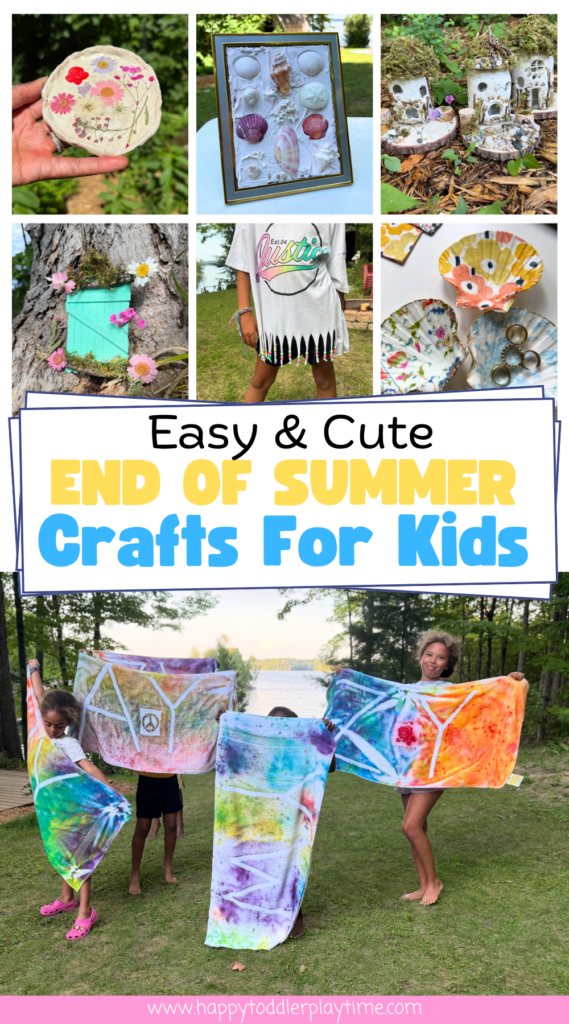

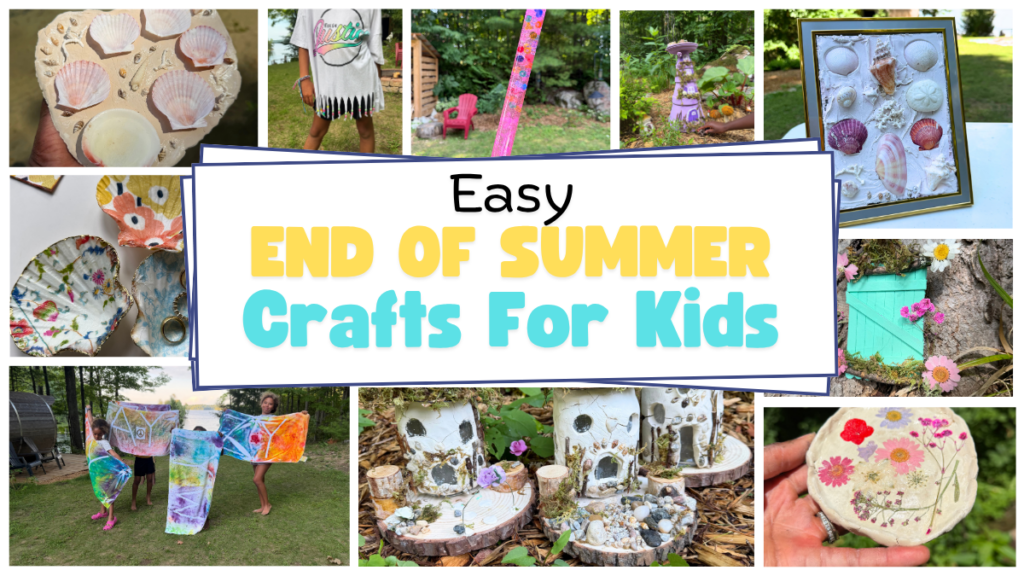
The last warm days of summer are the perfect time to slow down, gather up favorite treasures found while exploring new cities, beaches or corner of your neighborhood or backyard, and make something creative together. These end of summer crafts turn flowers, seashells, clay, beads, towels, and simple craft supplies into colorful keepsakes children can enjoy long after the season ends.
From tie-dye projects and fairy gardens to sensory bottles and beach-inspired art, there is something here for toddlers, preschoolers, and big kids. Choose one craft for a quiet afternoon or work through the entire list as a fun way to celebrate summer before the busy back-to-school season begins.
Easy End of Summer Crafts for Kids
1. DIY Tie-Dye Towels
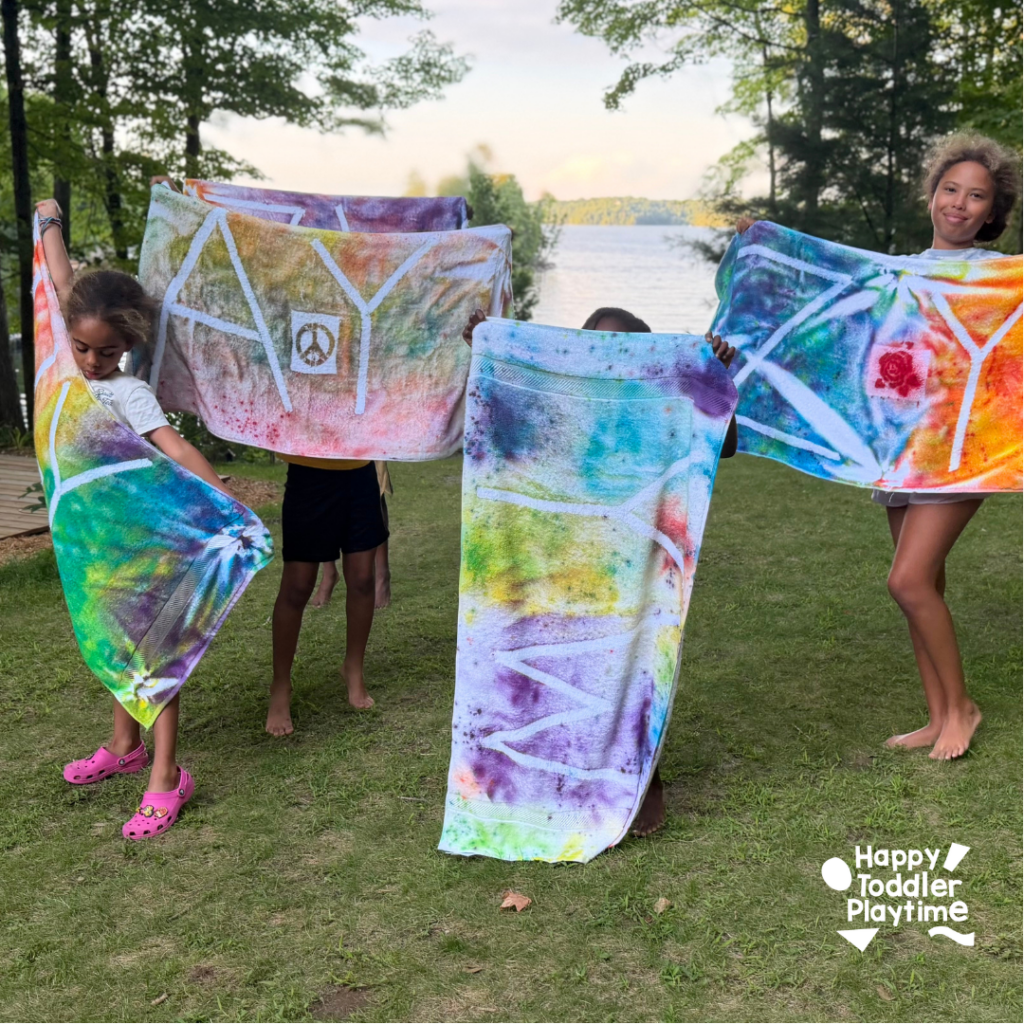
Give plain white towels a bright end-of-summer makeover with this colorful tie-dye project. Children will love choosing their colors and opening the folded fabric to reveal a completely unique pattern. Good for all ages from toddler, preschooler up to preteens!
Materials
- White cotton hand towels or beach towels
- Tie-dye kit or fabric dye in spray bottle for easy application
- Painter’s tape
- Rubber bands
- Disposable gloves
- Plastic table covering or garbage bags
- Wire cooling rack or protected outdoor work surface
- Resealable plastic bags
- Old clothes or art smocks
How to Make DIY Tie-Dye Towels
- Prewash and dry the towels without using fabric softener. This removes finishes that could prevent the dye from absorbing evenly.
- Dampen each towel, squeeze out the extra water, and place it flat on the protected work surface. (optional)
- Use the painter’s tape to spell out your child’s initials. Or use the tape to create patterns or shapes.
- Fold, twist, scrunch, or spiral the corners of the towel. Secure the shape tightly with several rubber bands.
- Wearing gloves, apply the dye to the different sections. Turn the towel over so the color reaches both sides.
- Place the dyed towel flat outside and allow the color to dry and to set for the amount of time recommended by the dye manufacturer.
- Rinse the towel in cool water until the water begins to run clear. Remove the rubber bands, then wash and dry it separately before use.
An adult should mix and apply fabric dye with younger children and follow all directions included with the tie-dye kit.
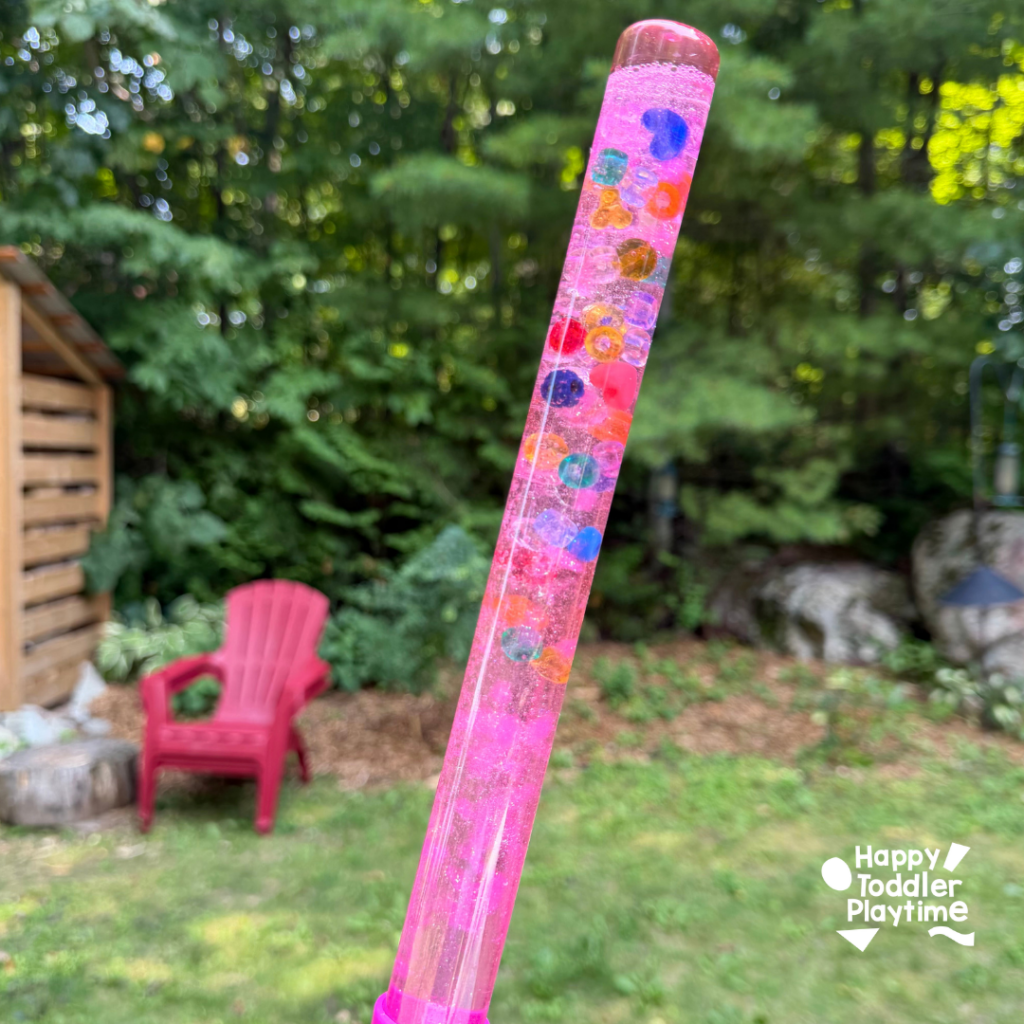
2. Bubble Wand Sensory Bottles
Turn empty bubble wands into shimmering sensory bottles that are easy for little hands to hold. When children shake the wands, the glitter swirls through the liquid and slowly settles for a calming visual experience. Great for toddlers and preschoolers.
Materials
- Empty bubble wands, cleaned and dried
- Clear liquid glue
- Warm water
- Fine or chunky glitter
- Duct tape or strong glue for sealing the lids
- Optional food coloring
How to Make Bubble Wand Sensory Bottles
- Empty any remaining bubble solution from the wands. Wash them thoroughly and let them dry completely.
- Fill each wand approximately one-quarter full with clear liquid glue.
- Add glitter in one color or combine several colors and sizes for a layered effect.
- Carefully fill the rest of the wand with warm water, leaving a small amount of space at the top.
- Replace the lid and tighten it securely. Seal the lid with strong glue or wrap the join firmly with duct tape so children cannot open it.
- Shake the wand to combine the ingredients. Add a little more glue if you would like the glitter to fall more slowly.
Check the seal before every play session and supervise young children while they use the sensory bottles.
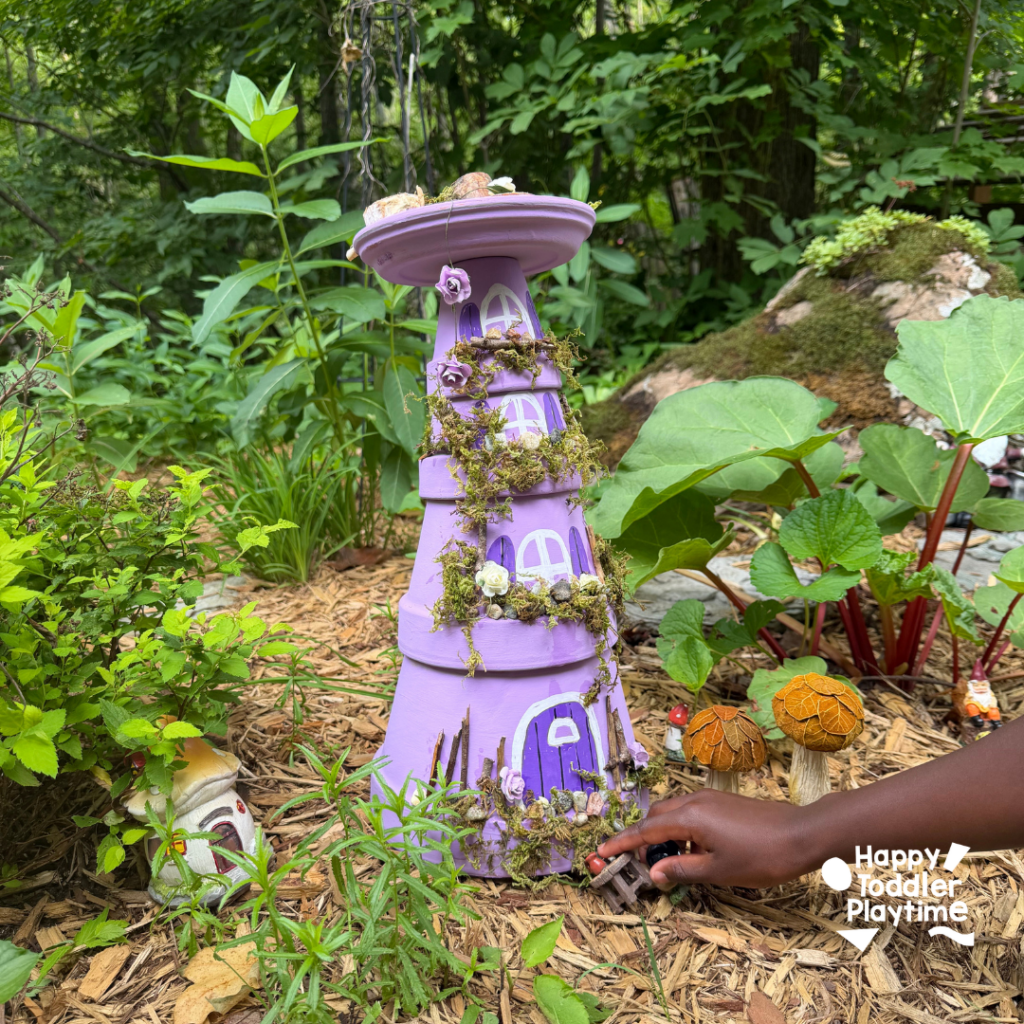
3. Flower Pot Fairy Tower
Transform a stack of small flowerpots into a whimsical fairy tower for the garden, porch, or playroom. This craft is a lovely way to use leftover pots while encouraging children to imagine the tiny fairies who might live inside. Great for toddlers (with assistance), preschoolers and older kids.
Materials
- Three or four small terracotta pots in graduated sizes
- Acrylic craft paint
- Paintbrushes
- Acrylic paint markers
- Strong outdoor craft adhesive
- Small wooden fairy door or craft-stick door
- Faux moss
- Artificial flowers, small stones, buttons, or wooden shapes
- Clear outdoor sealer, optional
How to Make a Flower Pot Fairy Tower
- Wipe the flowerpots clean and allow them to dry.
- Turn the pots upside down. Paint each one with colorful doors, windows, vines, bricks, or other fairy-house details.
- Let the paint dry completely. Add a wooden door, faux moss, tiny flowers, stones, or other decorations.
- Arrange the pots from largest to smallest to form a tower. Ask an adult to glue the pots together with strong craft adhesive.
- Allow the adhesive to cure according to the package directions before moving the tower.
- Add a clear outdoor sealer if the fairy tower will be displayed outside.
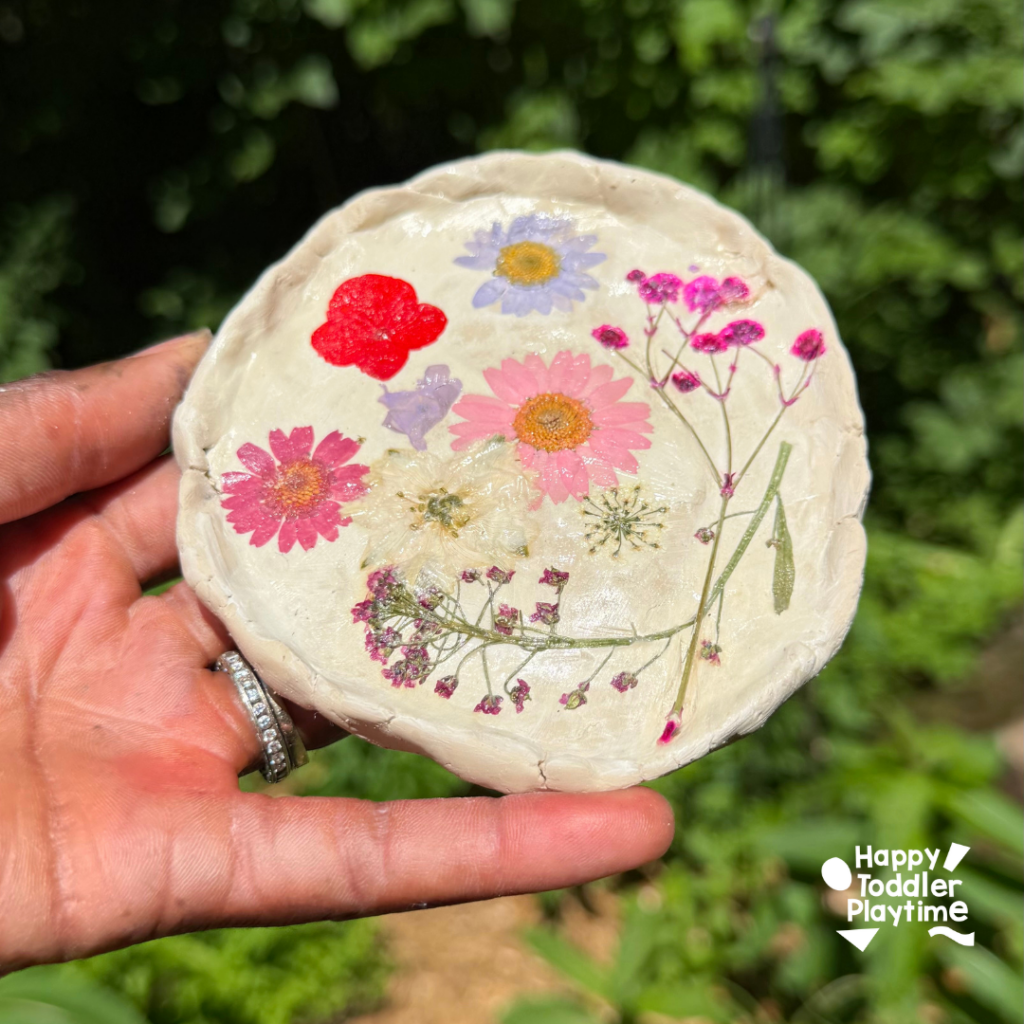
4. Clay Flower Trinket Dishes
These sweet clay flower dishes are perfect for holding rings, beads, hair clips, and other tiny treasures. Every child can shape and decorate a different flower, making each finished dish a one-of-a-kind keepsake. Great for preschoolers and older kids.
Materials
- Air-dry clay
- Small rolling pin
- Dried Pressed Flowers
- Blunt clay tool or craft stick
- Small bowl
- Water for smoothing
- Paintbrushes
- Clear craft sealer (Mod Podge)
How to Make Clay Flower Trinket Dishes
- Form a bowl with the air-dry clay and dip your finger in the middle and star to create a bowl by pinching the sides of the bowl and speading them out to create the dish.
- Smooth the edges with a damp fingertip.
- Apply a thin layer of clear craft sealer or glue and then gently press dried pressed flowers on the flat part of your dish.
- Apply another generous layer of the clear craft sealer or glue on top of the flowers to help seal them in.
- Apply a generous layer of the clear craft sealer or glue to the entire clay dish.
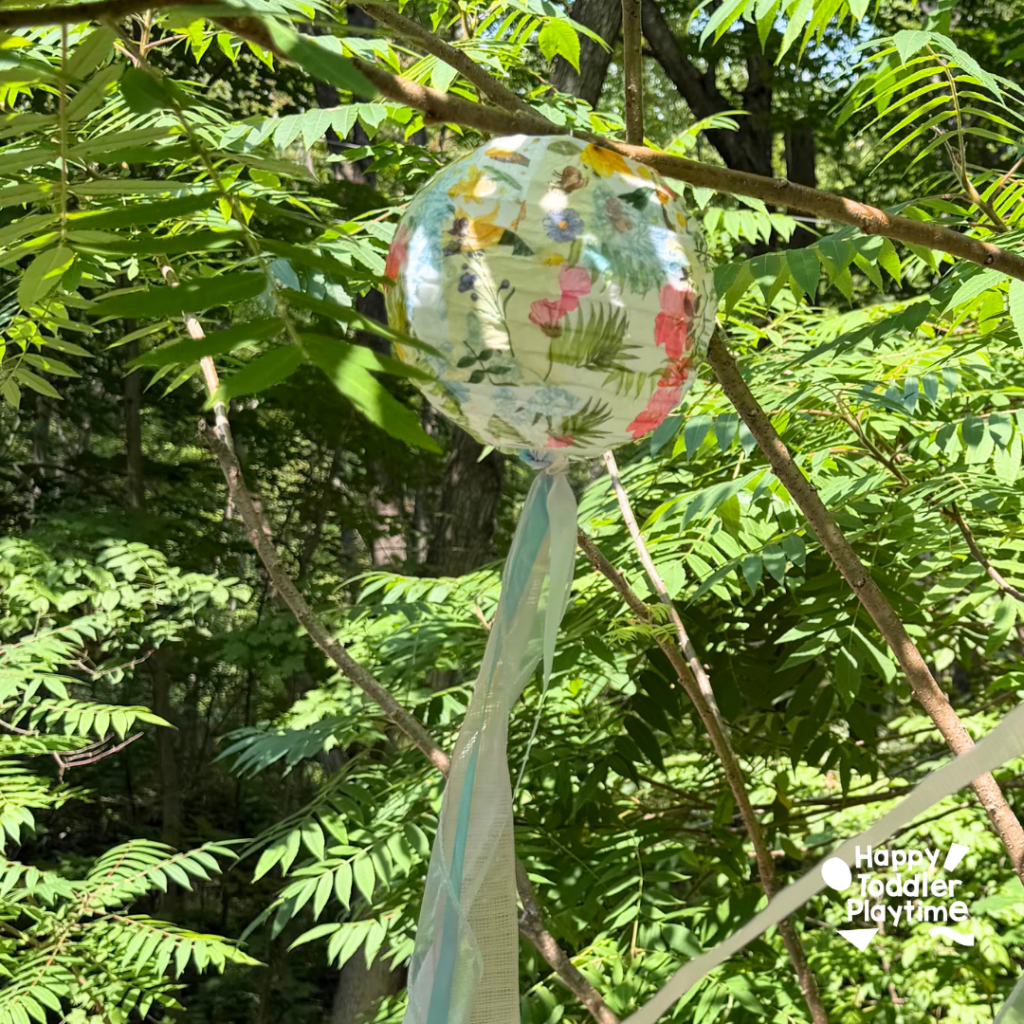
5. Flower Lanterns
Preserve a little piece of the summer garden in a glowing flower lantern. Pressed petals and leaves look beautiful against the soft light of a battery-operated candle. Great for kindergartners and older kids.
Materials
- White Paper lanterns
- Dried Pressed Flowers
- Beautiful patterned napkins
- Clear craft sealer/glue (Mod Podge)
- Paintbrushes
- Twine or ribbon
- Battery-operated LED tea light
How to Make Flower Lanterns
- Build your paper lanterns.
- Cut the napkins into small pieces.
- Brush a thin layer of craft glue over a small section of the outside of the lantern.
- Place pressed flowers and patterned napkins onto the glue.
- Continue working around the lantern until you are happy with the design.
- Gently brush another thin coat of glue over the entire design and let it dry completely.
- Tie twine or ribbon around the top, then place a battery-operated LED tea light inside.
Use only a battery-operated light. Never place a real candle or open flame inside a child’s lantern.
6. Seashell Pictures
Turn shells collected during summer adventures into textured pictures. This open-ended craft lets children experiment with shape and pattern while creating art from natural materials. Great for kindergartners and older kids.
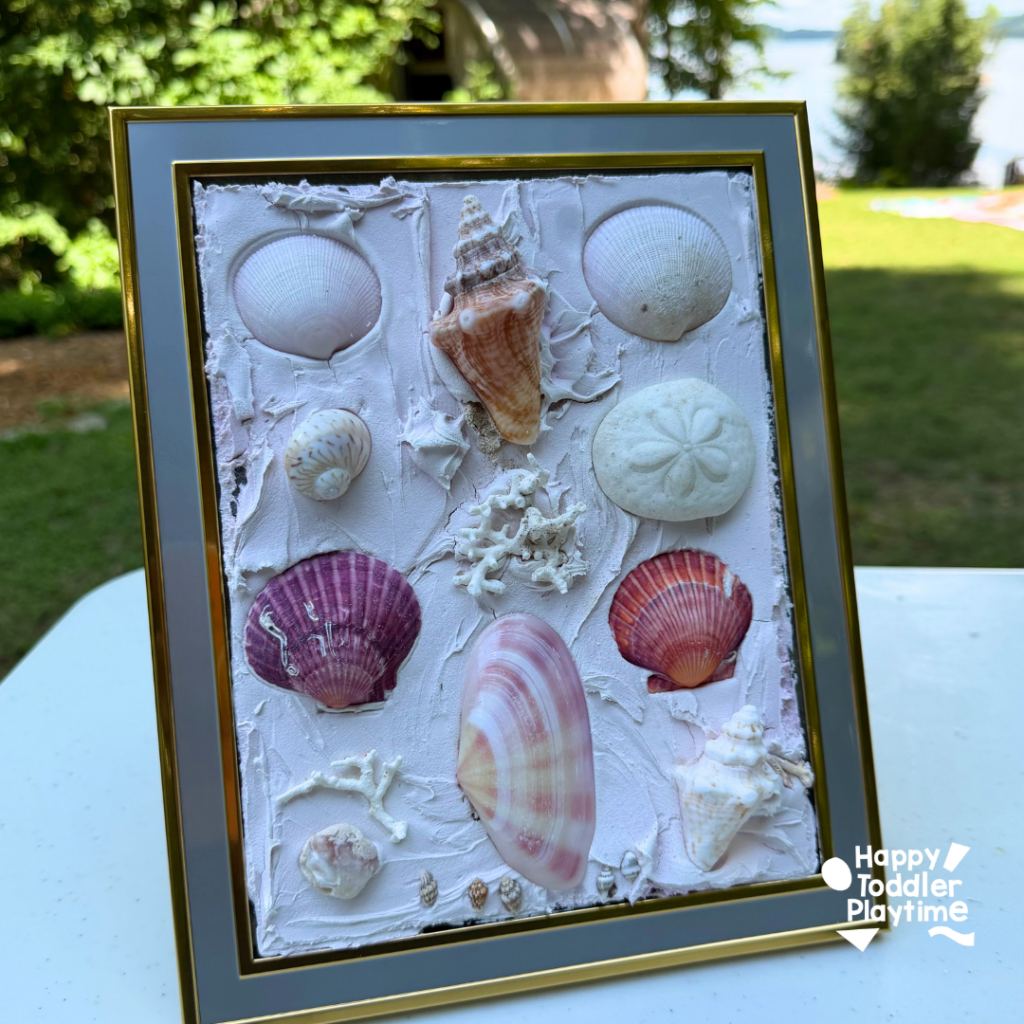
Materials
- Clean, dry seashells in different shapes and sizes
- Picture frame
- Painter’s tape
- Spackle
- Plastic Putty Knife
How to Make Seashell Pictures
- Protect the picture frame by covering it with painters tape.
- Apply a generous amount of spackle to the glass of picture frame.
- Before it dries, press in seashell in the way the you would like.
- Allow the spackle to dry.
- Remove the painters tape careful from the edge of the Fram. Display!
7. Clay Fairy Houses
Build a tiny clay home for an imaginary fairy, gnome, or woodland creature. Children can add miniature doors, windows, flowers, and textured walls to make their little houses feel magical. Great for kindergartners and older kids.
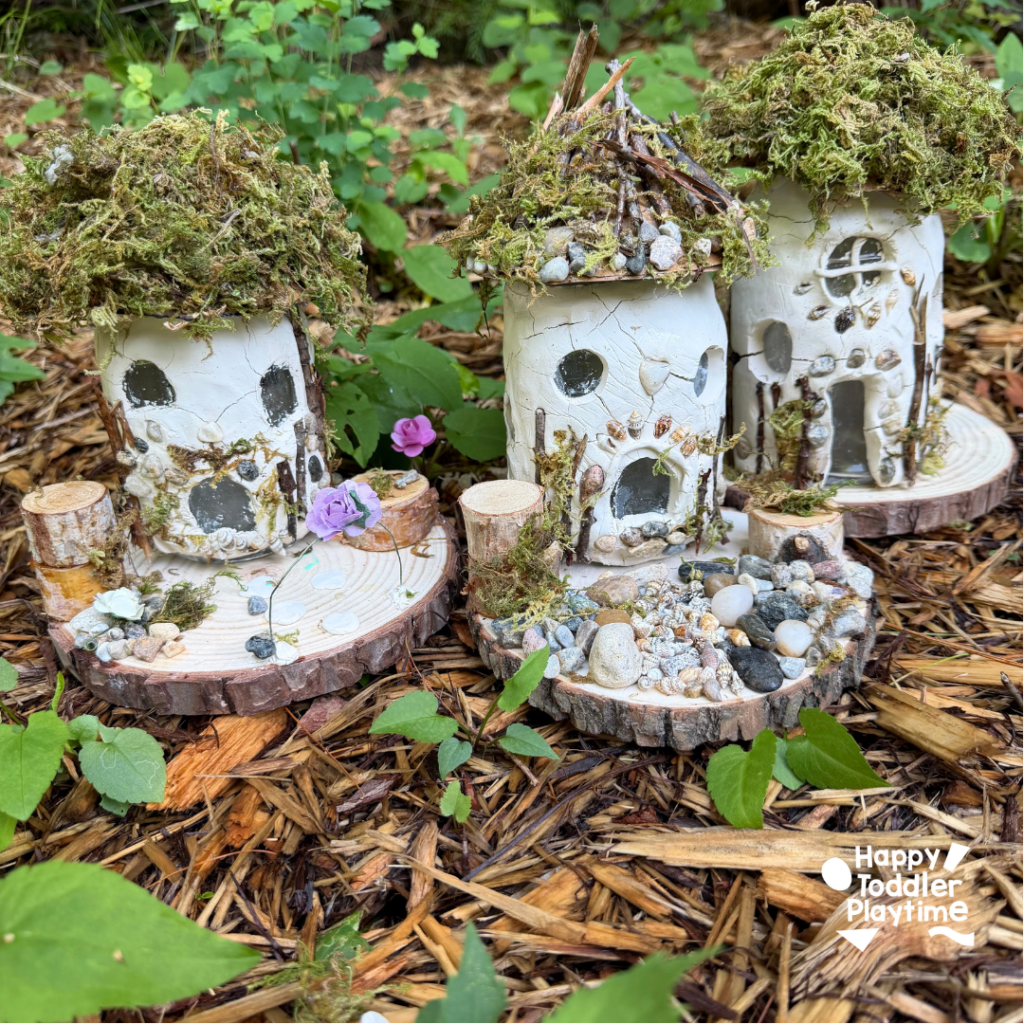
Materials
- Air-dry clay
- Mason jar
- Wax paper
- Small rolling pin
- Blunt clay tools or craft sticks
- Water for joining and smoothing
- Faux moss, tiny stones, sticks or artificial flowers, or Dried Pressed Flowers
- Clear craft sealer (Mod Podge)
How to Make Clay Fairy Houses
- Cover the table with wax paper so the clay will release easily.
- Roll out the clay and wrap it tightly around the jar. Blend the seam with a damp fingertip. Remove any clay that is on the top part where the lid s. You wan to be bale to put them lid back on.
- Cut out a door and windows using he clay tools. Attach small clay decorations by scoring both surfaces, adding a drop of water, and pressing them together.
- While still moist, press in moss, flowers, or stones or sticks to your house.
- For the roof, cut out a circa from cardboard and make a slit to the middle. Twist it around to create a cone. Glue it together. and then use a glue tgun to glue it o the top of the lid. Decorate the roof with the moss, stick or rock.
8. DIY Beaded T-Shirts
Add colorful beads to a plain T-shirt for a playful summer style children can help design themselves. The beads look especially fun on fringed hems or sleeves and make every shirt unique. Great for kindergartners and older kids.
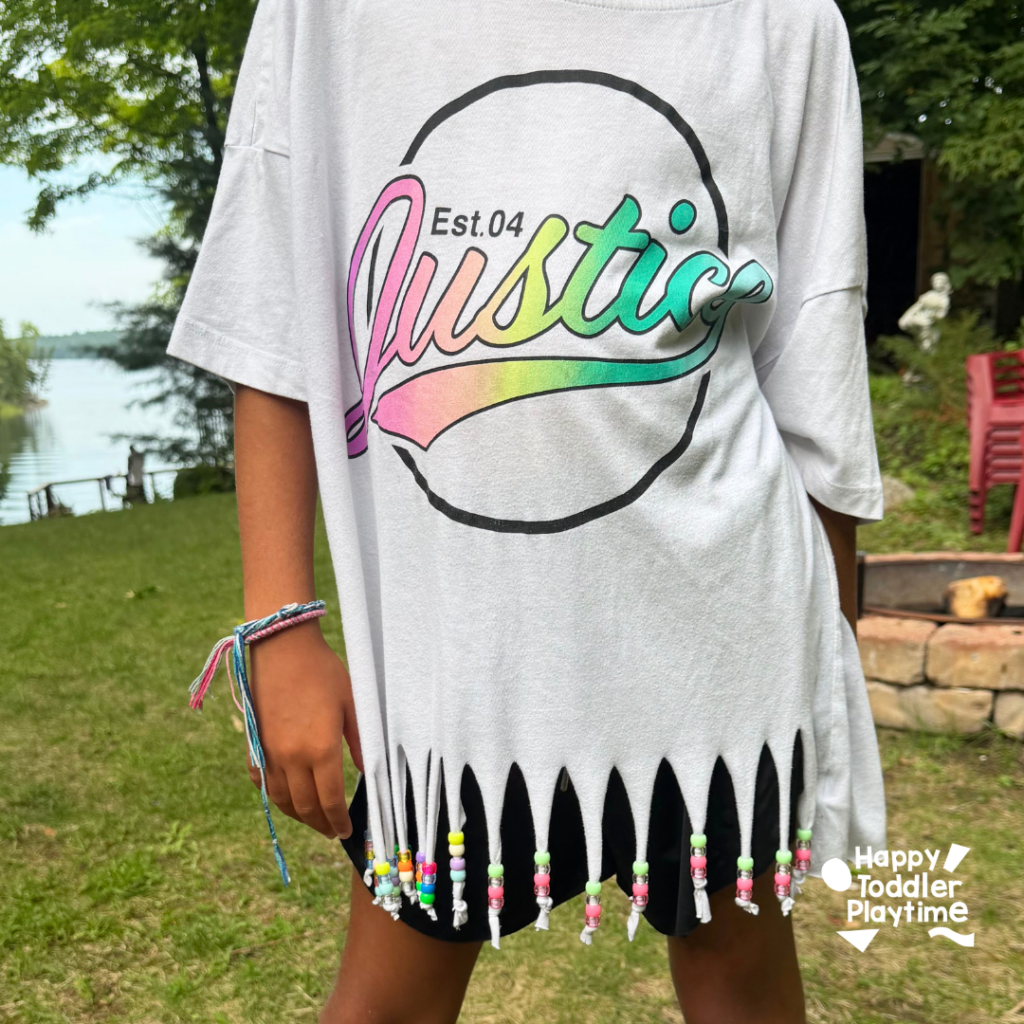
Materials
- Plain cotton T-shirt
- Washable fabric marker or tailor’s chalk
- Ruler
- Fabric scissors
- Large-hole pony beads
- Optional fabric paint or fabric markers
How to Make DIY Beaded T-Shirts
- Wash and dry the T-shirt, then lay it flat on a table.
- Use a ruler and washable marker to draw evenly spaced vertical cutting lines along the bottom hem. Stop each line at the same height.
- Ask an adult to cut along the lines to create fringe. Gently pull each strip so the fabric curls into a cord.
- Slide one or more large pony beads onto each strip. Tie a secure knot beneath the final bead.
- Repeat across the bottom of the shirt or add a small amount of fringe to the sleeves.
- Decorate the remaining fabric with fabric paint or markers if desired. Let all paint dry and set it according to the manufacturer’s directions before wearing or washing.
9. Wooden Clothespin Fairy Dolls
These tiny clothespin fairies are perfect for small-world play, fairy gardens, or homemade gifts. Children can mix yarn, felt, flowers, and paper wings to give every fairy a different personality. Great for kindergartners and older kids.
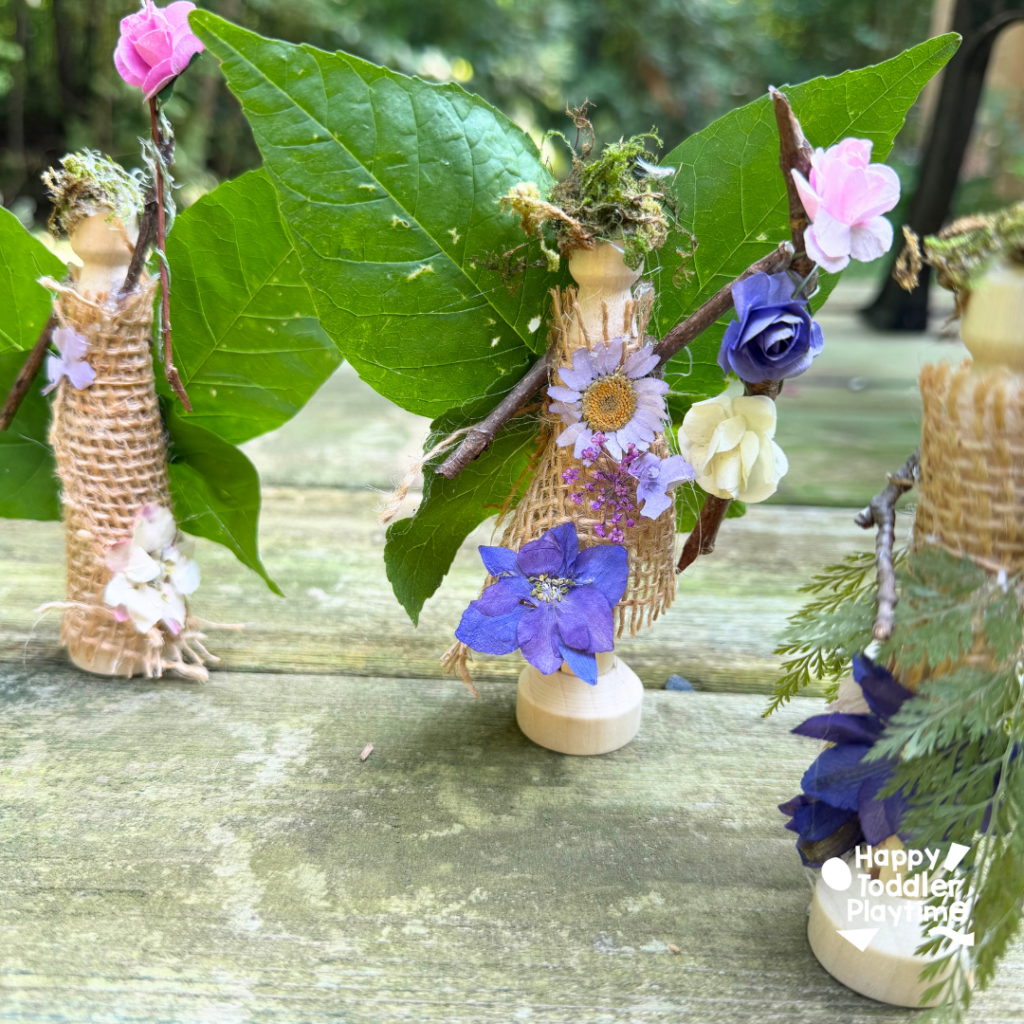
Materials
- Wooden peg dolls or round-head clothespins
- Glue gun
- Yarn
- Felt, fabric scraps, or artificial flower petals, Faux moss, tiny stones, sticks or artificial flowers, or Dried Pressed Flowers
- Cardstock or felt for wings
- Clear craft sealer (Mod Podge)
- Glue gun
- Pipe cleaners, optional
- Small wooden stand or clay base, optional
How to Make Wooden Clothespin Fairy Dolls
- Use the moss, flowers, fabric or what ever you have to create the clothes and hair of your fairy. Use a glue gun to secure them on the wooden clothespin.
- Optional: Cut short pieces of yarn and glue them around the head to make hair.
- Optional: Wrap felt, fabric, or flower petals around the body to form a skirt or dress. Glue the material securely at the back.
- Cut two simple wing shapes from cardstock or felt and attach them to the back. Or use real leaves. preserve the leaves by apply a generous amount of Mod Podge.
- Add pipe-cleaner arms, a tiny crown, or other decorations if desired.
- Let the fairy dry completely before using it for play or placing it in a fairy garden.
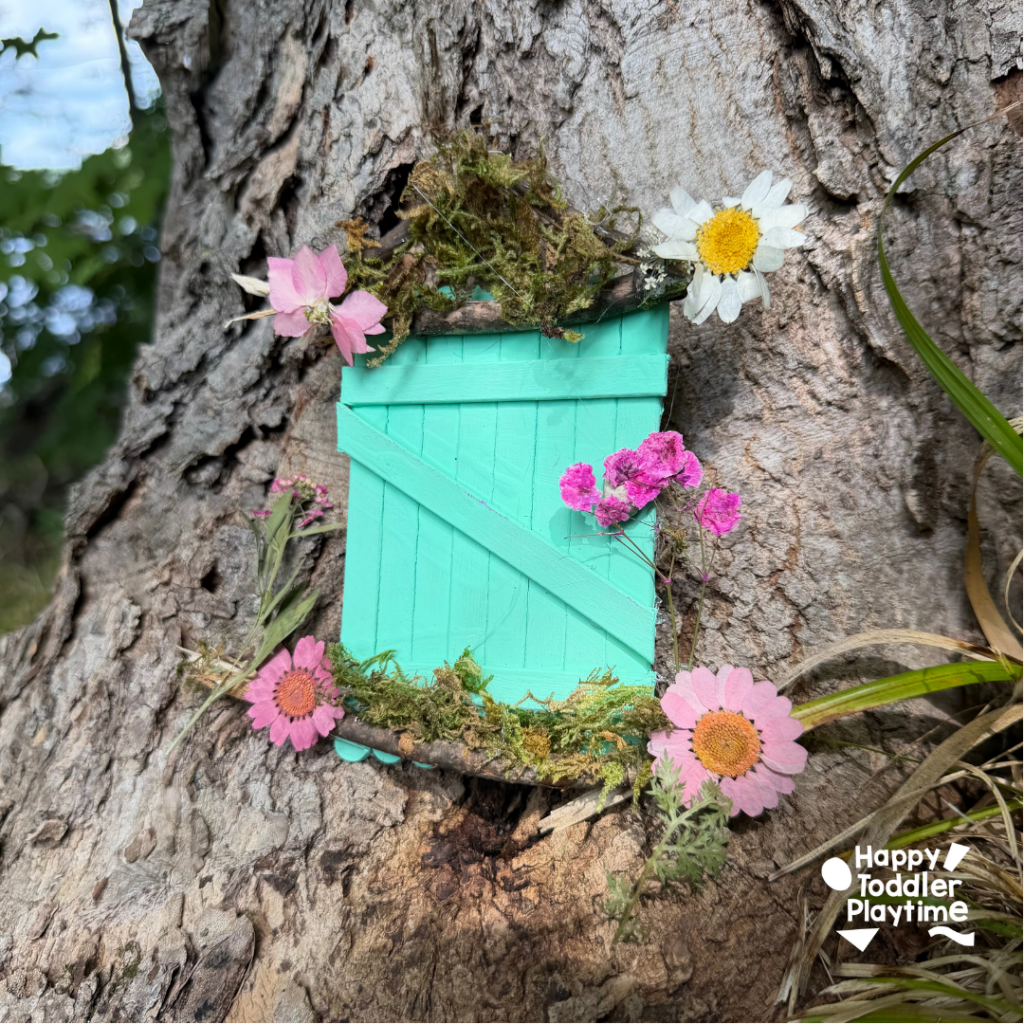
10. Popsicle Stick Fairy Doors
A colorful fairy door can make the base of a tree, a garden wall, or a child’s bedroom feel instantly magical. Craft sticks provide an easy wooden surface that children can paint and decorate in countless ways. Great for toddlers, preschoolers and older kids.
Materials
- Jumbo craft sticks
- Tacky craft glue or glue gun
- Acrylic craft paint
- Paintbrushes
- Small button, bead, or wooden circle for a doorknob
- Faux moss, tiny stones, sticks or artificial flowers, or Dried Pressed Flowers, tiny flowers, sequins, or small stones
- Clear outdoor sealer, optional
How to Make Popsicle Stick Fairy Doors
- Place the craft sticks side by side in a straight row. Use enough sticks to create the desired width.
- Glue two shorter craft sticks horizontally across the back to hold the row together. Let the glue dry.
- Ask an adult to trim the top into a rounded shape, or glue the sticks to a rounded cardboard backing and leave them uncut.
- Paint the door and add contrasting lines, dots, vines, or other details.
- Glue on a button or bead for the doorknob. Decorate the edges with moss, flowers, stones, or sequins.
- Seal the finished door if it will be displayed outdoors.
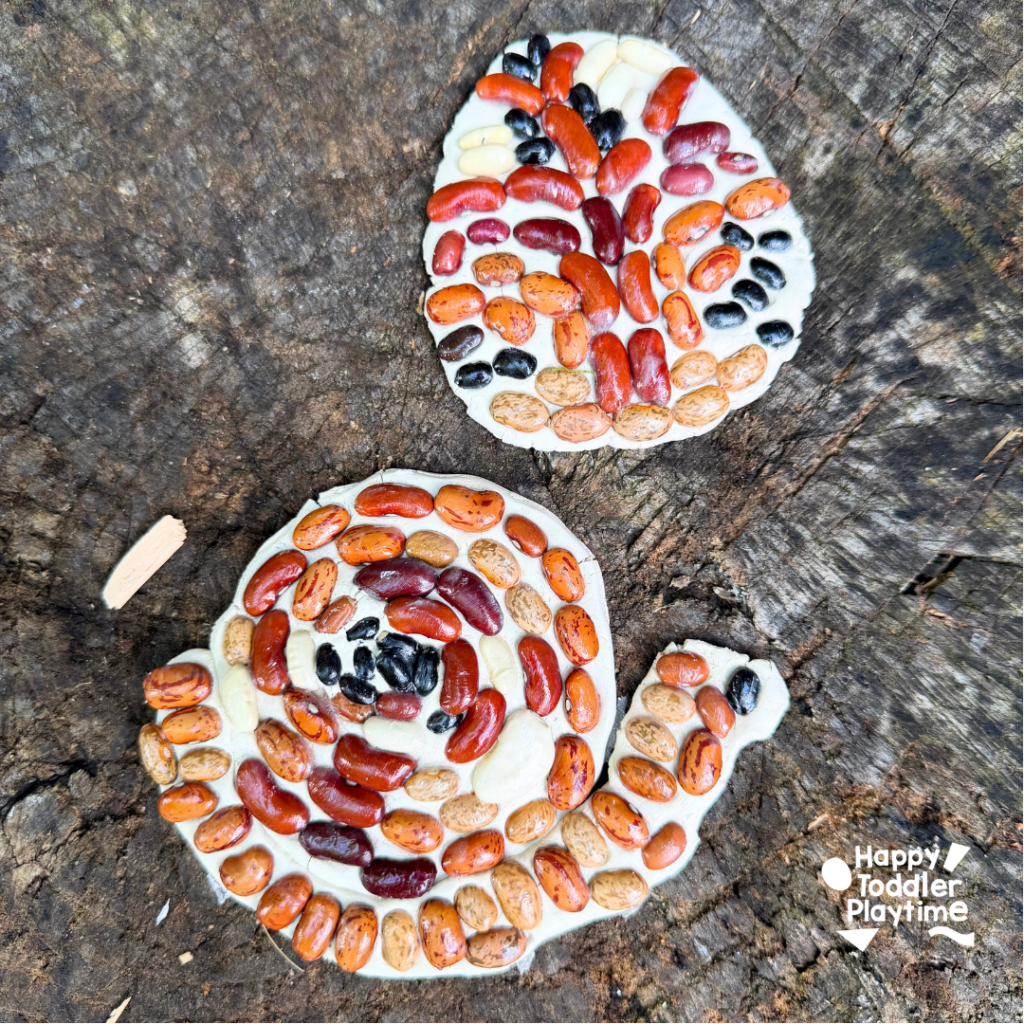
11. Clay Bead Mosaics
Combine soft clay and colorful beads to make a tactile mosaic that is easy to customize. Children can create flowers, suns, rainbows, initials, or completely abstract patterns while strengthening fine motor skills. Great for preschoolers and older kids.
Materials
- Air-dry clay
- Small rolling pin
- Large cookie cutter or cardboard template
- Bean mix
- Blunt clay tool
- Acrylic paint, optional
- Clear craft sealer (Mod Podge)
How to Make Clay Bead Mosaics
- Roll the clay into a flat slab approximately 1/4 to 1/2 inch thick.
- Cut the base into a circle, square, heart, or another simple shape.
- When the design is ready, press the beans firmly into the clay.
- Before the clay dried, apply a generous amount of Mod Podge to seal in the beans
- Let the mosaic dry flat according to the clay manufacturer’s instructions.
Use beads that are appropriate for the child’s age and supervise closely because small pieces can be a choking hazard.
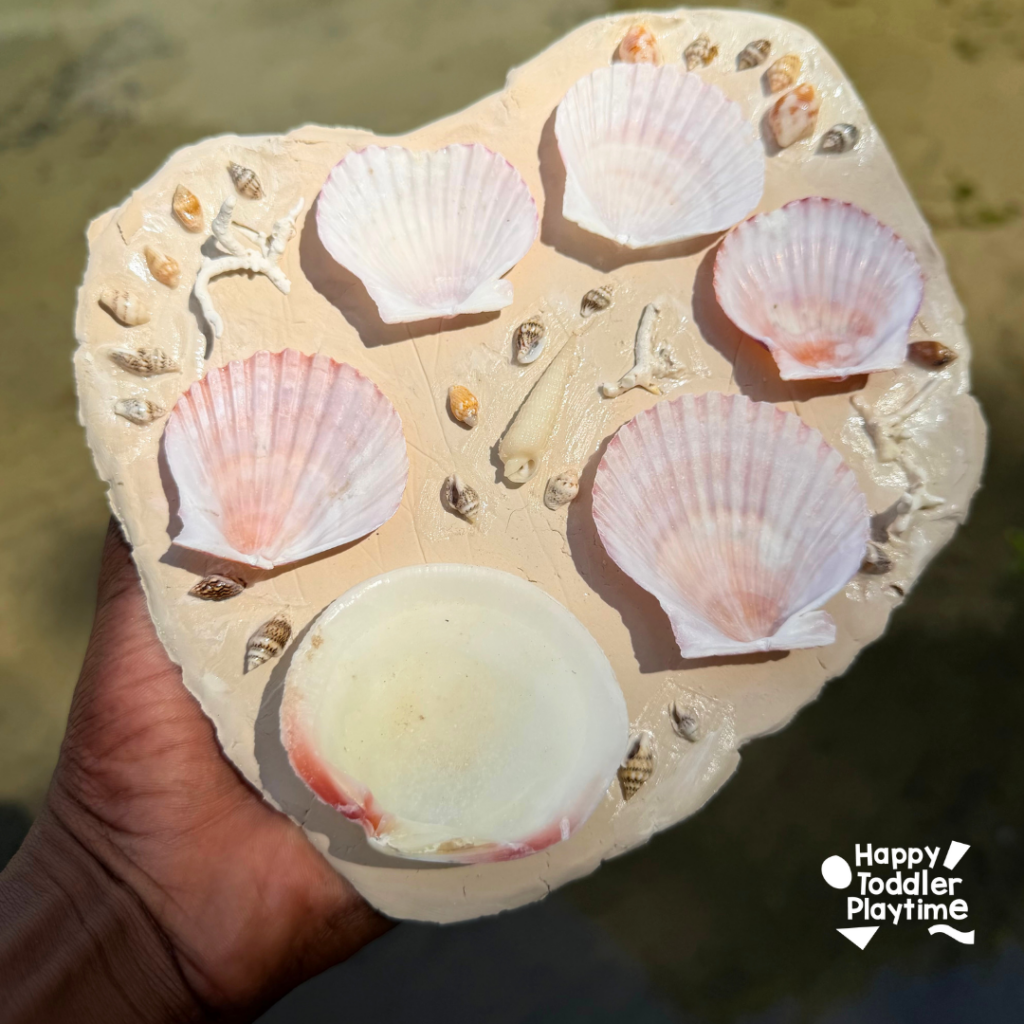
12. Seashell Paint Palettes
Large, cupped seashells make beautiful nature-inspired palettes for an afternoon of outdoor painting. Children can fill each shell with a different color, mix new shades, and rinse the shells to use again. Great for toddlers, preschoolers and older kids.
Materials
- Air-dry clay
- Small rolling pin
- Large, clean seashells with deep centers
- Paint brush
- Clear outdoor sealer
How to Make Seashell Paint Palettes
- Roll out your air dry clay into the shape of paint palettes.
- Arrange the shells on a clay in the way they want them to be and generally press them into the clay.
- Remove them and apply a generour amount of glue and then stick the shells back into the glue on the clay.
- Apply a generous amount over the entire paint palettes and allow it to full dry before using it!
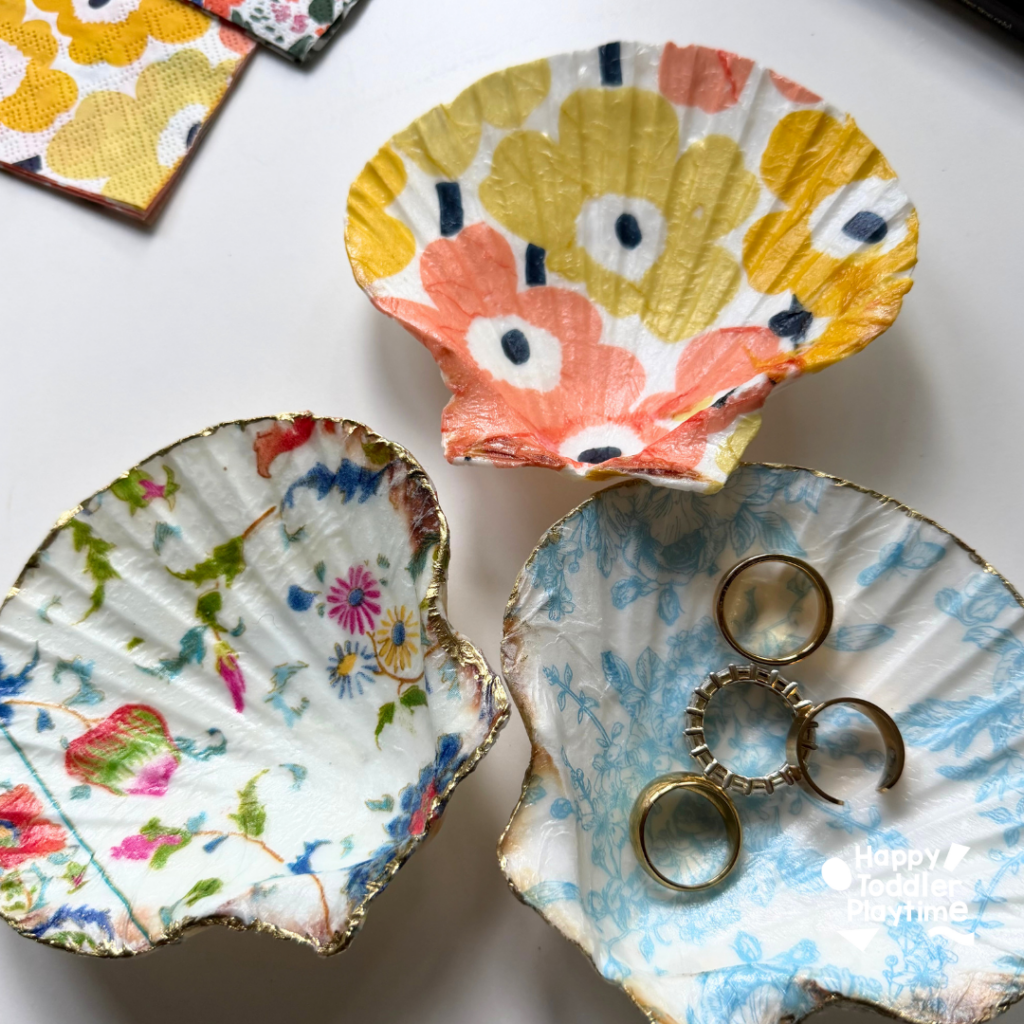
13. Seashell Trinket Dish
Turn one special summer shell into a pretty dish for jewelry, beads, or tiny keepsakes. This quick craft makes a lovely souvenir from a beach trip or a thoughtful handmade gift. Great for all ages.
Materials
- Large seashells
- Clear craft sealer (Mod Podge)
- Beautiful patterned napkins
- Small paintbrushes
- Gold paint marker
How to Make a Seashell Trinket Dish
- Wash the shell, remove any loose material, and let it dry completely. Check the edges and discard any shell that is sharp or cracked.
- Remove the inner white layer of the napkin and discard. Keeping the patterned side of the napkin.
- Paint the inside of the shell with a generous amount of Mod Podge.
- Press in the napkin and smooth it down.
- Apply another thin coat of glue or clear sealer.
- Allow the dish to cure completely before adding trinkets. Use it only for dry, non-food items.
End of Summer Crafts FAQs
Q: What ages are these end of summer crafts suitable for?
Most of these crafts can be adapted for preschoolers, kindergartners, and school-age children. Toddlers can participate in painting, arranging large materials, and sensory play with close adult supervision. Projects involving small beads, buttons, shells, or detachable decorations are better suited to children who no longer put objects in their mouths.
Q: How can I make these crafts easier for younger children?
Prepare complicated steps ahead of time, offer larger materials, and limit the number of choices on the table. Adults can handle cutting, strong adhesives, fabric dye, sealing, and any hot glue while children focus on painting, arranging, threading, and decorating.
Q: What can I use if I do not have seashells?
Try smooth stones, pieces of driftwood, large wooden shapes, recycled cardboard, or air-dry clay impressions. If you collect shells outdoors, take only empty shells where collecting is allowed and leave living creatures and protected natural materials undisturbed.
Q; What is the best glue for seashells, wood, and clay decorations?
Thick tacky craft glue such as Mod Podge works well for many lightweight pieces. Heavier shells and outdoor projects may need a stronger multipurpose adhesive or low-temperature hot glue applied by an adult. Always follow the adhesive manufacturer’s directions and allow the project to cure completely before play.
Q: Can these crafts be made outdoors?
Yes. Tie-dye, painting, fairy-house decorating, and seashell crafts are especially convenient to make outside. Work in the shade, weigh down lightweight paper, and protect the table. Bring air-dry clay indoors to dry so direct sun and rapid temperature changes do not cause cracking.
Q: How can I make the finished crafts last longer?
Let paint, clay, glue, and dye dry or cure fully before use. Apply an appropriate clear sealer to painted pots, fairy doors, clay dishes, and decorated shells. Choose an outdoor-rated sealer for garden projects, and keep air-dry clay away from standing water unless the product is specifically designed for outdoor use.
Q: Are these crafts safe for toddlers?
Adult supervision is required. Keep fabric dye, strong glue, broken shells, glass containers, and small loose parts out of reach. Seal sensory bottles permanently, use only battery-operated lights in lanterns, and choose large age-appropriate materials for younger children.
Q: How can I use these crafts to mark the end of summer?
Create one project after a favorite summer outing, invite friends to an end-of-summer craft afternoon, or let children choose materials that remind them of the season. Display the finished pieces together, use them as back-to-school keepsakes, or give them to friends and family as a final summer surprise.
Play2Learn Toddler & Preschool Programs for Curious Toddlers
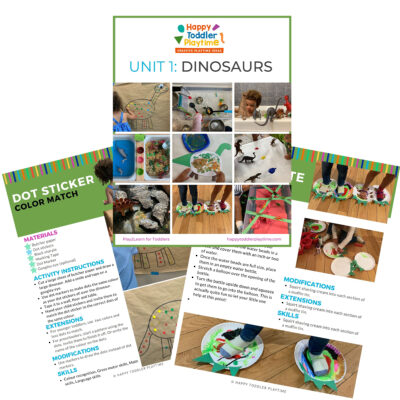
There is no limit to your toddler’s energy and curiosity. That energy and curiosity although a joy can be challenging at times. Their interest in just about everything around them is what makes them great learners. One and two year olds can soak up so much just from their senses!
But as a teacher or parent that thirst for learning can be exhausting. That is why I created this toddler and preschooler program. To help you get the most out of this time with your curious toddler without having to come up with creative ways to play and interact with them.
Play2Learn for Toddlers includes 20 Units for toddlers. Each 2-week toddler unit has 20 super easy to set up and engaging activities for toddlers 18 months to 3 years.
Play2Learn Preschool which includes 20 Units for preschoolers. Each 2-week preschoolers unit has 20 unique and easy to set up and engaging activities for preschoolers 3 years to 5 years. That’s over 800 learning activities for your toddler and preschooler at your fingertips! So many ideas you and your child will never be bored again!
These toddler and preschool lesson plans and activities will definitely keep you and your toddler and preschooler busy playing and learning!
Click here for more information: Play2Learn
Book: Exciting Sensory Bins for Curious Kids
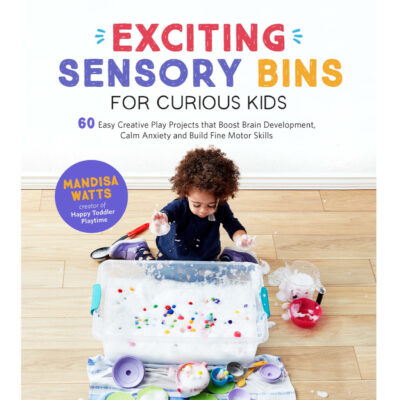
Did you know I wrote a book of sensory bins? Click here for more information Exciting Sensory Bin for Curious Kids. Or grab your copy at Amazon.
Boring afternoons are made exciting with awesome animal-based bins, like Salty Shark Bay or Yarn Farm. Pretend play bins like Birthday Cake Sensory Play or Bubble Tea Party encourage creativity and imagination. And your kids will have so much fun they won’t even know they’re getting smarter with STEAM (science, technology, engineering, art and math) activities like Sink or Float Soup, Magnetic Letter Hunt or Ice Cream Scoop and Count.
Designed for toddlers 18 months and up.
Book: Super STEAM Activity Book for Kids
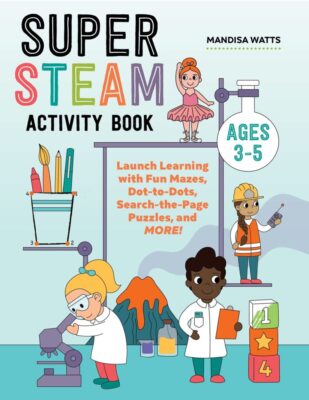
Learning all about science, technology, engineering, art, and math sets kids up for scholastic success―and it can be so much fun! Watch kids enjoy building STEAM skills as they color friendly fish, help water find its way to tree roots, solve math problems with mazes, and more.
Find out more and grab your copy here.
Designed for preschoolers 3 years old and up.
Book: Big Book of Riddles for Kids
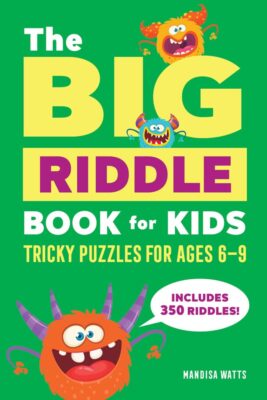
Riddle me this: What’s an exciting way to practice critical thinking while having a blast? The Big Riddle Book for Kids, of course! From hilarious puns to tough brain teasers, kids can build problem-solving skills with hundreds of riddles tha. t show them how to think outside the box.
- 350 riddles for kids—Have hours of fun with riddles, puns and jokes, and math and logic puzzles that’ll get their wheels turning!
- Level up their skills—Riddles get trickier as kids progress through the book, challenging them as they get better at solving puzzles!
- Double-check their work—Kids can check their answers in the back of the book with a handy answer key.
Help children expand their minds while having fun with this puzzle book for kids!
Designed for kids ages 6 years old and up.
TV Show: Curious Crafting
I’m so excited to share my crafting TV show Curious Crafting which launched in July 2022 on TVOkids and TVOkids YouTube! Season 2 aired in August 2023! My show was also nominated in 2023 for Best Live Action Preschool Series by the Youth Media Alliance Awards of Excellence.
Curious Crafting Season 1 is also now airing in Australia on ABC! Watch it here!
Set in the ultimate crafting space, Curious Crafting is a short form pre-school age series about the joy of making crafts. I lead a rotating cast of adorable little preschoolers (including my own) making magic out of common household objects.
In each episode we transform recycled items into magical crafts like a milk carton school bus, paper bag puppet or cotton pad turtle. The crafters learn and laugh their way through each activity while demonstrating what their young imaginations can create.
Curious Crafting shares the adventure and joy of making art with takeaway lessons for creating crafts at home.
This show designed for toddlers and preschoolers 2.5 years old and up.