If your kids are obsessed with rockets, astronauts, and everything outer space, you’re in the right place. Space crafts for kids are one of those themes that never gets old—and the best part is you don’t need anything fancy to get started. With a few simple supplies, you can turn your kitchen table into a mini mission control and spark hours of creative play.
Whether you’re looking for easy toddler-friendly projects or hands-on STEAM activities for older kids, these space crafts and activities are designed to be simple, engaging, and actually doable. Think paint, recycled materials, sensory play, and open-ended creativity—no complicated prep required.
Why Try Space Crafts with Kids?
Space-themed activities are a fun way to mix creativity with learning. While your kids are busy painting planets or building rockets, they’re also exploring big ideas like gravity, distance, and the solar system.
Space crafts for kids help build:
- Fine motor skills through cutting, painting, and gluing
- Creativity and imagination through open-ended play
- Early science concepts like planets, stars, and space travel
- Focus and independence during hands-on activities
And honestly, space is just exciting. It naturally grabs kids’ attention in a way that makes learning feel like play.
Easy Space Crafts for Kids
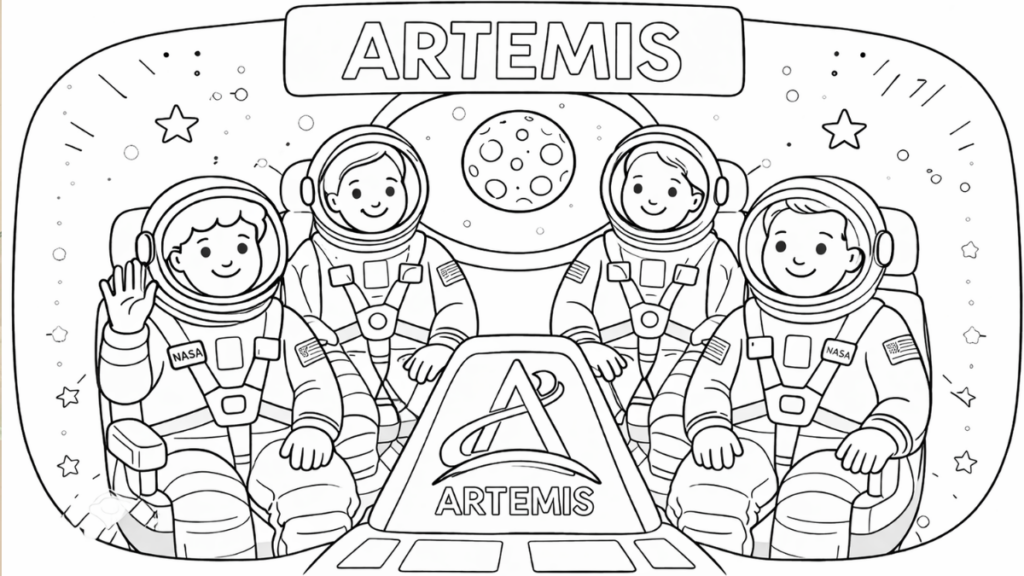
Artemis Coloring Pages
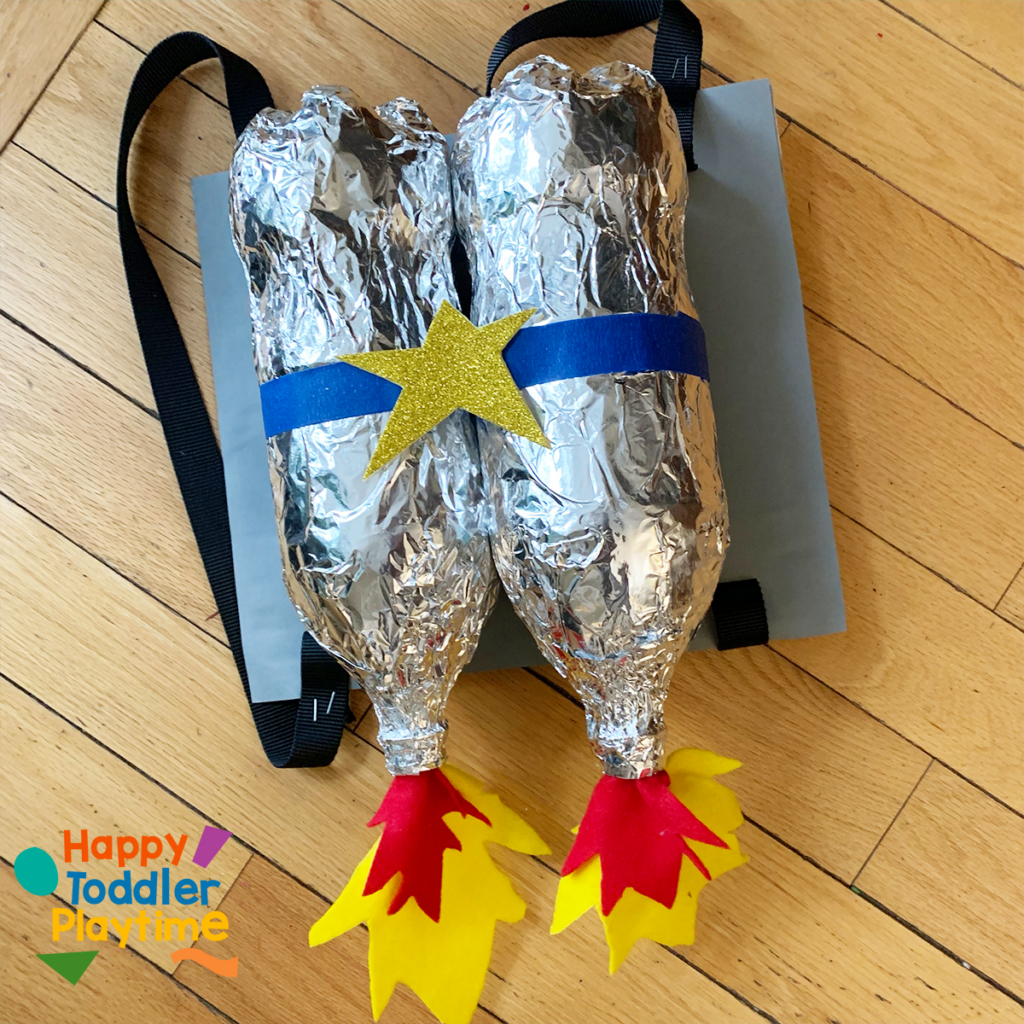
1. DIY Jet Pack Craft
Materials:
- 2 large plastic bottles
- aluminium kitchen foil
- cardboard
- red and orange felt
- gold coloured paper
- black webbing or black ribbon
- Silver duct tape
- coloured masking tape
- a ruler
- a marker
- superglue
- scissors
- Gray or silver paper
How to Make a Jet Pack Craft:
- Cut a piece of cardboard about 24 cm x 20 cm big and cover it with sliver or gray paper.
- Cut 4 slits on the cardboard large enough to fit your black webbing to black ribbon for the strap.
- Use a stapler to secure the black webbing.
- Cover two large pop bottles with aluminum foil but putting glue all over the foil and wrapping it around the bottles.
- Place a small rectangle piece of cardboard to the back of the bottles.
- Secure the bottles together with the small piece of cardboard using coloured masking tape.
- Cut out flames from red and yellow felt. Glue the slightly smaller yellow flame to the red on and insert them in the bottom of the bottles.
- Decorate your jets with large gold stars.
- Secure the bottles to the larger piece of cardboard using a hot glue gun or duct tape.
- Test out your jet pack!
2. Rocket Ship Clothespin Counting Activity

Materials:
- Cardboard
- Scissors
- Pencil
- Sharpie
- Paint Sticks
- Clothespins
Creating Your Rocket Ship Counting Activity
- Grab a cardboard box and cut it into a rectangle, slightly bigger that your cell phone. I cut out five rectangles.
- Draw the outline of a rocket ship. Use my reference below for guidance. Outline it with a pencil first then with a sharpie.
- Colour in the rocket ship using paint sticks.
- Write the numbers 1-5 in the center circle. I also added the same number of stars surrounding the rocket ship.
- Grab your clothespins and colour them red, orange and yellow to represent the fire from the rocket ship as it blasts off.
3. Rocket Ship Pom Pom Patterns

Materials:
- Construction paper
- Ice cube trays
- Pom poms
- Scissors
- Glue
- Tape
- Tongs (optional)
How to Set Up:
- Cut out the top, wings and blast off fire for your rocket ship from construction paper. Glue the fire together (you can use the above picture for reference). Then tape the top, wings and fire to the bottom of the ice cube tray(s). TIP: For older kids you can line up two ice cube trays length wise to create an extra long space ship to create more complex patterns.
- Create a pattern using pom poms (simple for toddlers and preschoolers, more complex for older kids).
- Invite your toddler to recreate the patter using the pom poms in the ice cube tray sections.
- Invite them to create their own patterns!
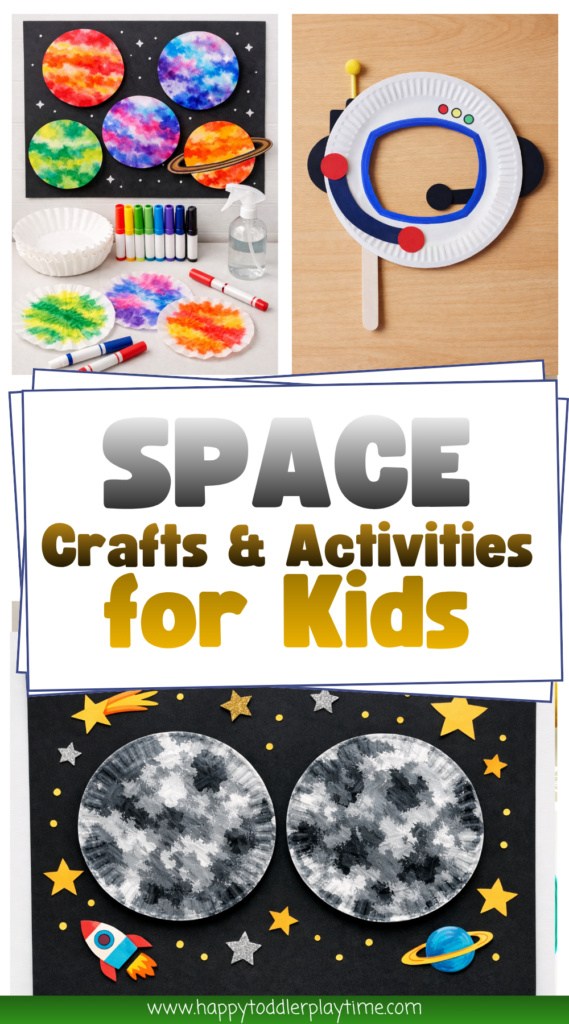
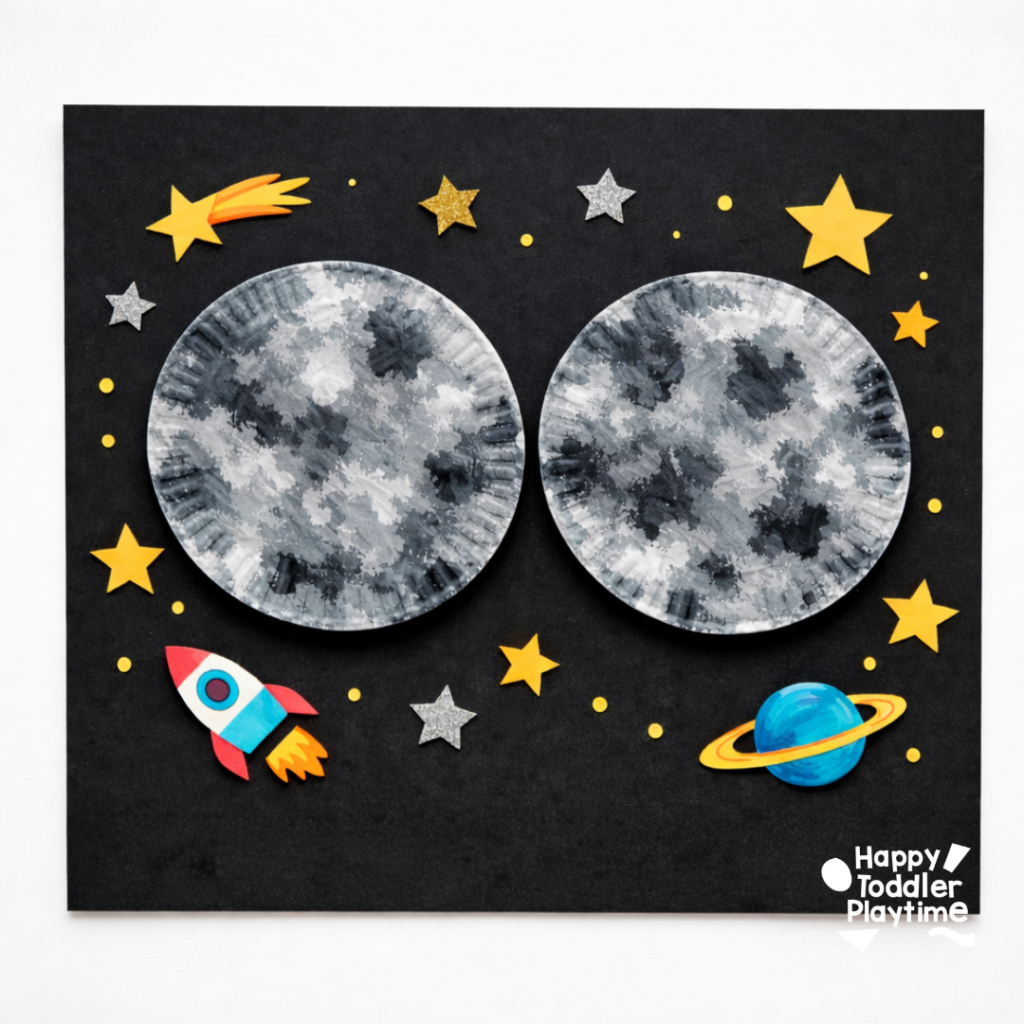
4. Smoosh Painted Moon Craft
A classic for a reason. Kids can paint and decorate different planets using paper plates.
Materials
- 2 Paper plates
- Paint (gray, white and black)
How to Set Up
- Pour out small blobs of black, gray and white paint all over on to the back of one paper plate. Place the back of another plate on top and smoosh the paint together mixing the colors. Mix between your hands…spin and slide them around!
- Pull the plates apart carefully and reveal the two identical moon crafts. Set them aside to dry.
- Once dry you can cut them both out and glue to the another black sheet of construction paper.
- Add stars or other details.
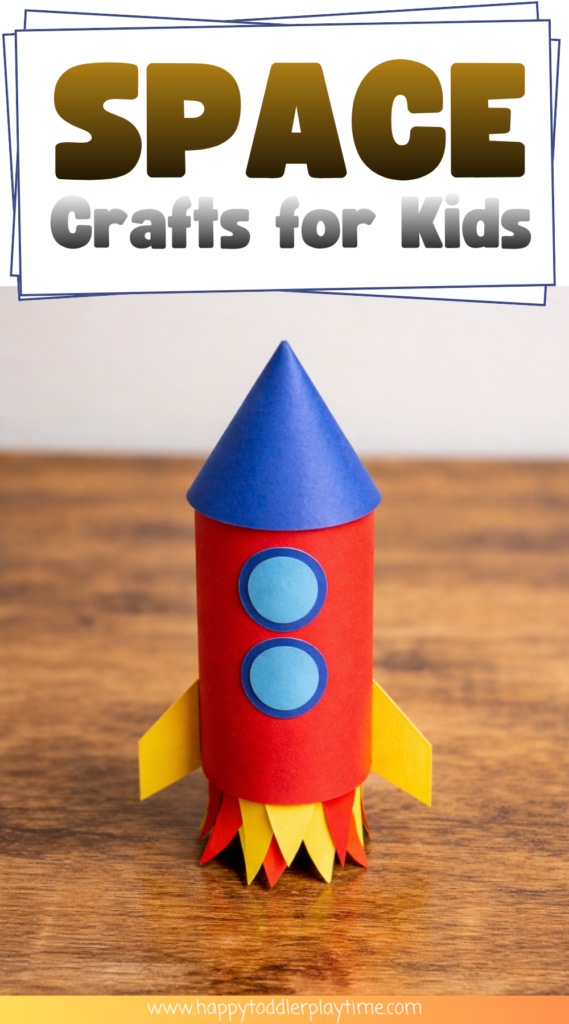
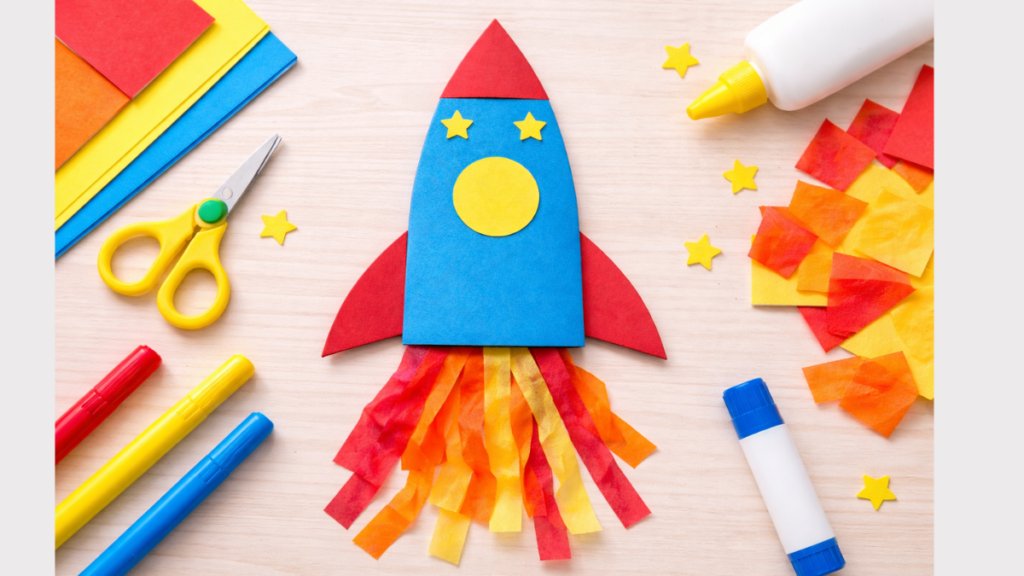
5. Cardboard Tube Rockets
Turn your recycling bin into a fun rocket-building station with this simple craft kids will love.

Materials
- Paper towel roll
- Tin foil
- Blue, red, orange, yellow and green construction paper
- Clear tape
- Glue
- Scissors
How to Set Up
- Grab your paper towel roll and cover it with tin foil.
- Cut out three blue circles, two triangles, 1 circle the size of a roll of masking tape and the fire exhaust from the engines. See the pictures below.
- Make a cut in the circle to the center and roll it around to make a cone. This will become the top of the rocket ship. Glue it together to secure the cone.
- Glue the red, orange and yellow flame exhaust together. Cut a slit along each side.
- Tape the wings to the sides of the rocket ship using clear tape.
- Slide the fire exhaust up the bottom of the foil tube and over the wings. Secure it with a piece of clear tape along the back of the rocket ship and the wings.
- Glue the three windows to the front of the rocket ship
- Glue the top of the rocket ship to the top of the foil tube by putting glue along the top rim of the tube. Hold the top cone in place for a minute or two to secure it.
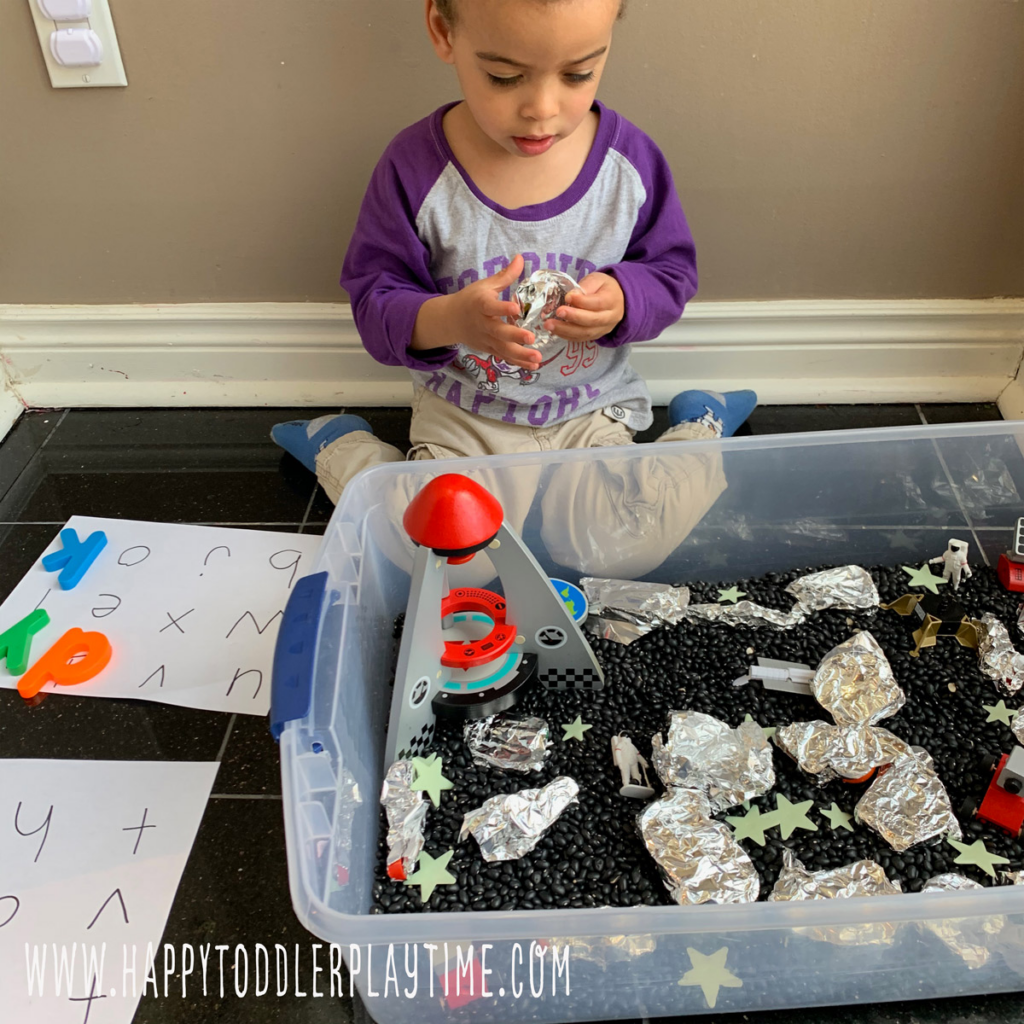
6. Moon Rock Letters
Materials:
- Aluminum foil
- Fridge Magnetic Letter
- Sensory Bin Large 41 Qt
- Black Nay Beans
- Space Toys
- Rocket Ship
- Glow in the Dark Stars
- Paper and Sharpie
How to Set Up:
- Wrap your fridge magnets in aluminum foil. You can also have your toddler or preschool do the wrapping with you to extend the activity. These will be your moon rock letters
- Fill your sensory bin with black navy beans and add your letters wrapped in foil and stars. Add your space toys. Finally, on a piece of paper, write down the letters that you wrapped.
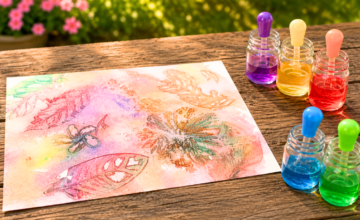
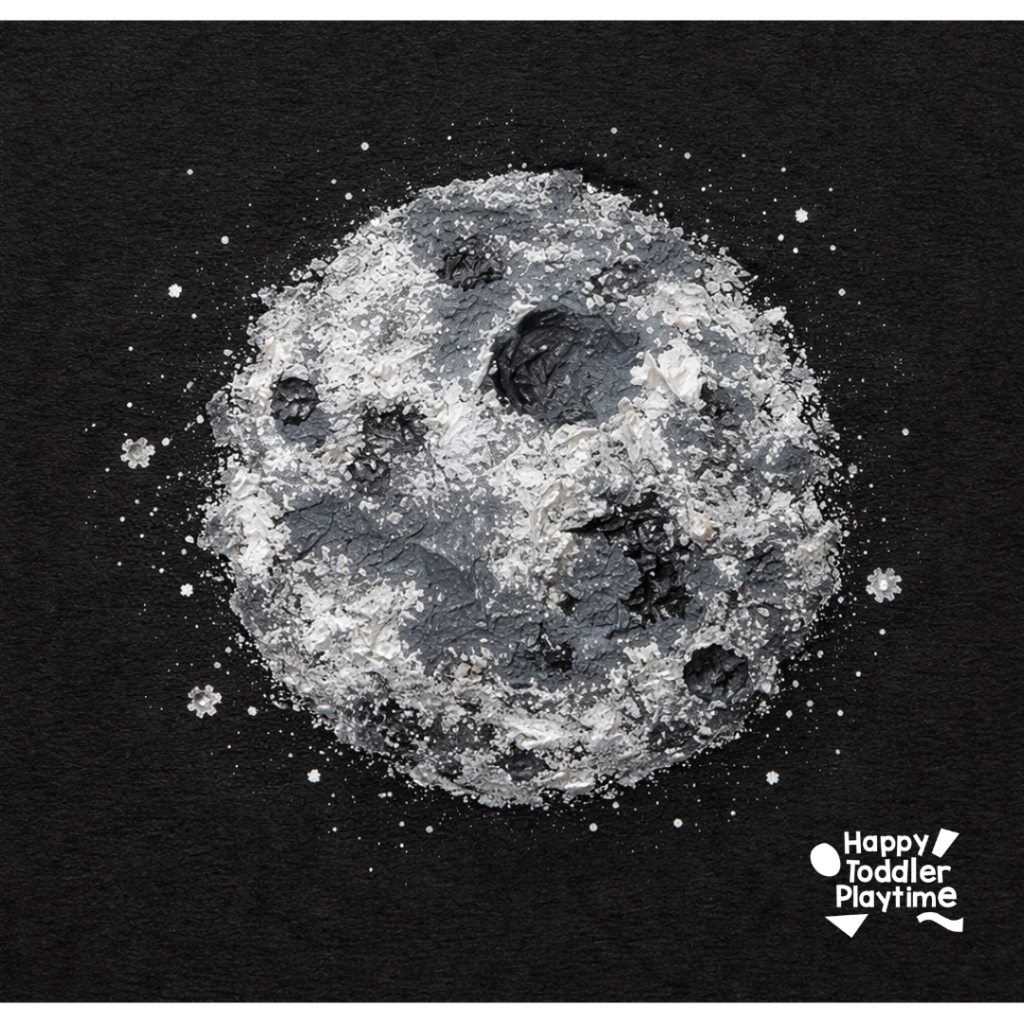
7. Foil Painted Moon Art
A simple sensory-rich painting activity.
Materials
- Aluminum foil
- Black paper
- White and gray paint
- Cotton balls or sponges
How to Set Up
Create a foil ball and dip into black, gray and white paint to stamp craters onto black paper. It creates a textured “moon surface” effect kids love.
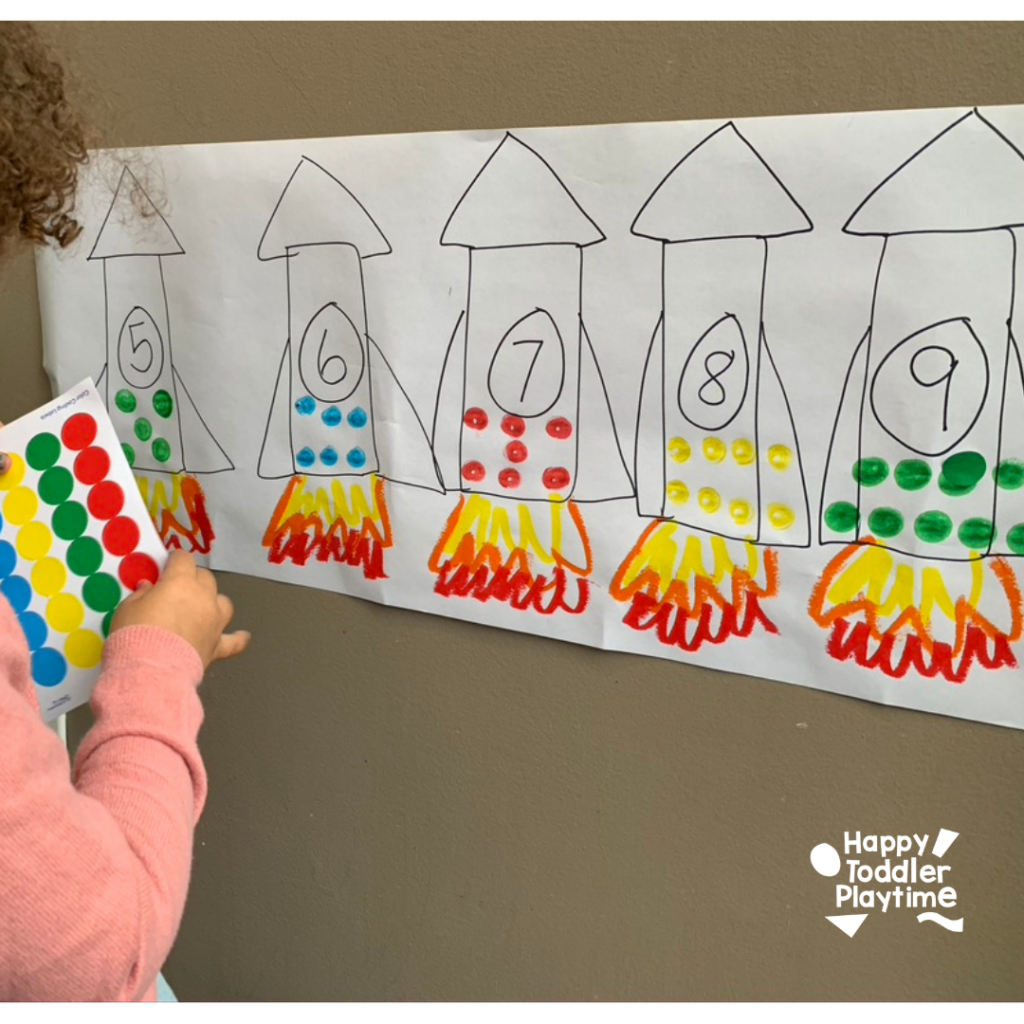
8. Dot Sticker Rocket Ship Counting
Materials:
- Butcher paper
- Sharpie
- Markers
- Dot stickers
- Painter’s tape
How to Set Up:
- On a sheet of butcher paper draw between 5-10 rocket ships. Add the numbers you wan your toddler or preschooler to practice. Use colored markers to draw dot corresponding to the number of the ship.
- Hand your toddler or preschooler dot stickers and invite them to count and stick the correct amount of dot stickers for each rocket ship.
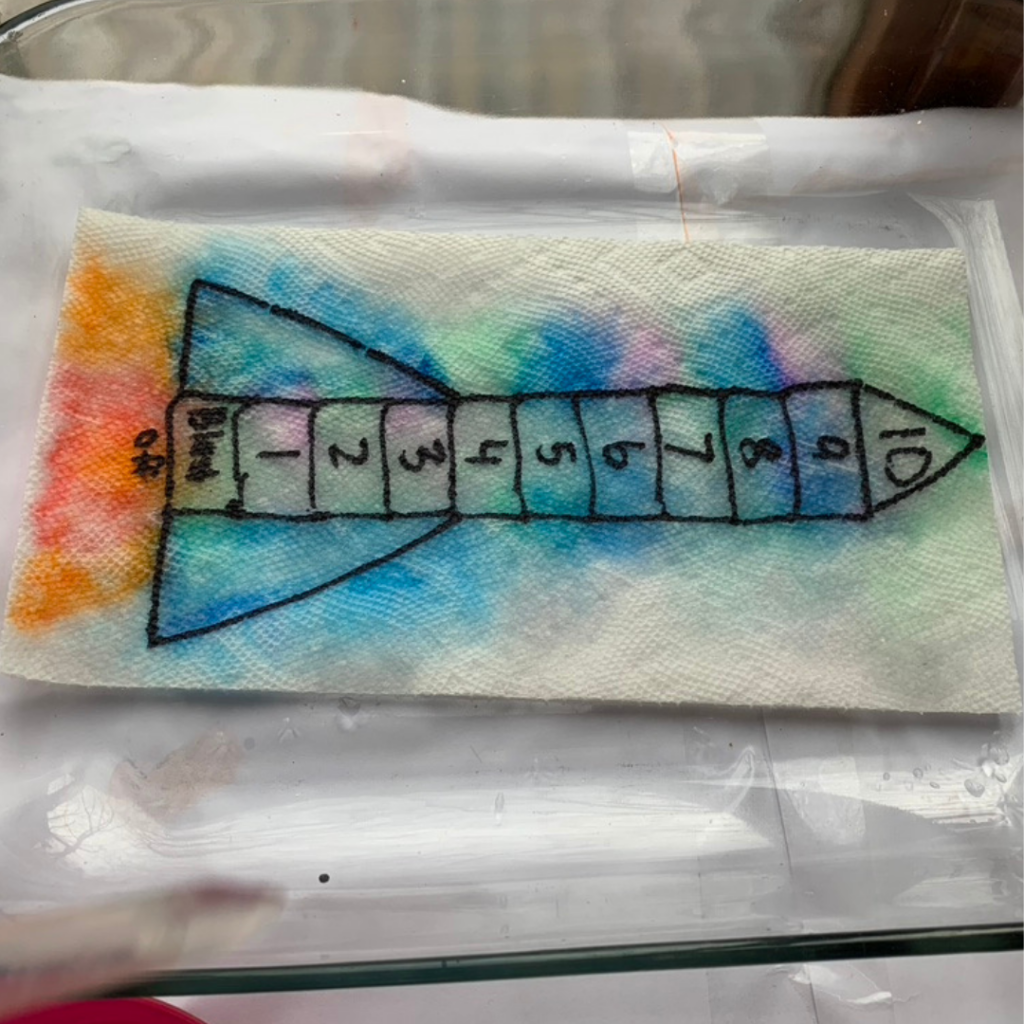
9. Paper Towel Surprise Countdown
Materials:
- Paper towel
- Sharpie
- Washable markers
- Shallow tray
- Water
- Eye droppers
How to Set Up:
- On the top sheet of paper towel use the sharpie to draw a rocket ship with eleven sections. Write in 10 – blast off, starting from the top.
- On the bottom sheet, directly underneath the rocket ship color each section using washable markers. Include the bottom engine with fire colors of red, orange and yellow.
- Place the top sheet on top and the bottom one underneath and place them in a shallow tray.
- Hand your toddler or preschooler a bowl of water and eye dropper. Invite them to countdown from the top by squeezing water on top each section and number to reveal the blast off at the end!
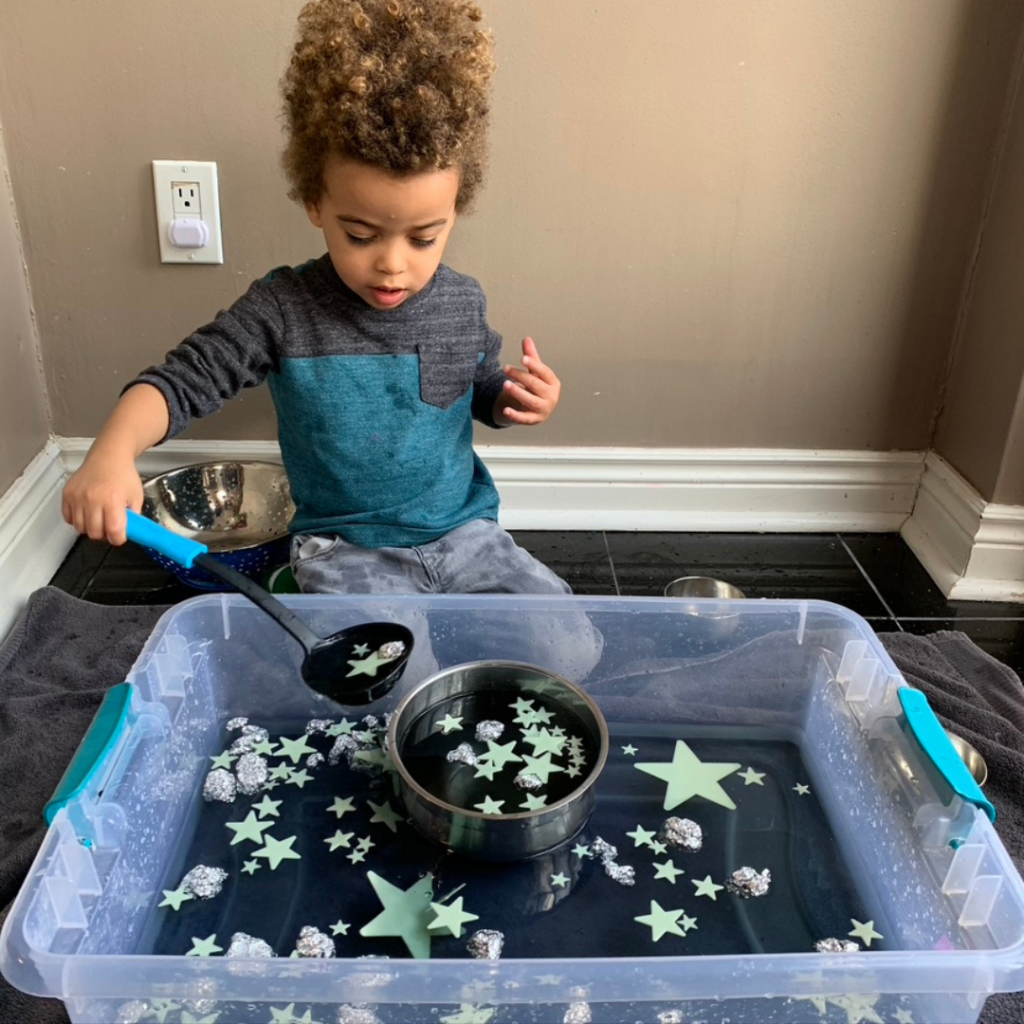
10. Outer Space Water Sensory Bin
Materials:
- Sensory bin
- Water
- Black food coloring
- Aluminum foil
- Glow in the dark stars
- Spoons
- Bowls
- Collander
How to Set Up:
- Fill a sensory bin with water. Add a drop or two of black food coloring. Add glow in the dark stars and small balls of aluminum foil.
- Add spoons and bowls and invite your toddler and preschooler to explore space and in whole new way!
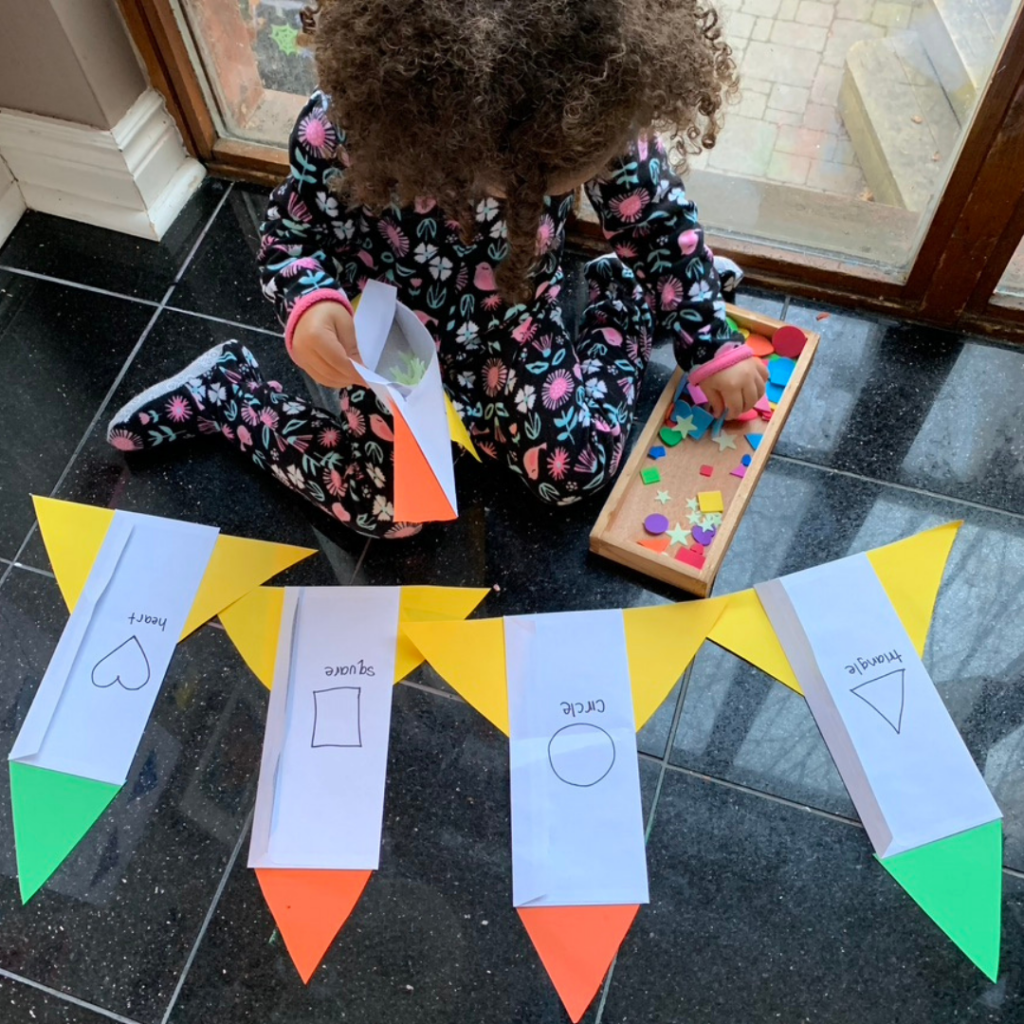
11. Rocket Ship Shape Sort
Materials:
- Construction paper
- Envelopes
- Sharpie
- Foam shapes
- Tape or glue
How to Set Up:
- Cut out the top, wings and flam exhaust for your rocket ship from construction paper. Glue the fire together (you can use the above picture for reference). Then tape the top, wings and fire to the bank of the envelopes to create your rocket ships. Repeat.
- Use the sharpie to draw different shapes on the front of the envelopes.
- Place your foam shapes in a bowl and invite your toddler or preschooler to sort the shapes inside the envelopes.
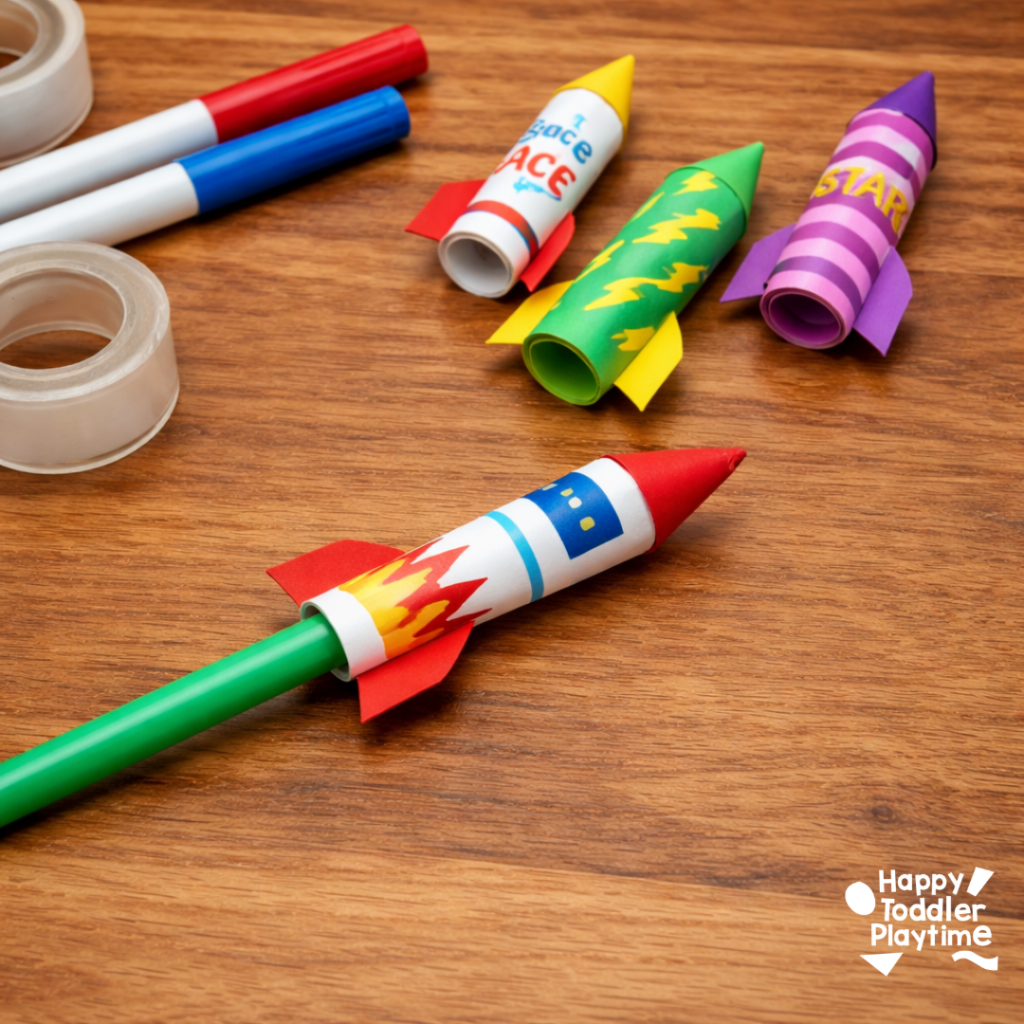
12. Straw Rocket Launcher
A fun mix of craft and science that kids can build and test over and over again.
Materials
- Regular paper (printer paper works well)
- Drinking straws (one standard straw + one wider straw if you have it, but optional)
- Tape
- Markers or crayons
How to Set Up
- Start by cutting small rectangles of paper (about 2–3 inches wide and 4–5 inches long). Each piece will become one rocket. Set a few out so kids can make multiple rockets to test.
- Take one piece of paper and place a straw along the shorter edge. Roll the paper tightly around the straw to form a tube. This creates the body of the rocket.
- Carefully slide the paper tube off the straw and secure the edge with tape so it keeps its shape. Make sure the tube is slightly wider than the straw so it can slide on and off easily.
- Pinch one end of the paper tube closed and seal it with tape. This will be the top of the rocket.
- Cut a small circle, and make a slit to the center. Glue on slit side under the other to create the cone and secure that to the top of the rocket with glue or tape.
- Decorate the rocket using markers or crayons. Kids can draw windows, flames, patterns, or even give their rocket a name.
- (Optional but fun!) Cut and tape on small paper fins or a tiny triangle nose cone to make the rocket more realistic.
- To launch, slide the rocket onto the straw, point it slightly upward, and blow through the straw. The rocket will shoot off as the air pushes it forward.
- Encourage kids to experiment—try different sizes, shapes, or decorations and see which rocket flies the farthest.
13. Galaxy Sensory Bin
Perfect for toddlers and preschoolers.
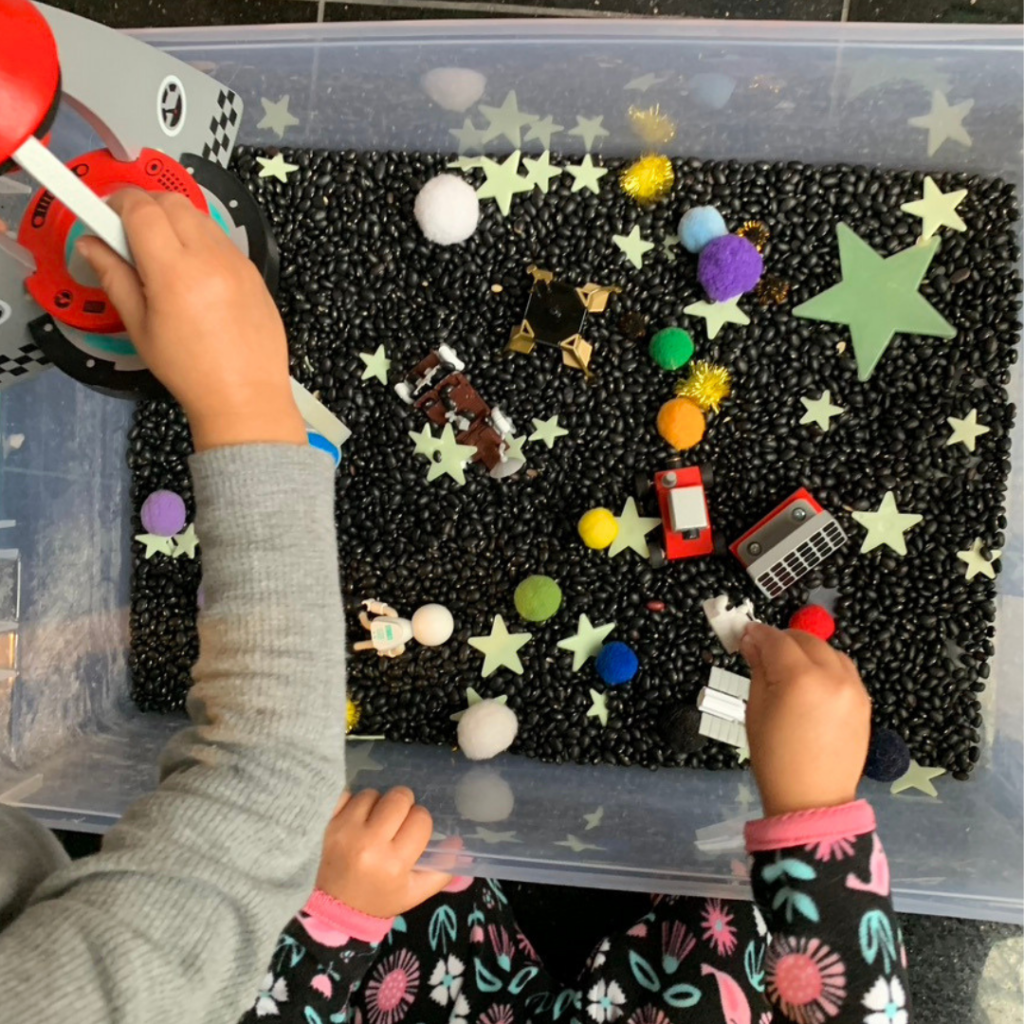
Materials
- Black beans
- Star confetti
- Small scoops and cups
- Toy astronauts or rockets
How to Set Up
Fill a bin with materials and let kids scoop, pour, and explore. Add glow-in-the-dark stars and astronaut toys.
14. Outer Space Asteroid Run
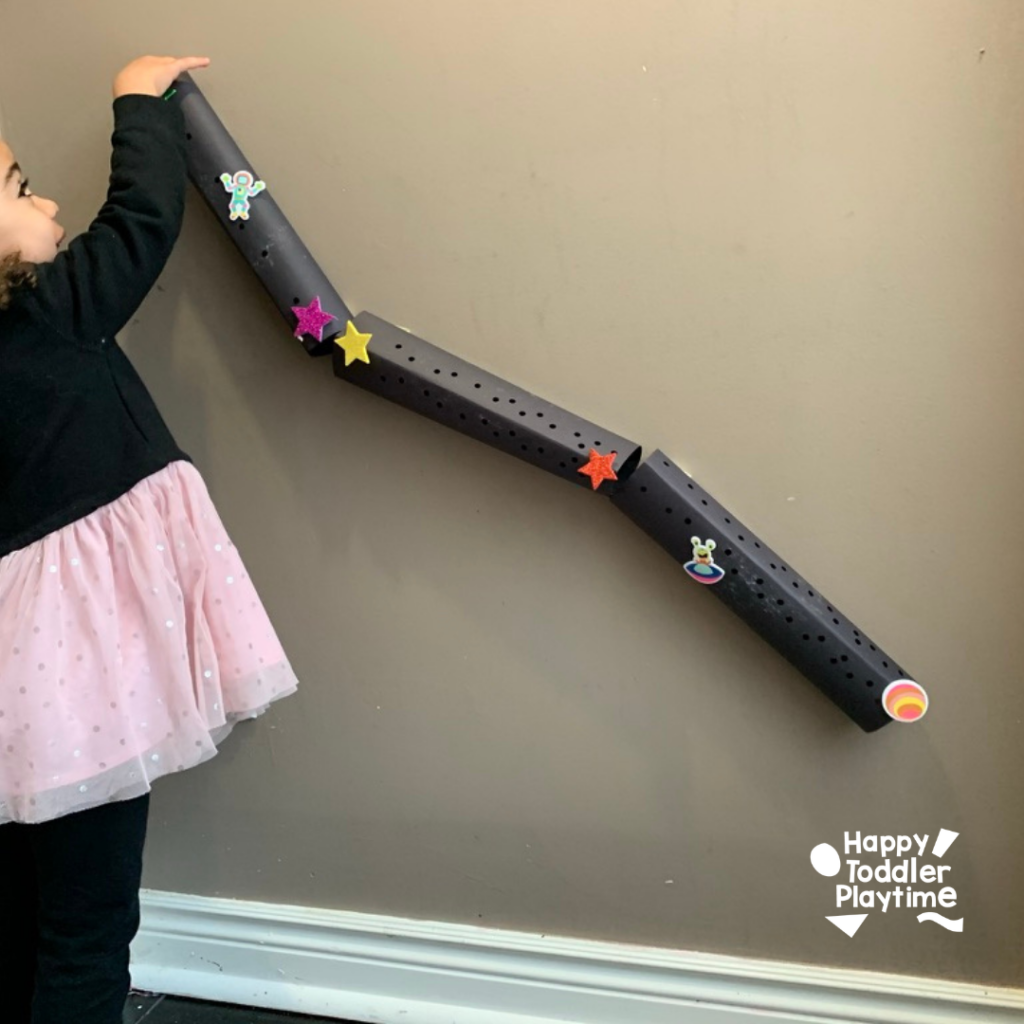
Materials:
- Carboard tubes
- Black construction paper
- Space stickers
- Painter’s tape
- Glue
- Aluminum foil
How to Set Up:
- Wrap black construction paper around cardboard tubes. Decorate with space stickers.
- Tape and arrange the tubes on the water in a way so that a pom pom or ball will flow through the tubes to create a ball run.
- Invite your child to create a from aluminum foil and drop it down the run and see if it works! Make adjustments as necessary.
15. Pop-Up Rocket Ship Card Craft
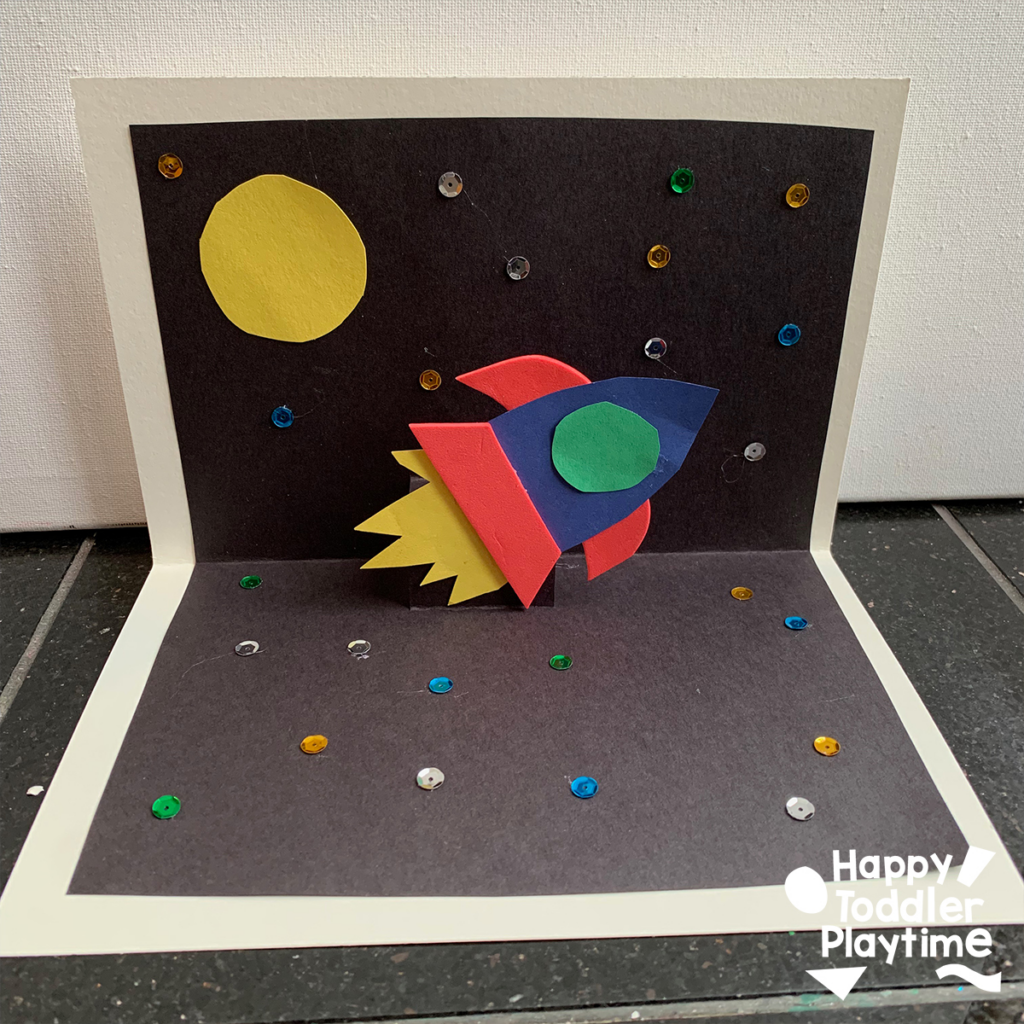
Materials:
- White cardstock
- Black, red, green, blue and yellow construction paper
- Glue
- Sequins
How to Make A Pop-Up Rocket Ship Card
- Grab a sheet of white card stock and black construction paper. Cut an inch off all sides of the black construction paper.
- Fold the black paper in half and make two slits about 3 inches apart and 2 inches long.
- Fold the tab back. Open the black construction paper and fold it inwards to create a step.
- Cut off the parts of the rocket ship from the blue, red, green and yellow construction paper. Use glue to attach it together.
- Use a small amount of glue and attach the rocket ship to the step. Close the card and check to make sure that it does not stick out when closed. If it does, adjust it and add more glue to ensure that it doesn’t move.
- Cut out a circle from yellow construction paper and glue it in one corner.
- Glue down some sequins all over the black for stars.
- Fold the white card stock and glue the black construction paper to it.
16. Coffee Filter Planets
A low-mess, colorful art activity that’s perfect for exploring the solar system in a hands-on way. Kids love watching the colors blend, and you can easily turn this into a simple science conversation about each planet.

Materials
- Coffee filters
- Washable markers (a variety of colors)
- Spray bottle with water
- Tray or baking sheet (to contain mess)
- Paper towels or placemats
How to Set Up
- Place coffee filters on a tray or baking sheet. This helps catch any extra water and keeps cleanup easy.
- Invite kids to color each coffee filter using markers. You can let them create freely, or guide them to match real planet colors using the suggestions below.
Planet Color Guide
- Mercury – black and white
- Venus – yellow and white (with white as the dominant color)
- Earth – green, blue, and white
- Mars – red, orange, and white (with red as the dominant color)
- Jupiter – orange and white with a little red (for the Great Red Spot)
- Saturn – yellow and white (with yellow as the dominant color)
- Uranus – light blue and white (light blue dominant)
- Neptune – dark blue and white with a little black (for the Great Dark Spot)
- Lightly mist each coffee filter with water. Watch as the colors blend and spread to create a soft, watercolor effect. Try not to oversaturate—just a few sprays is enough.
- Set the filters aside to dry completely. The colors will continue to blend slightly as they dry, creating beautiful planet-like patterns.
- Once dry, you can:
- Leave them as is for a soft, organic look
- Trim the edges into circles for more defined “planets”
- Add details like rings for Saturn using paper strips
- Tape or string them up to create a hanging solar system
17. Sponge Painted Starry Sky
Great for younger kids.
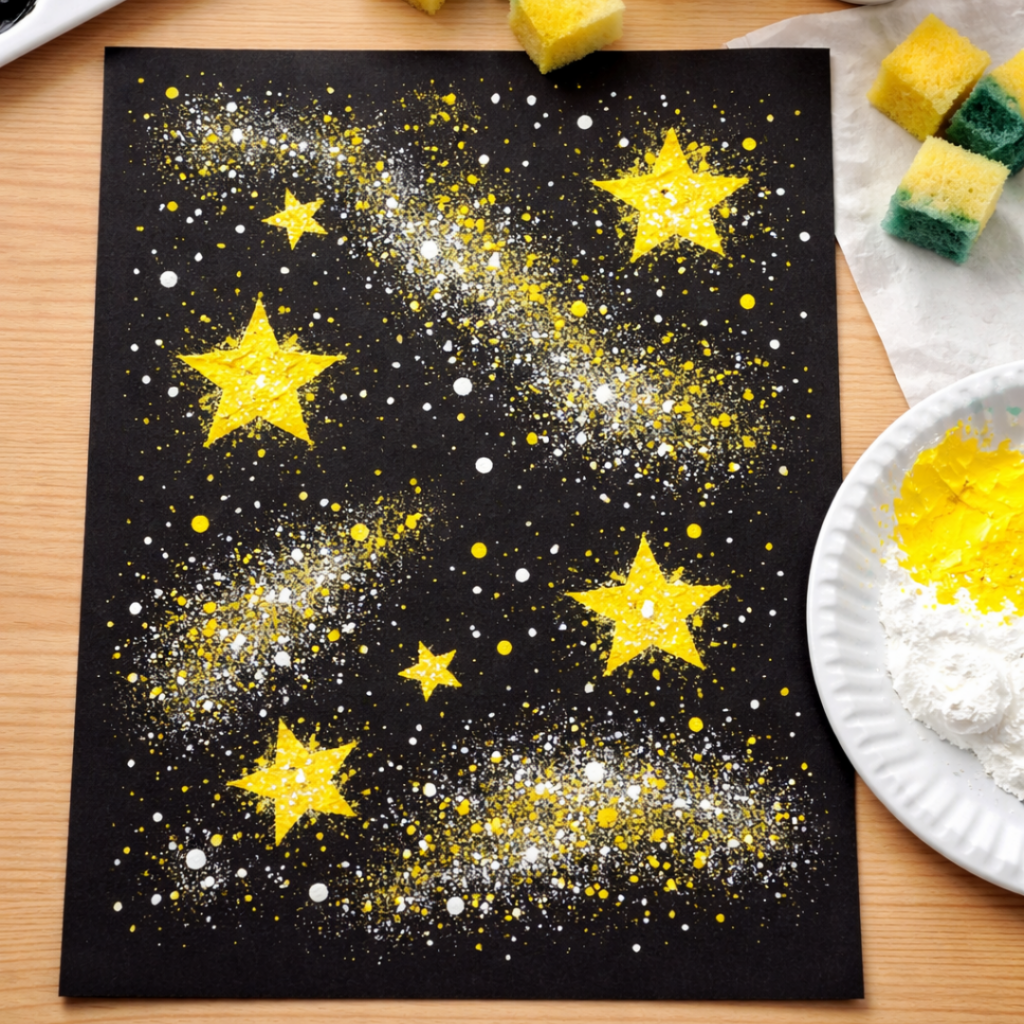
Materials
- Black paper
- Yellow and white paint
- Sponge pieces
- Yellow paper
How to Set Up
Cut out stars from yellow construction paper. Dip sponges in white paint and dab onto paper to create a sky full of stars. Layer with yellow paint for a glowing effect.
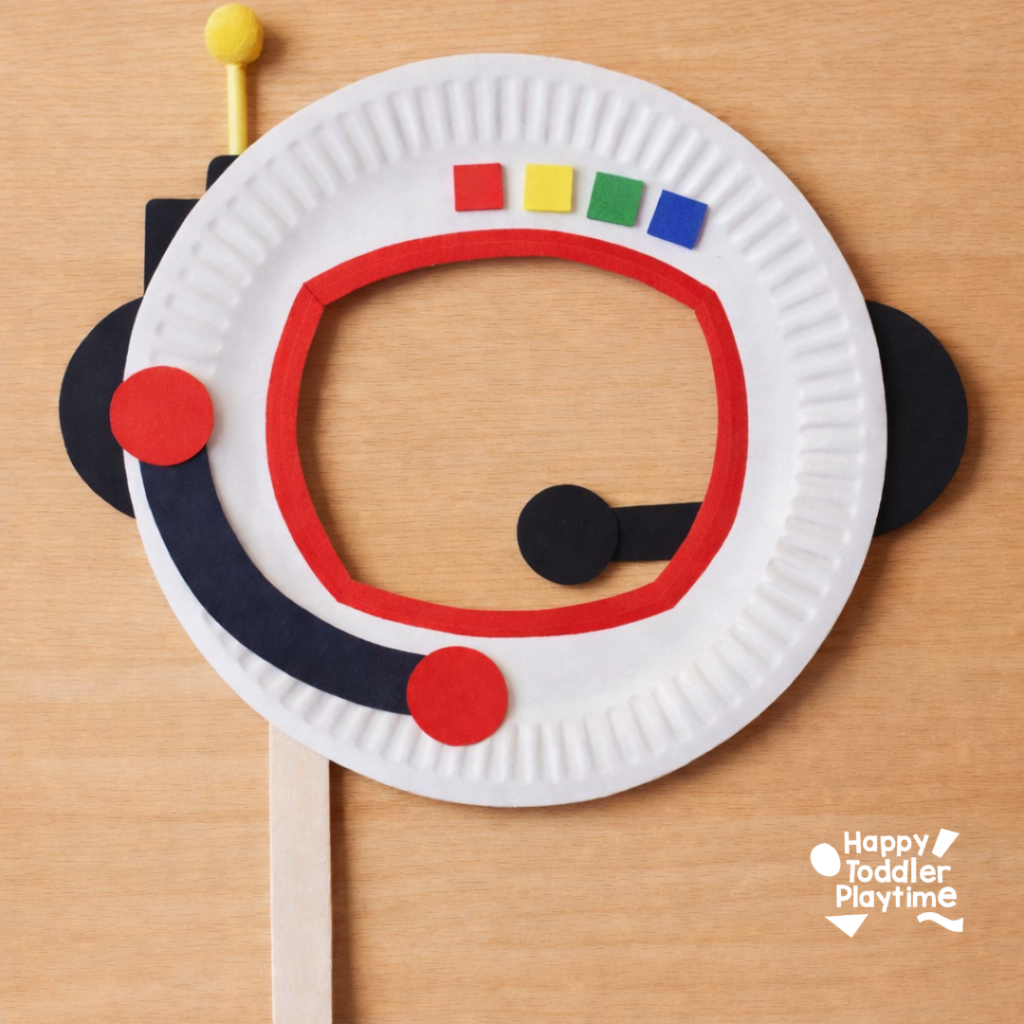
18. Paper Plate Astronaut Helmet Craft
This paper plate astronaut helmet craft is simple, fun, and perfect for pretend play. It’s an easy space craft for kids that uses basic supplies and gives them something they can wear right away.
Materials
- 1 large paper plate
- Foam shapes
- Markers
- Construction paper
- Scissors
- Glue
- Popsicle stick
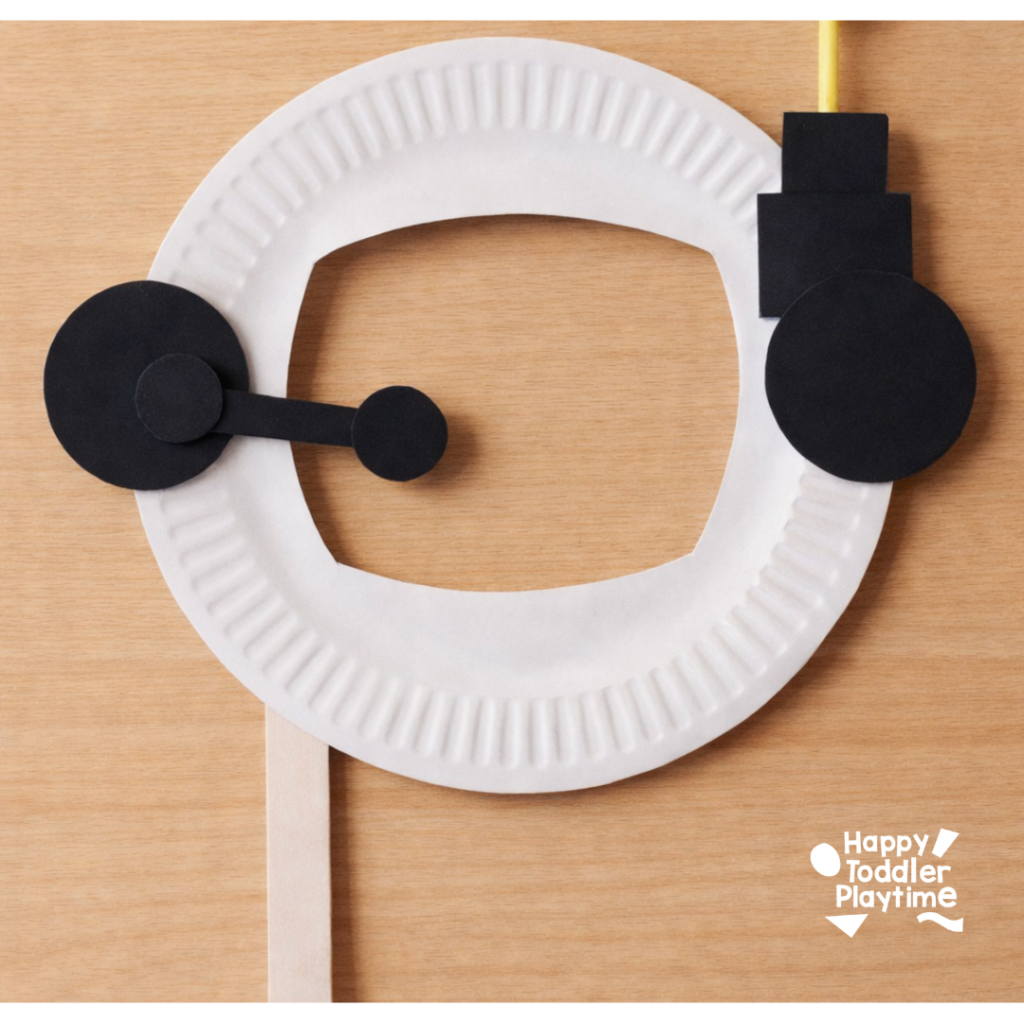
How to Create:
- Carefully cut a large circle or oval out of the center of the plate so your child’s face can peek through. An adult should help with this step.
- Outline the face mask with marker. Cut out small rectangles from foam sheets and glue them as buttons above the opening.
- Print the template shapes and cut them out of black and red construction paper. Glue them to the paper plate.
- Cut and tape on a yellow paper straw. Glue a yellow pom pom on top.
- Finally tape a popsicle stick to the bottom.
- Once everything is dry, your child can put on the helmet and pretend they’re heading off on a space mission.
You can also pair this with a cardboard tube rocket or moon craft for a full space-themed activity.
FAQ: Space Crafts for Kids
What age are space crafts best for?
Space crafts can be adapted for all ages. Toddlers (2–3) can enjoy sensory bins and simple painting, while preschoolers (3–5) can build rockets and explore more detailed crafts. Older kids can dive into STEAM-based projects.
What are the easiest space crafts for toddlers?
Some of the easiest options include:
- Sponge painted stars
- Galaxy sensory bins
- Coffee filter planets
- Foil stamping moon art
These require minimal setup and focus on process over perfection.
How do you make space crafts educational?
Talk about what your child is creating. For example:
- “That’s Earth—where do we live?”
- “Why do rockets need fuel?”
- “Which planet is the biggest?”
Simple conversations turn crafts into learning moments.
What materials do I need for space crafts?
You likely already have everything at home:
- Paper plates
- Cardboard tubes
- Paint and brushes
- Markers
- Recycled materials
- Sensory fillers like rice or beans
How can I make space activities more engaging?
Add movement and play:
- Turn crafts into pretend play props
- Use countdowns and sound effects
- Combine crafts with books about space
- Let kids create their own “missions”
Space crafts for kids are one of the easiest ways to combine creativity, play, and learning—all in one activity. You don’t need a complicated setup or expensive supplies. Just a little paint, a few recycled materials, and a curious kid ready to explore.
Set it up, step back, and let their imagination take off.
Play2Learn Toddler & Preschool Programs for Curious Toddlers
There is no limit to your toddler’s energy and curiosity. That energy and curiosity although a joy can be challenging at times. Their interest in just about everything around them is what makes them great learners. One and two year olds can soak up so much just from their senses!
But as a teacher or parent that thirst for learning can be exhausting. That is why I created this toddler and preschooler program. To help you get the most out of this time with your curious toddler without having to come up with creative ways to play and interact with them.
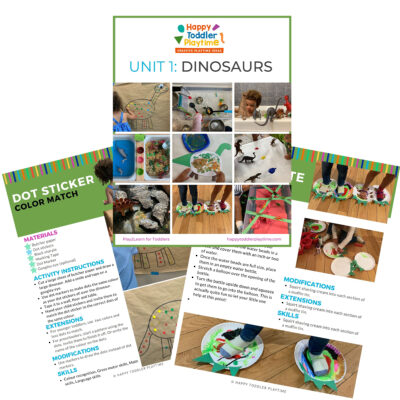
Play2Learn for Toddlers includes 20 Units for toddlers. Each 2-week toddler unit has 20 super easy to set up and engaging activities for toddlers 18 months to 3 years.
Play2Learn Preschool which includes 20 Units for preschoolers. Each 2-week preschoolers unit has 20 unique and easy to set up and engaging activities for preschoolers 3 years to 5 years. That’s over 800 learning activities for your toddler and preschooler at your fingertips! So many ideas you and your child will never be bored again!
These toddler and preschool lesson plans and activities will definitely keep you and your toddler and preschooler busy playing and learning!
Click here for more information: Play2Learn
Book: Exciting Sensory Bins for Curious Kids
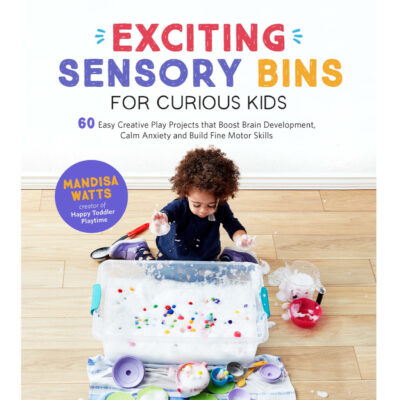
Did you know I wrote a book of sensory bins? Click here for more information Exciting Sensory Bin for Curious Kids. Or grab your copy at Amazon.
Boring afternoons are made exciting with awesome animal-based bins, like Salty Shark Bay or Yarn Farm. Pretend play bins like Birthday Cake Sensory Play or Bubble Tea Party encourage creativity and imagination. And your kids will have so much fun they won’t even know they’re getting smarter with STEAM (science, technology, engineering, art and math) activities like Sink or Float Soup, Magnetic Letter Hunt or Ice Cream Scoop and Count.
Designed for toddlers 18 months and up.
Book: Super STEAM Activity Book for Kids
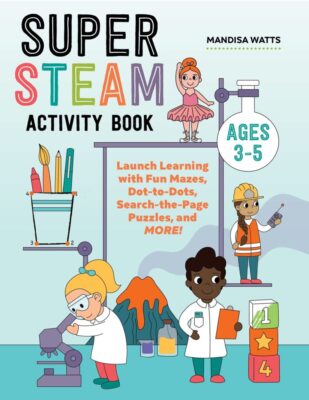
Learning all about science, technology, engineering, art, and math sets kids up for scholastic success―and it can be so much fun! Watch kids enjoy building STEAM skills as they color friendly fish, help water find its way to tree roots, solve math problems with mazes, and more.
Find out more and grab your copy here.
Designed for preschoolers 3 years old and up.
Book: Big Book of Riddles for Kids
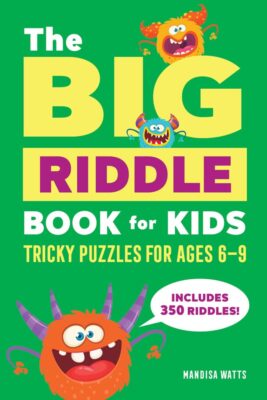
Riddle me this: What’s an exciting way to practice critical thinking while having a blast? The Big Riddle Book for Kids, of course! From hilarious puns to tough brain teasers, kids can build problem-solving skills with hundreds of riddles tha. t show them how to think outside the box.
- 350 riddles for kids—Have hours of fun with riddles, puns and jokes, and math and logic puzzles that’ll get their wheels turning!
- Level up their skills—Riddles get trickier as kids progress through the book, challenging them as they get better at solving puzzles!
- Double-check their work—Kids can check their answers in the back of the book with a handy answer key.
Help children expand their minds while having fun with this puzzle book for kids!
Designed for kids ages 6 years old and up.
TV Show: Curious Crafting
I’m so excited to share my crafting TV show Curious Crafting which launched in July 2022 on TVOkids and TVOkids YouTube! Season 2 aired in August 2023! My show was also nominated in 2023 for Best Live Action Preschool Series by the Youth Media Alliance Awards of Excellence.
Curious Crafting Season 1 is also now airing in Australia on ABC! Watch it here!
Set in the ultimate crafting space, Curious Crafting is a short form pre-school age series about the joy of making crafts. I lead a rotating cast of adorable little preschoolers (including my own) making magic out of common household objects.
In each episode we transform recycled items into magical crafts like a milk carton school bus, paper bag puppet or cotton pad turtle. The crafters learn and laugh their way through each activity while demonstrating what their young imaginations can create.
Curious Crafting shares the adventure and joy of making art with takeaway lessons for creating crafts at home.
This show designed for toddlers and preschoolers 2.5 years old and up.