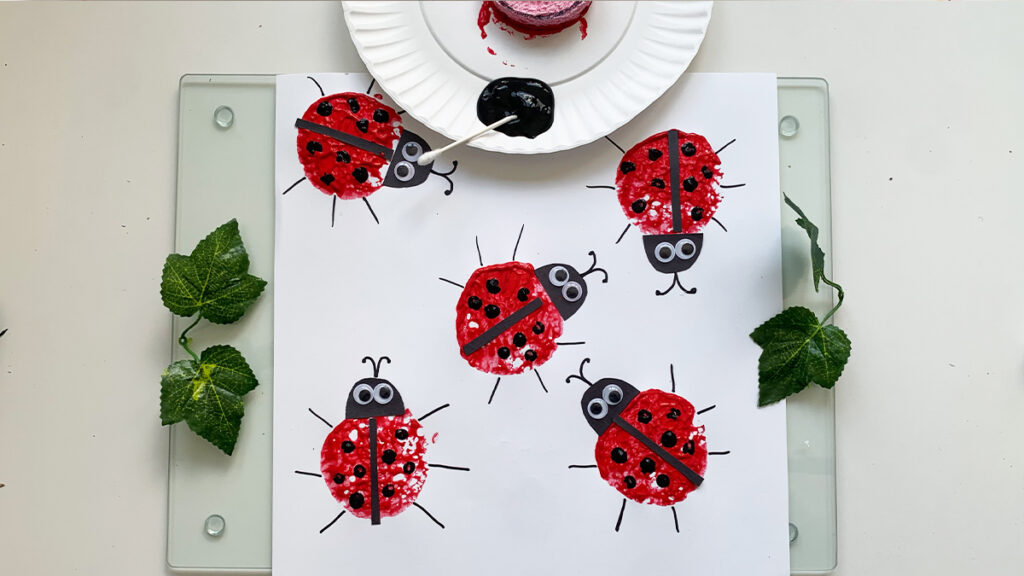
As spring comes to life and our garden begin to buzz with activity, not just from the bees and the birds, but from an army of adorable, hard-working ladybugs. These little beetles, with their iconic red shells and black spots, are more than just cute; they’re fierce protectors of plants, munching away harmful pests. To celebrate these tiny heroes, we’ve put together a fun, sponge-painted ladybug craft that’s perfect for kids who are fascinated by the little wonders of nature.
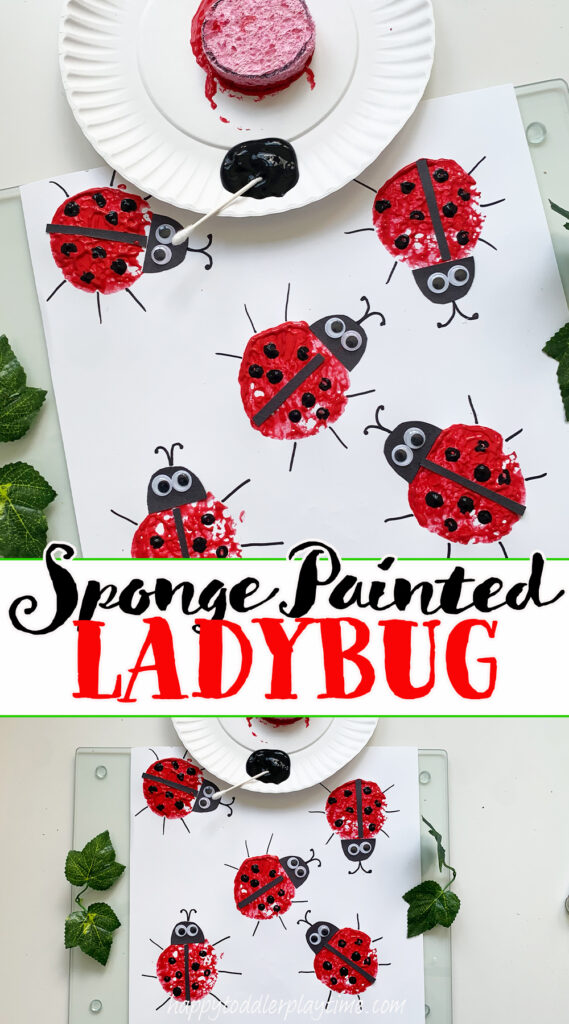
How to make a Sponge Painted Ladybug
Material List
- Sponges
- Red paint
- Paper plates (for paint)
- Scissors
- Black construction paper
- Glue
- Black Sharpie
- Black paint
- White card stock
- Googley eyes
Directions
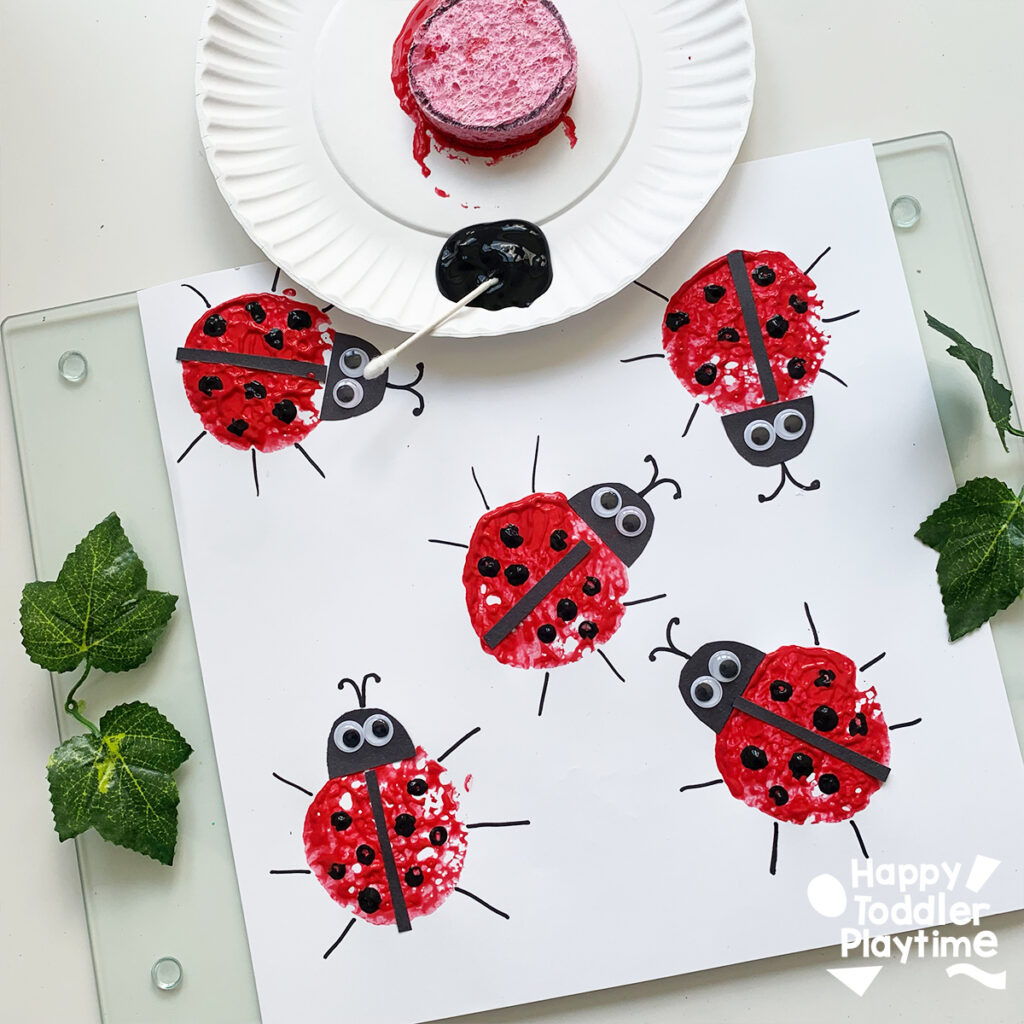
- Prepare Your Sponge: Start by cutting your sponge into a circle—these will be your ladybugs’ bodies. Use the bottom of a cup or a roll of tape to trace on the sponge to get the circle shape.
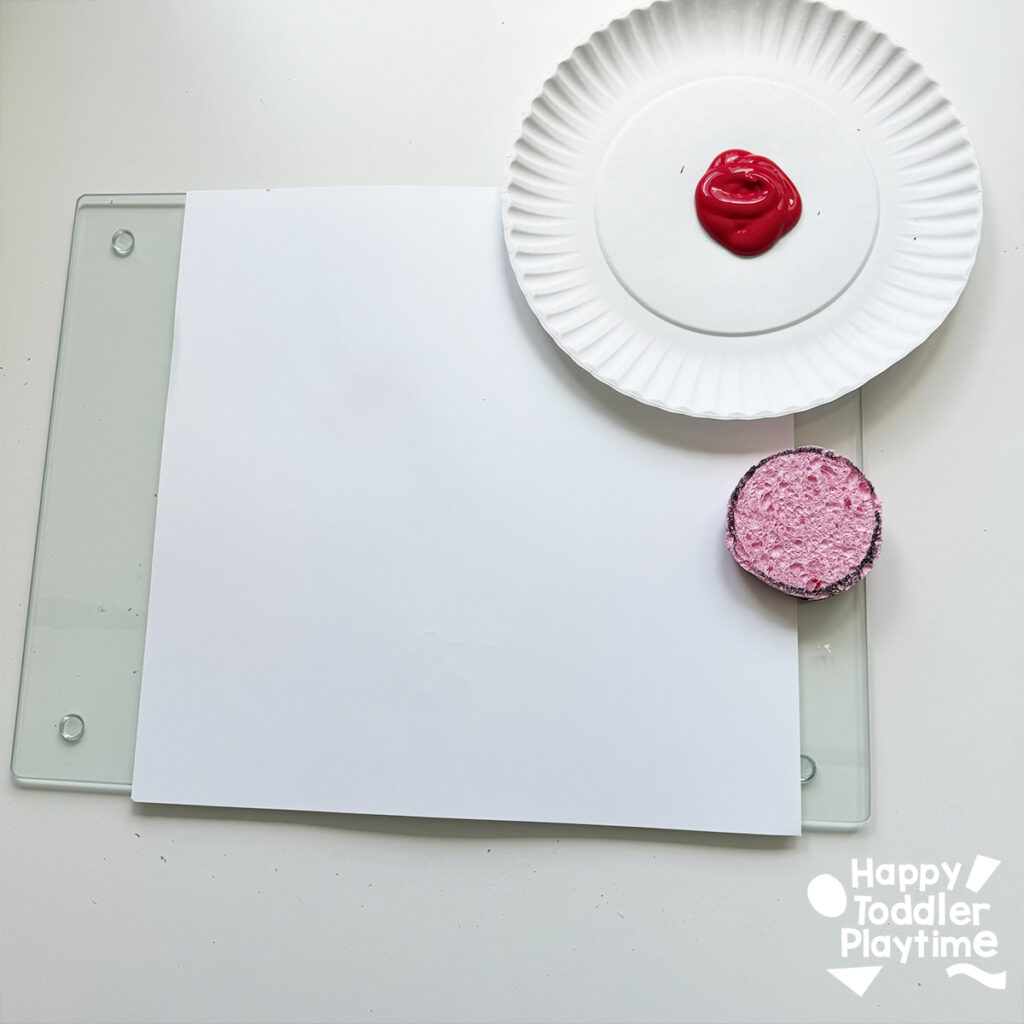
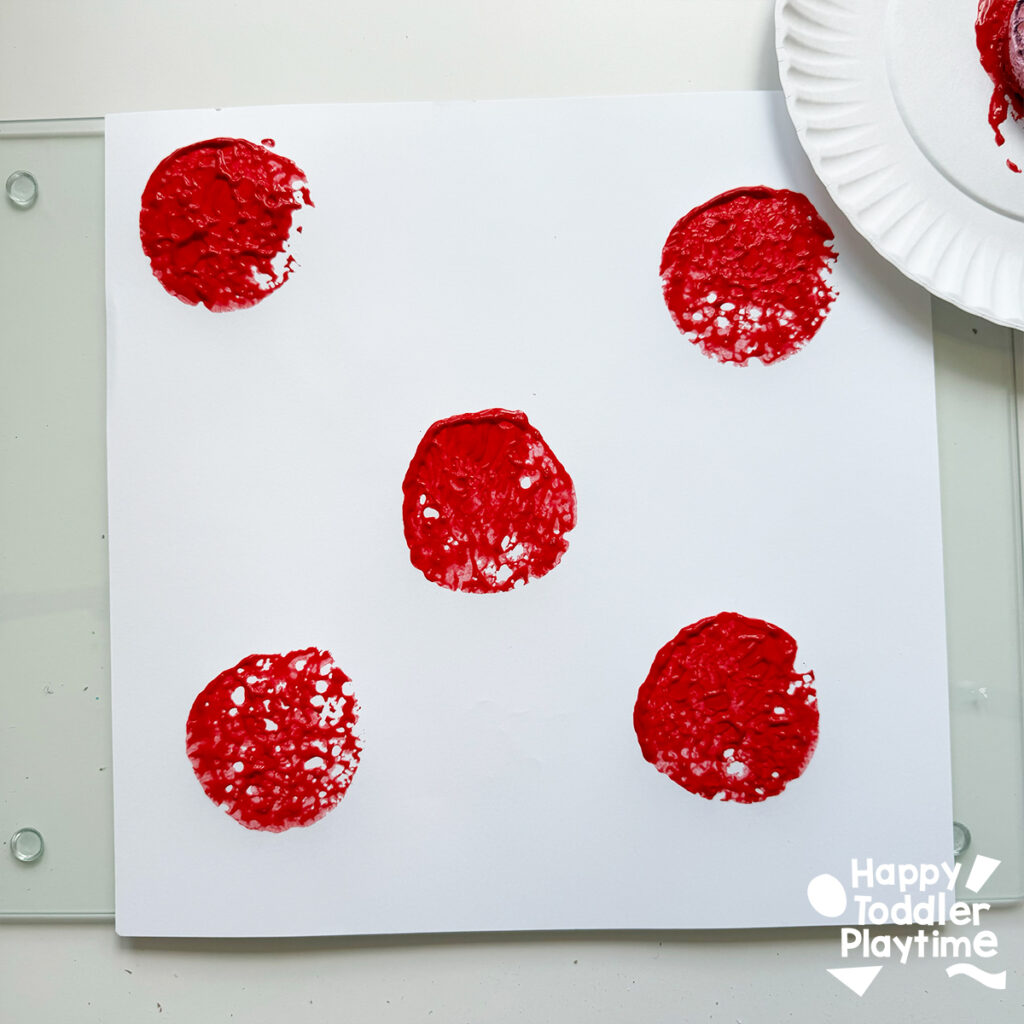
- Paint the Body: Pour some red paint onto a paper plate. Dip the round sponge into the red paint and press it firmly onto the white card stock to create the ladybug’s red body. Repeat reveal times on the page to fill the spaces with ladybugs.
- Add Details: Once the red paint dries, use black paint to add spots to the ladybug. Cut a small piece of black construction paper to make the head and the black line for the wings and glue it at one end of the red circle and to the middle of the red circles.


- Glue on Eyes and add spots: Glue on googley eyes to the top of the ladybug heads. Pous some black paint on to the paper plate and use a Q-tip to paint the black spots on the back of ladybugs.


- Final Touches: Use the black Sharpie to add legs and antennae to complete your ladybug.
Other Insect Crafts
Ladybug Potato Masher Craft:
Use a potato masher to create unique and textured ladybug bodies. Just dip the masher in red paint, press onto paper, and add details with black paint for a quick and quirky craft.
Rocking Paper Plate Ladybug Craft
Create a playful, rocking ladybug with a paper plate. Paint the plate red, fold it in half, and decorate with black spots. Add a black head and googly eyes for a ladybug that rocks back and forth.
Popsicle Stick Butterfly Craft
Branch out with a Popsicle Stick Butterfly Craft. Paint Popsicle sticks in vibrant colors, arrange them in a butterfly shape, and add details with markers or stickers for a fluttery fun creation.
Share Your Crafting Moments
We’d love to see how your sponge-painted ladybugs turned out! Share your photos and experiences in our crafting community online. Your creations inspire us all, so don’t hesitate to post your pictures or send them in. Let’s spread the joy of crafting!
This sponge-painted ladybug craft is not only a delightful project to welcome spring but also a great way to learn about the important role these charming insects play in our gardens. Gather your materials, enjoy the process, and remember—every little creature, no matter how small, has its role in nature’s tapestry!
Play2Learn Toddler & Preschool Programs for Curious Toddlers
There is no limit to your toddler’s energy and curiosity. That energy and curiosity although a joy can be challenging at times. Their interest in just about everything around them is what makes them great learners. One and two year olds can soak up so much just from their senses!
But as a teacher or parent that thirst for learning can be exhausting. That is why I created this toddler and preschooler program. To help you get the most out of this time with your curious toddler without having to come up with creative ways to play and interact with them.
Play2Learn for Toddlers includes 20 Units for toddlers. Each 2-week toddler unit has 20 super easy to set up and engaging activities for toddlers 18 months to 3 years.
Play2Learn Preschool which includes 20 Units for preschoolers. Each 2-week preschoolers unit has 20 unique and easy to set up and engaging activities for preschoolers 3 years to 5 years. That’s over 800 learning activities for your toddler and preschooler at your fingertips! So many ideas you and your child will never be bored again!
These toddler and preschool lesson plans and activities will definitely keep you and your toddler and preschooler busy playing and learning!
Click here for more information: Play2Learn
Book: Exciting Sensory Bins for Curious Kids
Did you know I wrote a book of sensory bins? Click here for more information Exciting Sensory Bin for Curious Kids. Or grab your copy at Amazon.
Boring afternoons are made exciting with awesome animal-based bins, like Salty Shark Bay or Yarn Farm. Pretend play bins like Birthday Cake Sensory Play or Bubble Tea Party encourage creativity and imagination. And your kids will have so much fun they won’t even know they’re getting smarter with STEAM (science, technology, engineering, art and math) activities like Sink or Float Soup, Magnetic Letter Hunt or Ice Cream Scoop and Count.
Designed for toddlers 18 months and up.
Book: Super STEAM Activity Book for Kids
Learning all about science, technology, engineering, art, and math sets kids up for scholastic success―and it can be so much fun! Watch kids enjoy building STEAM skills as they color friendly fish, help water find its way to tree roots, solve math problems with mazes, and more.
Find out more and grab your copy here.
Designed for preschoolers 3 years old and up.
Book: Big Book of Riddles for Kids
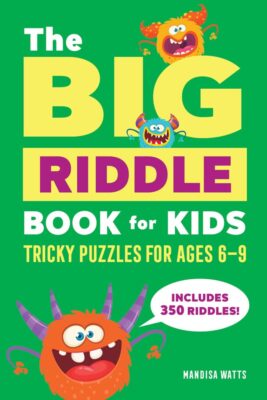
Riddle me this: What’s an exciting way to practice critical thinking while having a blast? The Big Riddle Book for Kids, of course! From hilarious puns to tough brain teasers, kids can build problem-solving skills with hundreds of riddles tha. t show them how to think outside the box.
- 350 riddles for kids—Have hours of fun with riddles, puns and jokes, and math and logic puzzles that’ll get their wheels turning!
- Level up their skills—Riddles get trickier as kids progress through the book, challenging them as they get better at solving puzzles!
- Double-check their work—Kids can check their answers in the back of the book with a handy answer key.
Help children expand their minds while having fun with this puzzle book for kids!
Designed for kids ages 6 years old and up.
TV Show: Curious Crafting
I’m so excited to share my crafting TV show Curious Crafting which launched in July 2022 on TVOkids and TVOkids YouTube! Season 2 aired in August 2023! My show was also nominated in 2023 for Best Live Action Preschool Series by the Youth Media Alliance Awards of Excellence.
Curious Crafting Season 1 is also now airing in Australia on ABC! Watch it here!
Set in the ultimate crafting space, Curious Crafting is a short form pre-school age series about the joy of making crafts. I lead a rotating cast of adorable little preschoolers (including my own) making magic out of common household objects.
In each episode we transform recycled items into magical crafts like a milk carton school bus, paper bag puppet or cotton pad turtle. The crafters learn and laugh their way through each activity while demonstrating what their young imaginations can create.
Curious Crafting shares the adventure and joy of making art with takeaway lessons for creating crafts at home.
This show designed for toddlers and preschoolers 2.5 years old and up.

Sponge Painted Ladybug Craft
Materials
- Sponges
- Red paint
- Paper plates (for paint)
- Scissors
- Black construction paper
- Glue
- Black Sharpie
- Black paint
- White card stock
- Googely eyes
- Q-tip
Instructions
- Prepare Your Sponge: Start by cutting your sponge into a circle—these will be your ladybugs' bodies. Use the bottom of a cup or a roll of tape to trace on the sponge to get the circle shape.
- Paint the Body: Pour some red paint onto a paper plate. Dip the round sponge into the red paint and press it firmly onto the white card stock to create the ladybug’s red body. Repeat reveal times on the page to fill the spaces with ladybugs.
- Add Details: Once the red paint dries, use black paint to add spots to the ladybug. Cut a small piece of black construction paper to make the head and the black line for the wings and glue it at one end of the red circle and to the middle of the red circles.
- Glue on Eyes:Glue on googley eyes to the top of the ladybug heads.
- Final Touches: Use the black Sharpie to add legs and antennae to complete your ladybug.


