Easy 2-Ingredient Sensory Play Recipes for Kids

This post may contain affiliate links. Please read our disclosure policy. Adult supervision is required for all activities found on HappyToddlerPlaytime.com.

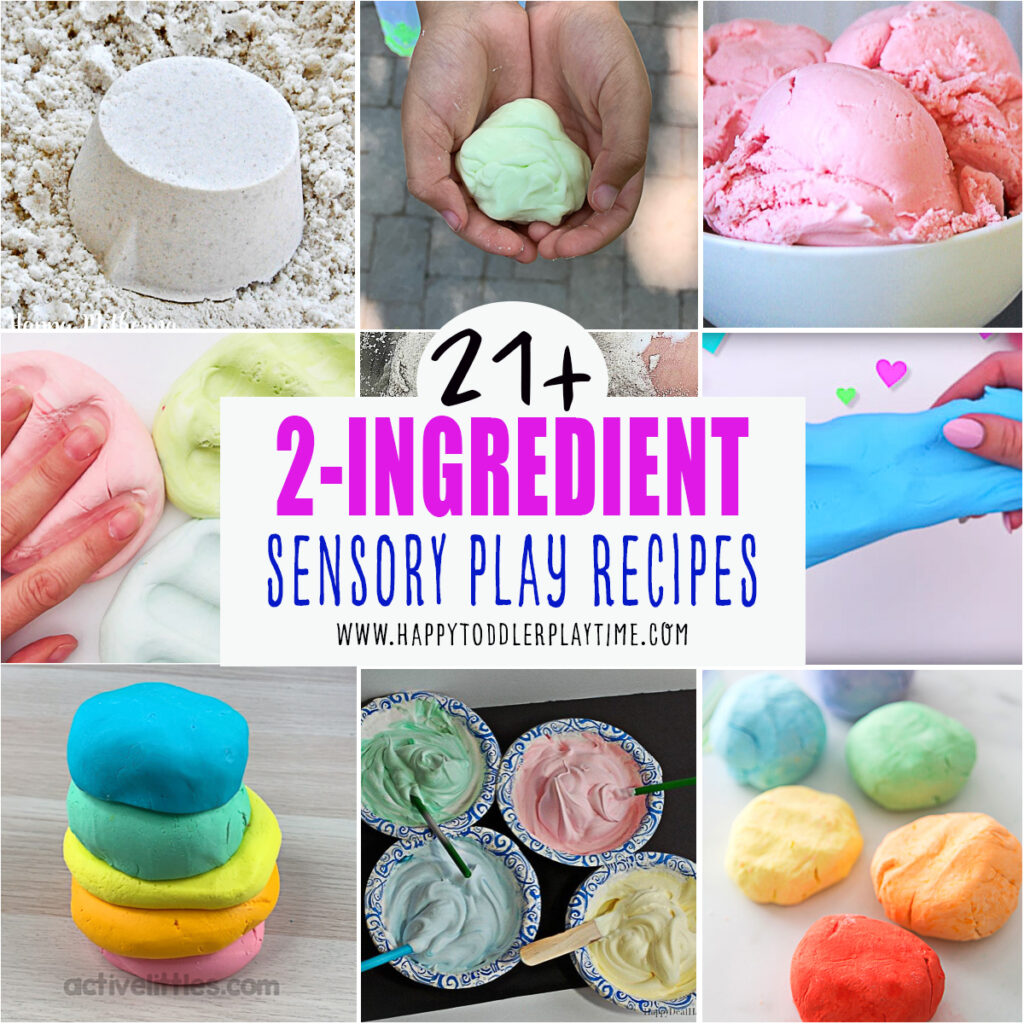
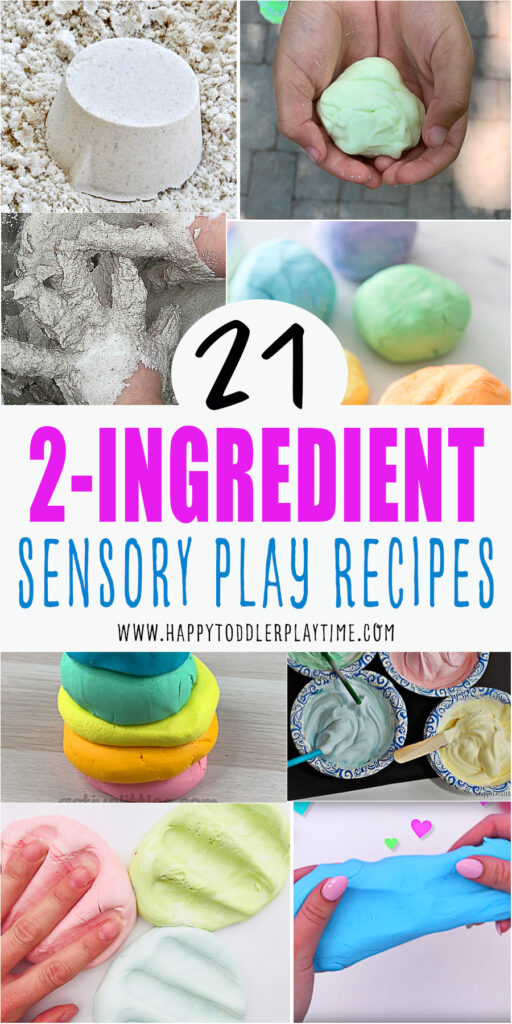
Need an easy activity you can make in minutes? These two-ingredient sensory play recipes use simple household supplies to create dough, foam, slime, paint and pretend snow for toddlers and preschoolers.

A Quick Safety Note

Always supervise children during sensory play. These recipes are not intended for eating unless specifically noted. Keep shaving cream, glue, dish soap, lotion and baby oil away from children’s eyes and mouths. Skip recipes containing non-food ingredients if your child is still likely to taste the materials.

Basic Sensory Play Ingredients

Keep a few of these supplies on hand for quick sensory activities:

  • Baking soda
  • Cornstarch
  • Corn flour
  • Shaving cream
  • Dish soap
  • Baby oil
  • White school glue
  • Lotion
  • Powdered sugar

Bowls, spoons, scoops, cookie cutters and small toys can be added during play.

Easy 2-Ingredient Sensory Play Recipes for Kids

1. Two-Ingredient Oobleck

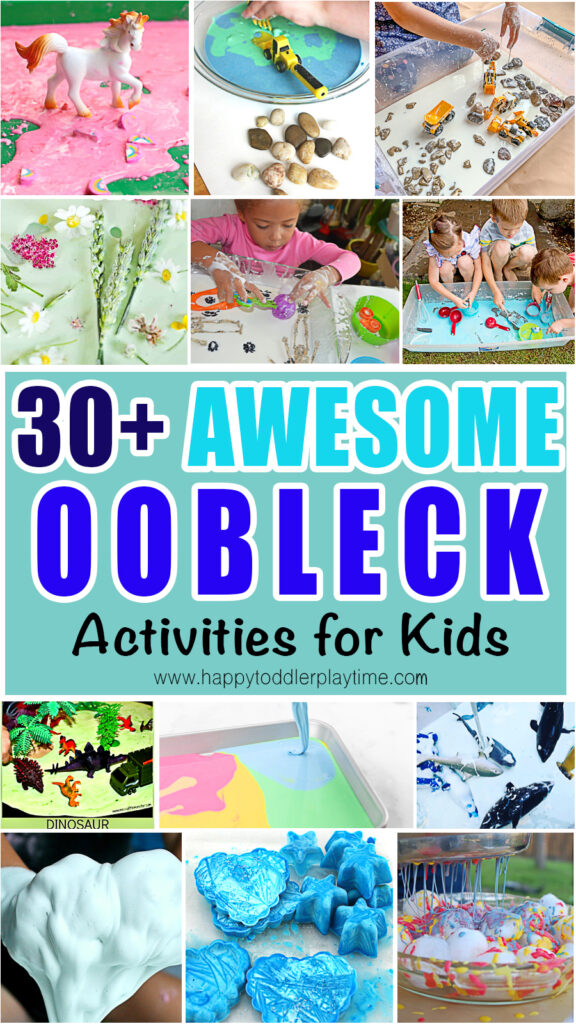
Learn how to make one of the best and easiest sensory play materials for kids – oobleck! It uses only two ingredients water and corn starch so its taste safe for babies and toddlers! Oobleck feels solid when squeezed but flows like a liquid when released.

What You’ll Need

  • 2 cups cornstarch
  • 1 cup water

How to Make It

  1. Pour the cornstarch into a shallow bin. Slowly add the water while mixing with your hands or a spoon.
  2. If the oobleck is too watery, add more cornstarch. If it is too dry, add a small amount of water.
  3. Invite your child to squeeze it, scoop it and watch it drip through their fingers.

2. Two-Ingredient Slime

This simple is soft, stretchy and easy to make without glue or borax. Its texture is closer to a silky dough than traditional slime, making it fun to squeeze, pull and roll.

Materials

  • Cornstarch
  • Hair conditioner
  • Mixing bowl
  • Spoon

How to Make It

  1. Add equal amounts of cornstarch and hair conditioner to a bowl.
  2. Stir until the ingredients begin to combine.
  3. Knead the mixture with your hands until it becomes soft and smooth.
  4. If it feels wet or sticky, add more cornstarch. If it is too dry, add a little more conditioner.
  5. Continue adjusting and kneading until you have a soft, stretchy dough.

This recipe is not taste-safe. Keep it away from children’s eyes and mouths.

3. Silly Putty or Soap Dough Recipe

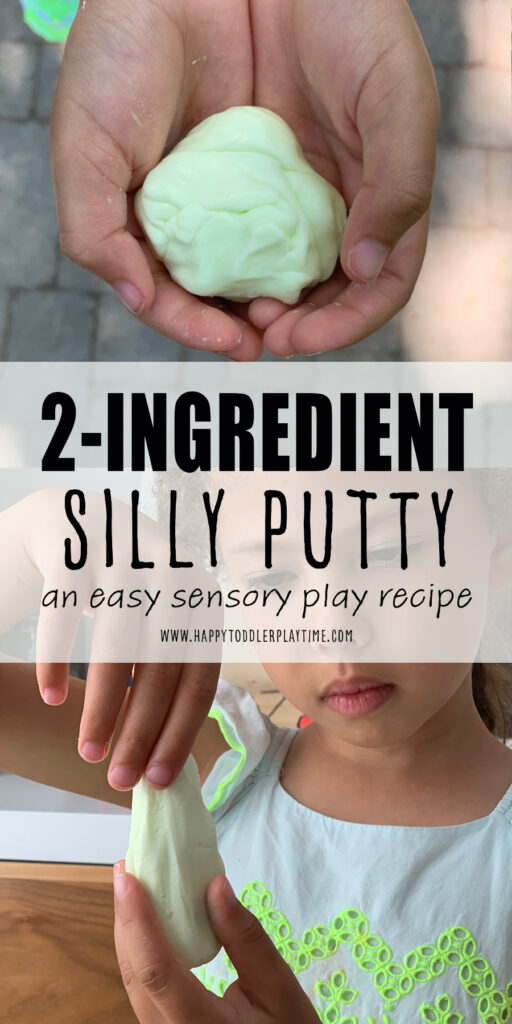
This recipe is so easy and safe that my 5.5-year-old was able to dive right in and make it herself, under a watchful eye. 

Ingredients

  • Cornstarch
  • Dish soap

How to Make It

  1. To make this silly putty you will need cornstarch and dish soap. You don’t really need to add food colouring. The silly putty will take on the colour of your dish soap. So if your dish soap is green (like ours was), your silly putty will be green. If it’s blue, your silly putty will be blue.
  2. In a mixing bowl, combine 3 tablespoons of cornstarch and 2 tablespoons of dish liquid. Mix the two together until all the ingredients have been combined. 
  3. Pick your silly putty up in your hands and start to work the ingredients in together. If the silly putty is sticking to your hands: create a little ball, push your finger into the middle to create a bowl. Fold in a small amount of cornstarch (pea-sized amount) into the middle of your silly putty bowl, close it and work it in with your hands. Do this until the silly putty no longer sticks to your hands. Adding a very small amount each time. 
  4. If the silly putty is too dry: create a little ball, push your finger into the middle to create a bowl. Fold in a small amount of dish liquid (pea-sized amount) into the middle of your silly putty bowl and work it in with your hands. Do this until the silly putty no longer sticks to your hands.
  5. You have achieved the desired consistency of silly putty when it is moldable and soft and doesn’t stick to your hands.

4. Marshmallow Edible Playdough

This is a sweet, squishy alternative to traditional playdough. The marshmallows create a stretchy base, while powdered sugar helps transform it into a moldable dough.

Materials

  • 1 cup mini marshmallows
  • 1 to 2 cups powdered sugar, plus extra as needed
  • Microwave-safe bowl
  • Spoon
  • Silicone mat or parchment paper

How to Make It

  1. Place the marshmallows in a microwave-safe bowl.
  2. Have an adult microwave them in 10-second intervals until they are soft and beginning to melt.
  3. Stir carefully, then allow the mixture to cool until it can be handled safely.
  4. Add the powdered sugar a little at a time.
  5. Knead the mixture on a surface dusted with powdered sugar until it becomes soft and no longer sticks to your hands.
  6. Add more powdered sugar as needed to reach a playdough-like consistency.

Although the ingredients are food-based, this dough should be treated as a supervised activity rather than a snack. Check for allergies, and make sure the mixture is completely cool before children touch it.

5. Two-Ingredient Moon Sand

If you’re looking for a fun and tactile activity that’ll keep the little ones entertained and learning through sensory play, you’ve got to try making cloud dough or moon sand. Moon sand feels crumbly but can be packed into cups and molds.

What You’ll Need

  • 4 cups corn flour
  • ½ cup baby oil

How to Make It

  1. Combine the corn flour and baby oil in a large bin. Mix until the oil is evenly distributed and the mixture holds its shape when squeezed.
  2. Add scoops, cups and sand molds for pretend baking or construction play.
  3. Baby oil must not be swallowed. Do not offer this recipe to children who put sensory materials in their mouths.

6. Two-Ingredient Frozen Playdough

This has a soft, snowy texture that is perfect for winter sensory play. Children can squeeze it, mold it and use it to build miniature snowballs or snowmen.

Materials

  • 2 cups baking soda
  • Approximately ½ cup white lotion
  • Mixing bowl
  • Spoon

How to Make It

  1. Pour the baking soda into a mixing bowl.
  2. Add the lotion a small amount at a time, stirring after each addition.
  3. When the mixture begins to clump together, knead it with your hands.
  4. Continue adding small squirts of lotion until the dough is soft and moldable.
  5. If the dough becomes sticky, mix in a little more baking soda.

The amount of lotion needed may vary depending on its thickness. This recipe is not taste-safe.

7. Two-Ingredient Bubble Foam

Here’s an easy way to make a soft and fluffy “clean” sensory bin for your toddler using just 2 common household ingredients you probably already have at home! Hours of fun indoors or out! Bubble foam is an easy addition to water tables, toy car washes and animal-washing sensory bins.

What You’ll Need

  • ½ cup water
  • 2 tablespoons dish soap

How to Make It

  1. Place the water and dish soap in a large bowl. An adult can whip the mixture with a hand mixer until it becomes thick and foamy. Keep the mixer and its cord away from children and standing water.
  2. Transfer the foam to a sensory bin and add cups, spoons or washable toys.

8. Cornstarch and Glue Slime

This uses white school glue to create a thick, stretchy sensory mixture. It is quick to prepare and fun for children to knead, pull and squish.

Materials

  • ¾ cup cornstarch
  • ¼ cup white school glue

How to Make It

  1. Pour the school glue into a bowl.
  2. Add the cornstarch gradually while stirring.
  3. Once the mixture becomes difficult to stir, begin kneading it with your hands.
  4. Keep kneading until the ingredients form a smooth, moldable slime.
  5. Add more cornstarch if the mixture is sticky or another small squeeze of glue if it is too dry.

This mixture will feel more like a stretchy putty than traditional activated slime. It is not taste-safe.

9. Two-Ingredient Puffy Sensory Paint

Making puffy paint is insanely easy with this simple puffy paint recipe and is soo much fun to use to create beautiful crafts. It create a cool cloud like textured that dries puffy and only requires three common household ingredients!

What You’ll Need

  • 1 cup shaving cream
  • 1 cup white school glue

How to Make It

  1. Gently fold the shaving cream and glue together until combined. Let your child spread the mixture with a paintbrush, craft stick or gloved fingers.
  2. Leave the artwork flat to dry. The paint will retain some of its raised, puffy texture.

10. Two-Ingredient Sand Slime

This combines gritty sand with fluffy shaving cream for a wonderfully unusual texture. Children can scoop it, squeeze it and experiment with how the mixture changes as the ingredients combine.

Materials

  • 5 cups clean play sand
  • Approximately ½ cup shaving cream

How to Make It

  1. Place the sand in a large bowl or sensory bin.
  2. Add approximately ½ cup of shaving cream.
  3. Mix the ingredients with a spoon or your hands.
  4. Add more shaving cream if you would like a softer, foamier texture.
  5. Continue mixing until the sand can be squeezed and loosely molded.

The exact amount of shaving cream will depend on how wet or dry the sand is. This recipe is not taste-safe.

11. Two Ingredient Taste Safe Finger Paint

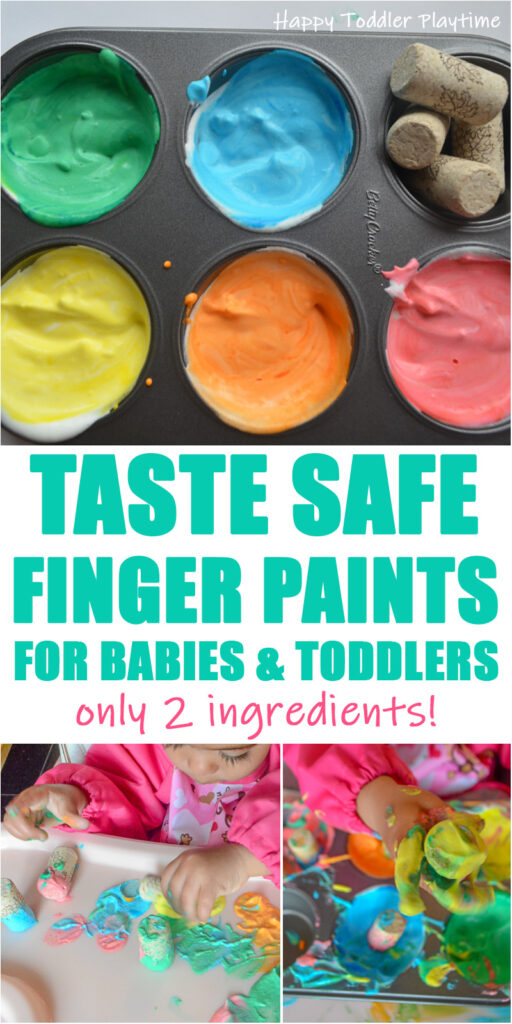
Homemade edible finger paints for babies and toddlers is a fun and easy sensory and art activity for little ones who are still exploring their world with their mouths. It’s also a great way to introduce colours and painting for toddlers.

What You’ll Need

How to Make It

  1. Pour 2 cups of whipping cream into a mixing bowl and use a hand blender to whip it up into a mound of soft whip cream.
  2. Use a spoon to scoop out a few dollops into each section of a muffin tin. Add a drop of food colouring to each section and mix until the colour is evenly distributed.
  3. I did this activity with my twin 15 month olds, so in order to reduce the mess I put them into their highchairs and put full sleeved bids on them. I would also recommend covering the seat of your highchair with a plastic bag so that it does not stain.

12. Rainbow Quick Paint

This turns ordinary washable paint into a light, fluffy sensory material. Make several colors and let children explore color mixing while they paint.

Materials

  • Washable children’s paint
  • Shaving cream

How to Make It

  1. Spray shaving cream into several small bowls or sections of a muffin tin.
  2. Add a small amount of washable paint to each section.
  3. Gently stir until the paint is evenly blended and the shaving cream remains fluffy.
  4. Add a little more paint if you want stronger colors.
  5. Give children brushes, cardboard or heavy paper and invite them to create a rainbow painting.

There is no need for exact measurements. Start with plenty of shaving cream and add paint gradually. This recipe is not taste-safe.

13. Two-Ingredient Snow Playdough

My three kids absolutely love this activity – it’s like bringing a piece of the snowy outdoors into the warmth of our kitchen. This homemade playdough has a wonderfully soft, almost magical texture that feels just like real snow, minus the cold. This silky playdough is perfect for rolling, cutting and building pretend snowmen.

What You’ll Need

  • 1½ cups cornstarch
  • ½ cup lotion

How to Make It

  1. Mix the Ingredients: In your bowl, combine the 1 cup cornstarch and 1/2 cup lotion. At first, the mixture will seem extremely sticky. Don’t worry, that’s perfectly normal!
  2. Stir with a Spoon: Use the spoon to mix the ingredients together. Make sure to scrape the bottom and sides of the bowl to incorporate all of the cornstarch. Slowly add the 1/2 cup of cornstarch a little bit at a time and mix with the spoon until the mixture starts to form a ball and peel away from the bowl.
  3. Knead the mixture with your hands, adding a little more cornstarch when needed.

14. Mud Paint

This is a wonderfully messy way to combine outdoor play with process art. Liquid watercolor transforms ordinary mud into rich, earthy paint that children can spread, drip and brush across paper or cardboard.

Materials

  • Smooth mud
  • Liquid watercolor

How to Make It

  1. Check the mud and remove stones, sticks or other sharp pieces.
  2. Divide the smooth mud between several small bowls.
  3. Add a few drops of liquid watercolor to each bowl.
  4. Stir until the color is evenly distributed.
  5. Add more liquid watercolor as needed to create brighter colors.
  6. Use paintbrushes, sticks or hands to paint on cardboard, heavy paper or another outdoor surface.

Use washable liquid watercolor and old clothing because this activity can stain. Closely supervise children and make sure the mud comes from an area free of animal waste, pesticides and other contaminants.

15. Two-Ingredient Shaving Cream Paint

This takes only minutes to prepare. Its fluffy texture makes painting an engaging sensory experience, whether children use brushes or explore with their fingers. This is great outdoors or in the bath!

Materials

  • Shaving cream
  • Food coloring

How to Make It

  1. Spray shaving cream into each section of a muffin tin.
  2. Add a few drops of food coloring to each section.
  3. Stir until the color is evenly blended.
  4. Mix primary colors together to create additional shades such as purple, orange and green.
  5. Give children paper and paintbrushes, or let them explore the paint with their fingers.

Use only a few drops of food coloring to reduce staining. Shaving cream paint is not taste-safe and should be kept away from children’s eyes and mouths.

16. Two-Ingredient Fake Snow

This fluffy pretend snow is fun for winter sensory bins—even when there is no real snow outside.

What You’ll Need

  • 1 cup baking soda
  • 1 cup shaving cream

How to Make It

  1. Combine the baking soda and shaving cream in a bowl. Mix until the ingredients form soft, moldable snow.
  2. Add toy animals, trucks, cups or cookie cutters for open-ended play.

17. Two-Ingredient Foam Dough

Foam dough is soft, squishy and easy to mold.

What You’ll Need

  • 1 cup cornstarch
  • 1 cup shaving cream

How to Make It

  1. Add the cornstarch and shaving cream to a sensory bin. Mix and knead until the dough holds together.
  2. Add more cornstarch if it feels sticky or another small squirt of shaving cream if it feels crumbly.

18. Two-Ingredient Frosting Playdough

This sweet-smelling dough is made entirely from food ingredients, but it should still be treated as an activity rather than a snack.

What You’ll Need

  • 1 cup prepared frosting
  • 2½ to 3 cups powdered sugar

How to Make It

  1. Place the frosting in a bowl. Gradually mix in the powdered sugar until a soft dough forms.
  2. Knead the dough on a surface dusted with powdered sugar. Add more sugar if it remains sticky.
  3. Check both ingredient labels for allergens and supervise children throughout the activity.

Sensory Play Ideas

Once your recipe is ready, add simple tools to extend the play:

  • Measuring cups and spoons
  • Muffin tins
  • Rolling pins
  • Cookie cutters
  • Toy animals
  • Construction vehicles
  • Paintbrushes
  • Silicone baking cups
  • Plastic bowls and containers

Frequently Asked Questions for 2-Ingredient Sensory Play Recipes

Q. What age are these sensory recipes for?

These activities are best for toddlers, preschoolers and older children who can follow basic safety directions. Closely supervise children at all times and avoid non-food recipes if your child still explores by putting things in their mouth.

Q. Are these recipes taste-safe?

Most are not. Recipes containing shaving cream, dish soap, school glue, lotion or baby oil must never be eaten. Even food-based recipes should be used as supervised play materials rather than served as food.

Q. Can I add color?

Yes. Add a few drops of food coloring or washable liquid watercolor, but remember that this technically adds a third ingredient. Coloring may stain hands, clothing or play surfaces.

Q. How can I fix a mixture that is too sticky?

Add the dry ingredient one tablespoon at a time. If the mixture is too dry, add the wet ingredient one teaspoon at a time until you reach the desired texture.

Q. Are cornstarch and corn flour the same thing?

It depends on where you live. In some countries, “corn flour” is another name for cornstarch. In others, it means finely ground whole corn. Check the ingredient label before beginning because the two products can create different textures.

Q. How should I store these sensory materials?

Most of these recipes are best used immediately. If you save one, place it in a clearly labeled, airtight container and keep it out of children’s reach. Discard it if it develops an unusual smell, changes appearance or becomes contaminated during play.

Q. Can sensory mixtures go down the drain?

Avoid pouring mixtures containing cornstarch, corn flour, glue or baby oil down the drain. Scrape the material into the garbage first, then wash the container with warm, soapy water.

Q. What if my child has sensitive skin?

Choose fragrance-free products and test a small amount on the skin before play. Stop immediately if irritation develops. Children can also explore the mixtures with spoons, scoops or gloves instead of using their bare hands.

These quick sensory recipes prove that fun play does not require a long supply list. Choose two ingredients, mix them together and let the hands-on exploration begin.

Play2Learn Toddler & Preschool Programs for Curious Toddlers

Play2Learn Toddler & Preschool Programs for Curious Toddlers image

There is no limit to your toddler’s energy and curiosity. That energy and curiosity although a joy can be challenging at times. Their interest in just about everything around them is what makes them great learners. One and two year olds can soak up so much just from their senses!

But as a teacher or parent that thirst for learning can be exhausting. That is why I created this toddler and preschooler program. To help you get the most out of this time with your curious toddler without having to come up with creative ways to play and interact with them.

Play2Learn for Toddlers includes 20 Units for toddlers. Each 2-week toddler unit has 20 super easy to set up and engaging activities for toddlers 18 months to 3 years.

Play2Learn Preschool which includes 20 Units for preschoolers. Each 2-week preschoolers unit has 20 unique and easy to set up and engaging activities for preschoolers 3 years to 5 years. That’s over 800 learning activities for your toddler and preschooler at your fingertips! So many ideas you and your child will never be bored again! 

These toddler and preschool lesson plans and activities will definitely keep you and your toddler and preschooler busy playing and learning!

Click here for more information: Play2Learn

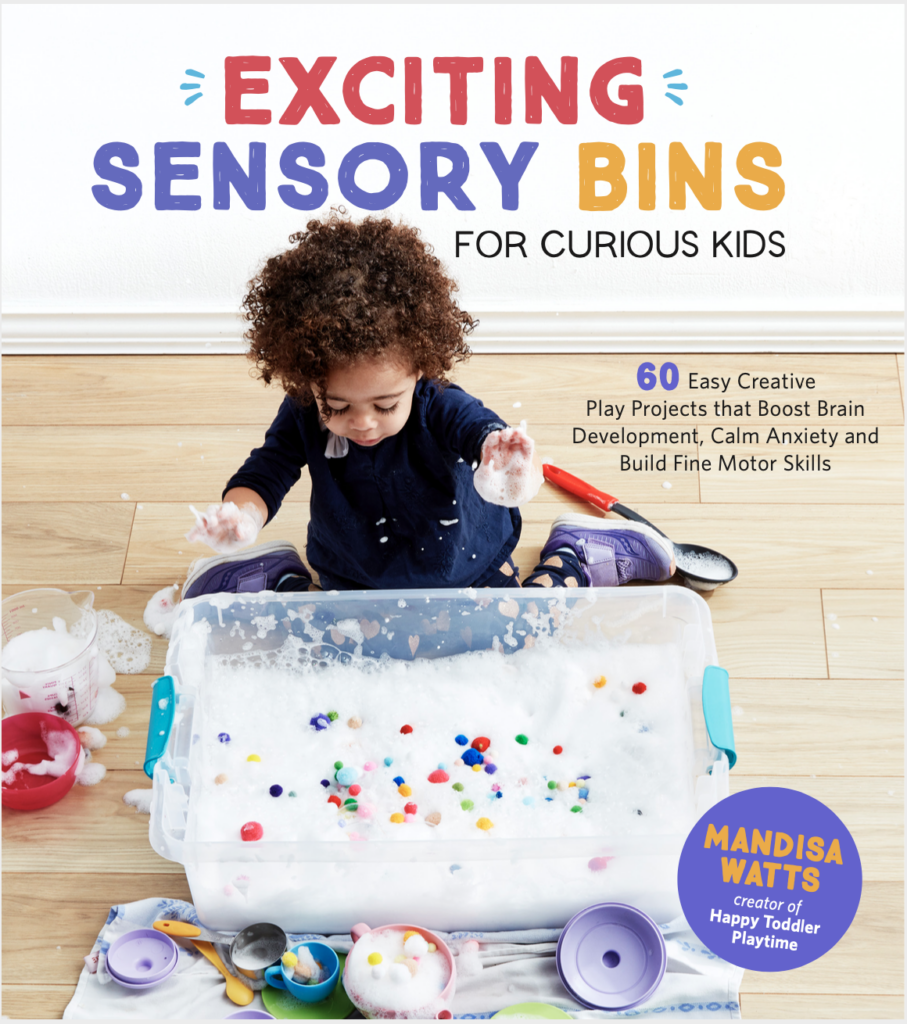
Book: Exciting Sensory Bins for Curious Kids

Exciting Sensory Bins for Curious Kids image

Did you know I wrote a book of sensory bins? Click here for more information Exciting Sensory Bin for Curious Kids. Or grab your copy at Amazon

Boring afternoons are made exciting with awesome animal-based bins, like Salty Shark Bay or Yarn Farm. Pretend play bins like Birthday Cake Sensory Play or Bubble Tea Party encourage creativity and imagination. And your kids will have so much fun they won’t even know they’re getting smarter with STEAM (science, technology, engineering, art and math) activities like Sink or Float Soup, Magnetic Letter Hunt or Ice Cream Scoop and Count.

Designed for toddlers 18 months and up.

Book: Super STEAM Activity Book for Kids

Super STEAM Activity Book for Kids image

Learning all about science, technology, engineering, art, and math sets kids up for scholastic success―and it can be so much fun! Watch kids enjoy building STEAM skills as they color friendly fish, help water find its way to tree roots, solve math problems with mazes, and more. 

Find out more and grab your copy here.

Designed for preschoolers 3 years old and up.

Book: Big Book of Riddles for Kids

Big Book of Riddles for Kids image

Riddle me this: What’s an exciting way to practice critical thinking while having a blast? The Big Riddle Book for Kids, of course! From hilarious puns to tough brain teasers, kids can build problem-solving skills with hundreds of riddles tha. t show them how to think outside the box.

  • 350 riddles for kids—Have hours of fun with riddles, puns and jokes, and math and logic puzzles that’ll get their wheels turning!
  • Level up their skills—Riddles get trickier as kids progress through the book, challenging them as they get better at solving puzzles!
  • Double-check their work—Kids can check their answers in the back of the book with a handy answer key.

Help children expand their minds while having fun with this puzzle book for kids!

Designed for kids ages 6 years old and up.

TV Show: Curious Crafting

I’m so excited to share my crafting TV show Curious Crafting which launched in July 2022 on TVOkids and TVOkids YouTube! Season 2 aired in August 2023! My show was also nominated in 2023 for Best Live Action Preschool Series by the Youth Media Alliance Awards of Excellence.

Curious Crafting Season 1 is also now airing in Australia on ABC! Watch it here!

Set in the ultimate crafting space, Curious Crafting is a short form pre-school age series about the joy of making crafts. I lead a rotating cast of adorable little preschoolers (including my own) making magic out of common household objects.

In each episode we transform recycled items into magical crafts like a milk carton school bus, paper bag puppet or cotton pad turtle. The crafters learn and laugh their way through each activity while demonstrating what their young imaginations can create. 

Curious Crafting shares the adventure and joy of making art with takeaway lessons for creating crafts at home.

This show designed for toddlers and preschoolers 2.5 years old and up. 

Filed Under:

Review and rate this post!

I love hearing from you! Submit your question or review here. Your email address will not be published. Required fields are marked*.

This site uses Akismet to reduce spam. Learn how your comment data is processed.