
It’s apple season, and there is no better way to embrace this fruitful time than by diving into a basket full of apple crafts with your kiddos. As they slice, glue, paint, and sculpt, they’ll be developing vital skills such as hand-eye coordination, pattern recognition, and even early math concepts.
In this roundup, we’re sharing activities that are more than just a fun pastime; they’re stepping stones in your child’s learning journey. We’ll sprinkle in tips to ensure success at every step, giving you the confidence to foster a love for crafting in your young artist. So, let’s turn those apples into a source of joy and learning with crafts that educate as much as they entertain!
Apple Crafts for Toddlers & Preschoolers
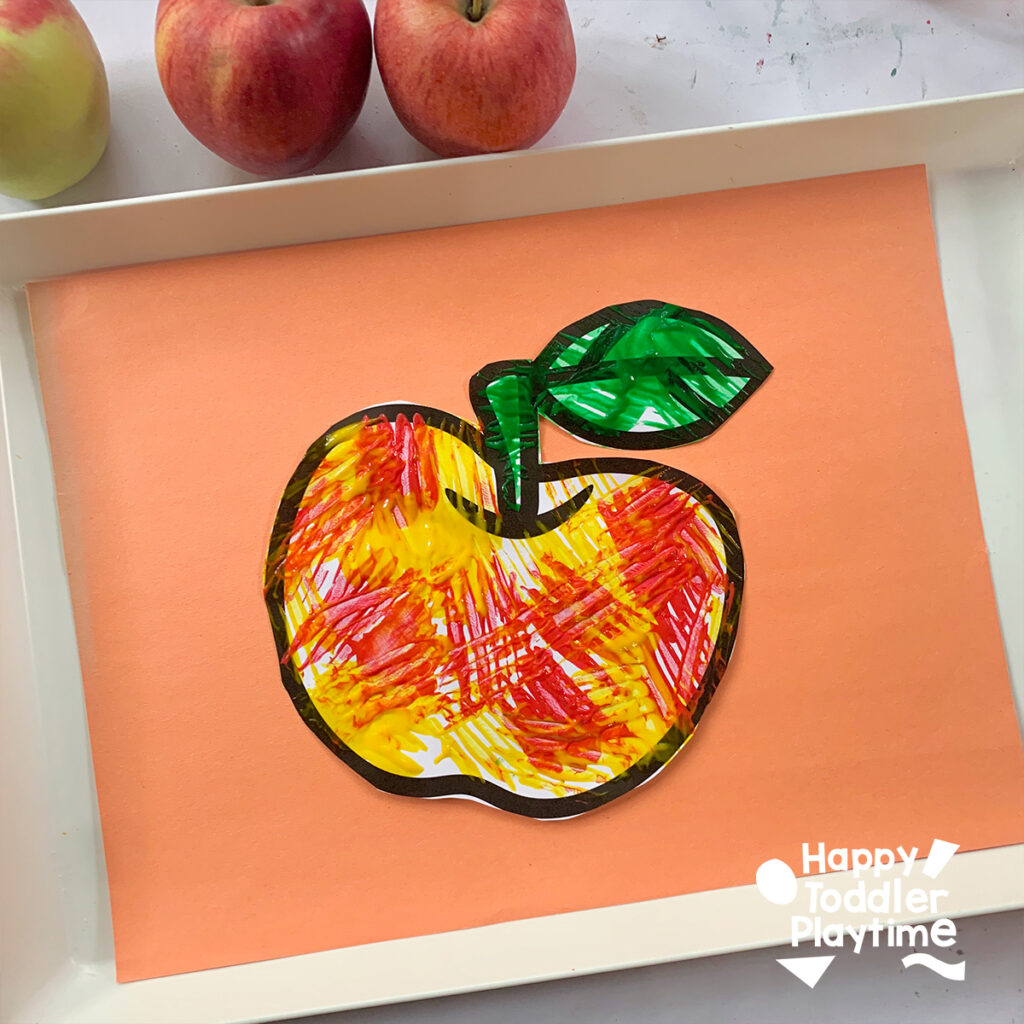
1. Fork Painted Apple Craft
If you’re on the hunt for a craft that’s easy to set up and engaging for young hands, our Fork Painted Apple Craft is sure to be a hit.
Materials
- Free printable apple template
- Washable kids paint (red, green, and yellow)
- Plastic forks
- A surface to work on (like a big piece of cardboard or a disposable tablecloth) to contain the mess
- Construction paper
- Glue
- Scissors
How To Make It
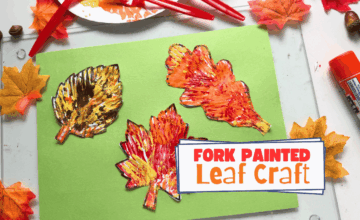
- Once you have your apple template ready, pour a little green, red and yellow paint onto a palette or a disposable plate.
- Guide your child to dip the back of the fork into the paint and then press it onto the apple template. They can make patterns, mix colors, and let their creativity soar.
- Let your apple dry. Once dry, use scissor to cut it out and glue it to a piece of construction paper.
2. Paint Splat Apple Craft

Materials
- Paper plates
- Red, green, or yellow paint
- Black construction paper (for that beaming smile!)
- Green and brown construction paper (for the stem and leaf)
- Googly eyes
- Glue
How To Make It
- Take your paper plate and fold it in half and light crease the center. Open it up again and put some red paint all over one side of the paper plate.
- Fold the plate in half again and invite your little one to use their fingers to move the paint inside the paint all over. Place something on the table just in case some of the paint oozes out of the paper plate.
- Open the plate up and check out the cool symmetrical shape that they made.
- Cut out a smile for the apple from black construction paper. Glue it on to the pumpkin, along with the googley eyes.
- Cut out a stem and a leaf and glue the, to the top of the apple.
3. Salt Painted Apple Craft

Materials
- Free printable apple template (available on our blog here)
- Food coloring and water
- Small bowls
- A small paintbrush
- Salt
- Bottle of glue
- A tray to contain the mess
How To Make It
- Print our apple template.
- Place the apple template in a tray. Hand over the glue to your kiddos and let them trace the outline of the apple with it.
- Ask them to sprinkle a generous amount of salt over the glue. Shake off the excess in the tray and you have a sparkling white apple ready for some color. All the glue and salt to dry.
- In small bowls mix red, yellow and green food coloring with water.
- Using a small paint brush invite your child to dip the brush in the coloured water and then lightly touch the salt lines.
4. Cotton Pad Apple Craft

Materials
- Cardboard
- Cotton Pads
- Bottle of glue
- Eye Droppers
- Red, Yellow, green and brown food coloring
- Small bowls
- Black paint stick or marker
How To Make It
- Draw shape of apple on cardboard. Trace it with glue and stick cotton pads in the glue. Use scissors to cut the pads for stem and leaf.
- Pour red, yellow, green and brown food coloring in small bowls with some water. Use eye droppers to color the apple.
- Trace apple with black paint stick or black marker.
5. Hot Glue Gun Apple Craft

Materials
- Free printable apple template (available on our blog here)
- Hot glue gun
- Watercolor paint and brush
How To Make It
- Trace apple template with hot glue gun. Create designs in the apple with the hot glue gun.
- Use watercolor paints to paint the apple.
6. Letter A for Apple Sticky Wall
Letter A for apple sticky wall craft is a fun and easy sticky wall activity for toddlers and preschoolers and a great way to practice letter recognition.

Materials
- Brown, green, black construction paper
- Contact paper
- Scissors
- Painters tape
- Bowl
- green and red tissue paper
How to Make it
- Grab your black sharpie and write a large uppercase and lowercase A.
- Cut red and green tissue paper into squares and place them into bowl. Cut out a large stem out of the brown construction paper, a large leaf out of the green construction paper and four apples seeds out of black construction paper.
- Invite your little one to decorate the letters. They can either do each letter in a different colour or combine the colors! When they are done let them add the brown stem and green leaf.
- This is a great activity to really talk about the letter A and the sound it makes. Ask your child to think of other words that start with A. Review other words that start with the letter A.
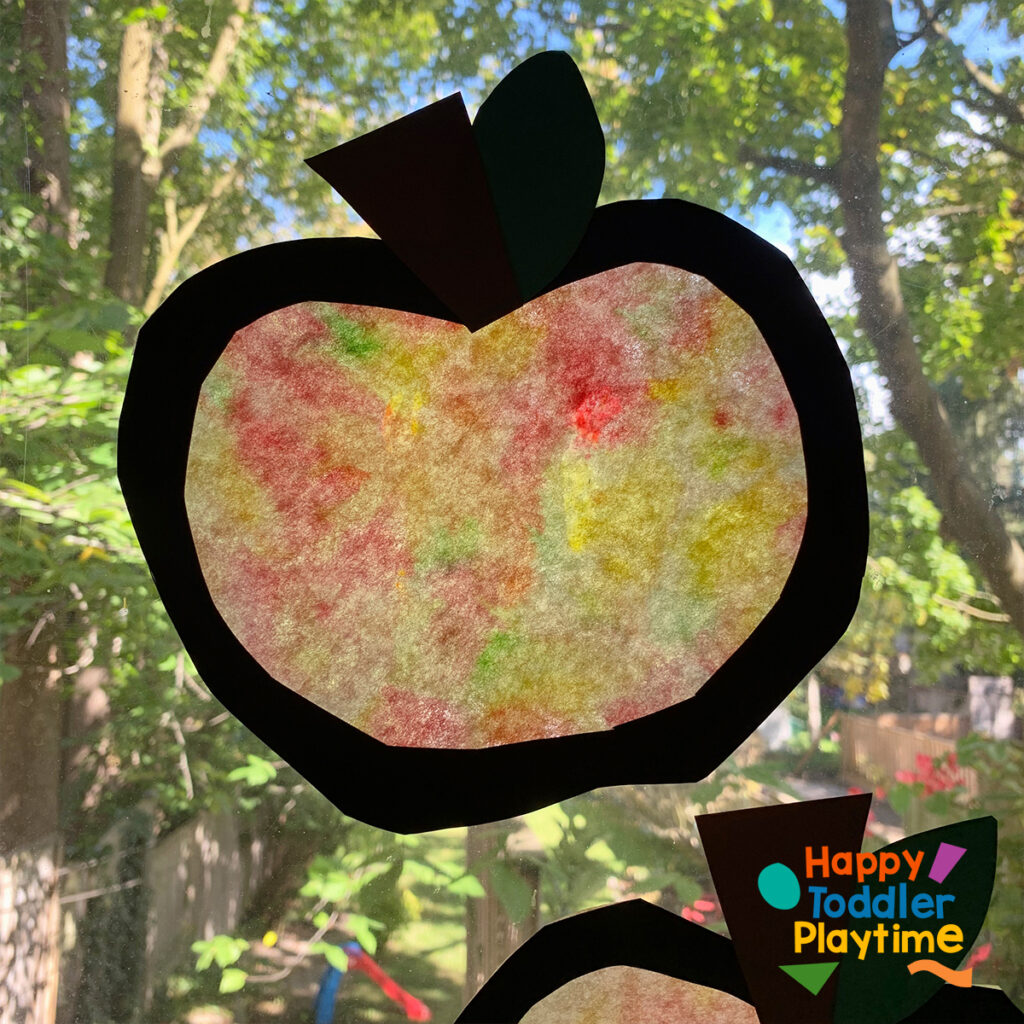
7. Coffee Filter Apple Craft
Coffee Filter Apple Craft is a fun Fall craft for toddlers and preschoolers. A fun fine motor craft idea using dot markers!
Materials
- Coffee Filters
- Red, yellow and green dot markers
- Spray bottle
- Water
- Black, brown and green construction paper
- Scissors
- Glue
- Double sided tape
How To Make It
- Grab a few coffee filters and spray them completely with red, yellow and green dot markers.
- Take a spray bottle filled with water and spray the coffee filter until it’s completely wet but not soaking. Try not to wet it too much otherwise the color will run a lot but if your little one does it ok! I encourage my kids to color in several coffee filters so they have a bunch to spray. Set it aside to dry.
- Cut out an outline of an apple from black construction paper, a stem from brown construction paper and a leave from green construction paper.
- Once the coffee filter is dry, glue the coffee filter to the apple outline. Cut the extra coffee filter part that stuck out from the apple outline.
- Glue on the stem and leaf. Display your apple craft on a window using double sided tape.
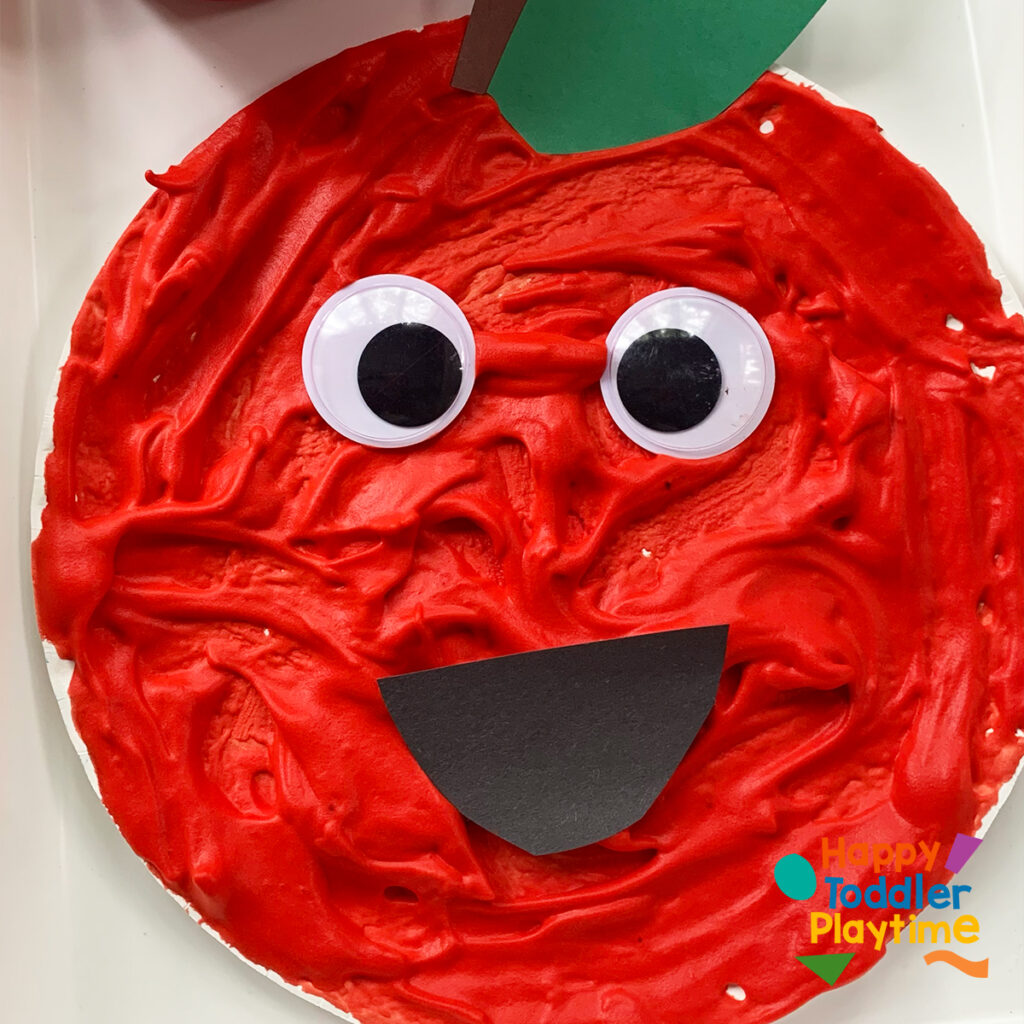
8. Puffy Paint Apple Craft
Puffy Paint Apple Craft is fun and easy fall craft for kids! An amazing sensory craft for toddlers and preschoolers and kids alike!
Materials
- 1/2 cup white school glue
- 1/2 cup shaving cream (add a little more shaving creaming to increase the puffiness of the paint)
- Crimson food colouring
- Bowl
- Paint brush
- Paper plate
- Green, brown and black construction paper
- Scissors
- Googley eyes
How To Make It
- In a bowl, combine the white school glue, shaving cream and a few drops of crimson food colouring. You can use a spoon to mix your puffy paint or you can use craft sticks. Mix the ingredients throughly until completely combined.
- Take a paper paper using a regular paint brush, paint the red puffy paint all over the paper plate.
- Use scissors to cut out a stem from brown construction paper and a leaf from green construction paper. Place them on top of the paper plate in the red puffy paint. Add two googley eyes.
- Cut out a large smile from the black construction paper. Place it in the puffy paint under the eyes!
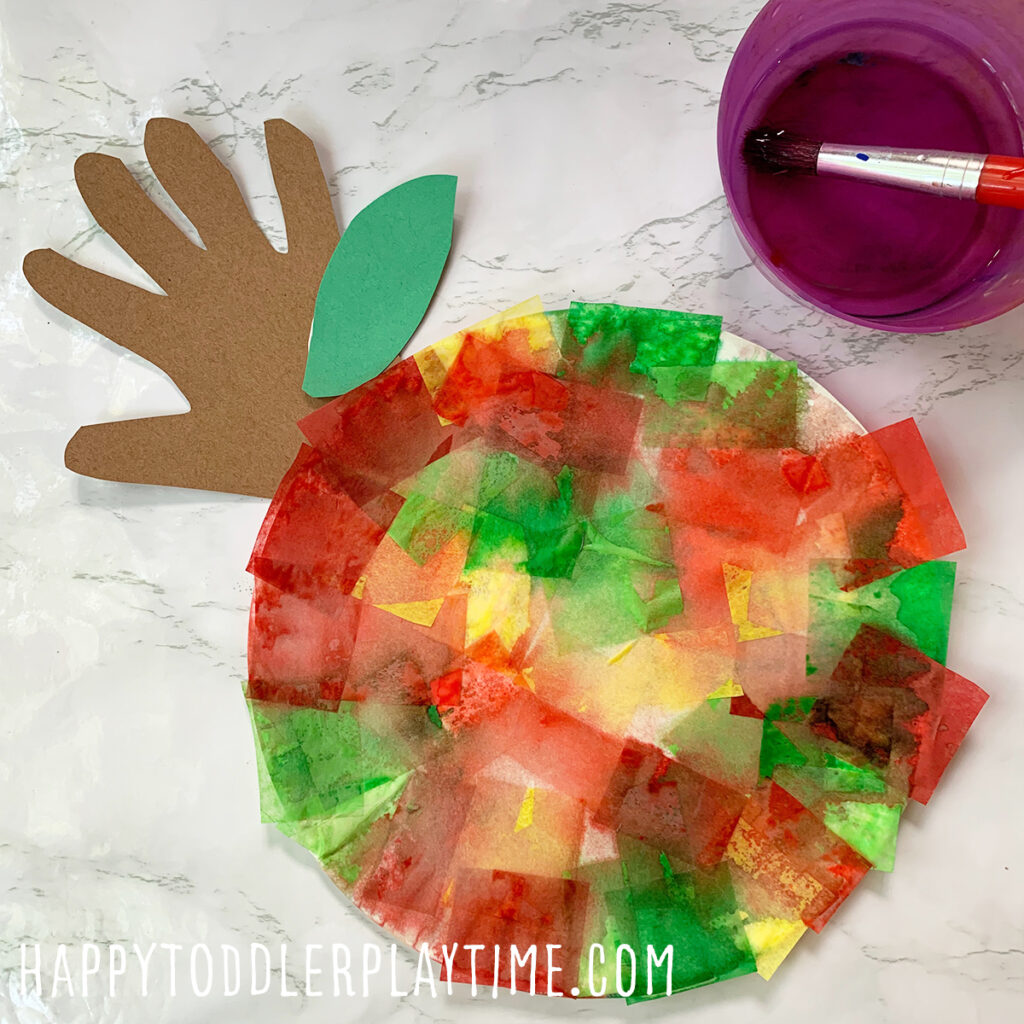
9. Tissue Paper Apple Craft
Tissue Paper Apple Craft is a fun and easy fall craft for toddlers and preschoolers using tissue paper and water!
Materials
- Bleeding Tissue Paper (or regular tissue paper)
- Water
- Bowl
- Paint brush
- Paper Plate
- Green and brown construction paper
- Scissors
- Glue
How To Make It
- Invite your child to brush the paper plate with a small amount of water and they lay a piece of bleeding tissue paper in the water. It will stick to the paper plate. Invite them to then brush it again with a small amount of water to watch the colour bleed. Invite them to continue painting with the water and laying down the tissue paper until the entire paper plate is covered.
- If the plate gets too wet, soak up some of the water with a paper towel. Let your paper plate dry.
10. Watercolor & Salt Apple Painting
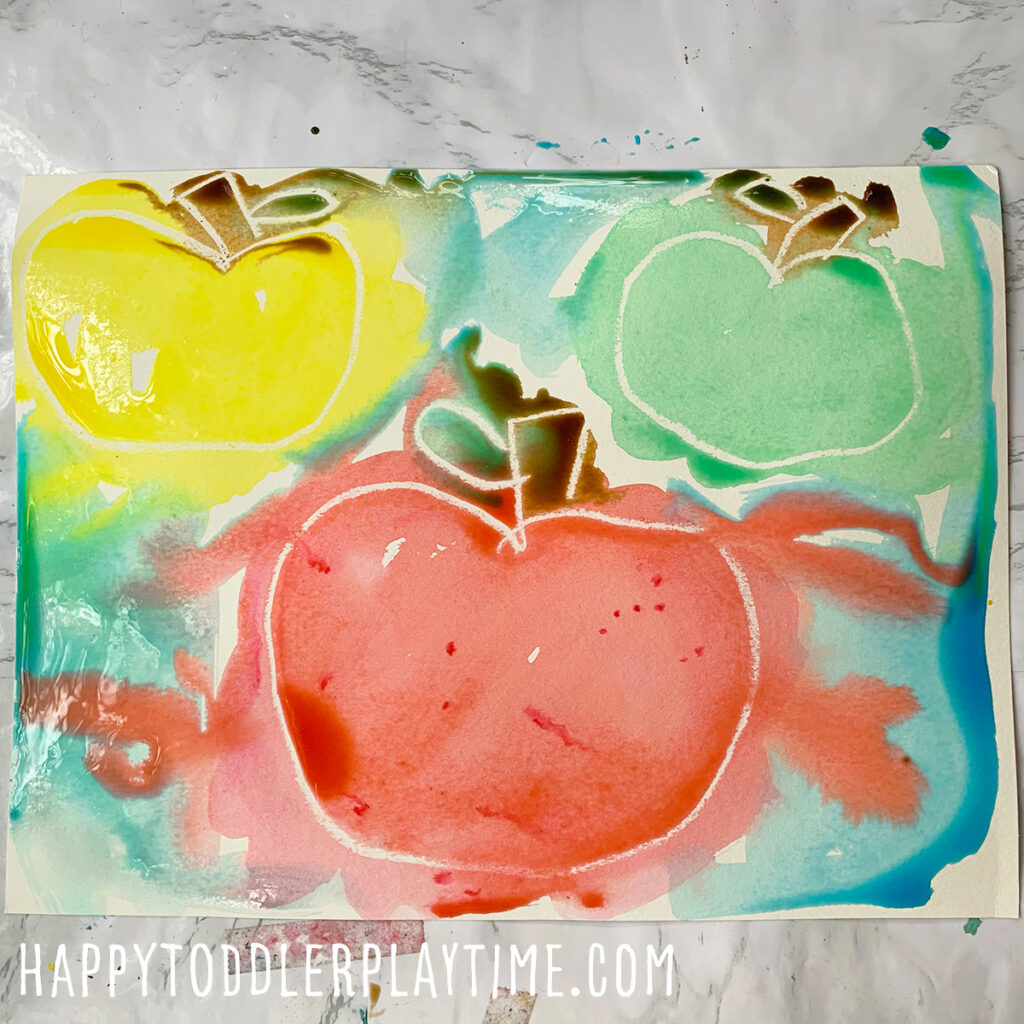
Materials
- food coloring and water
- bowls
- Watercolor brush
- watercolor paper
- salt
- Oil pastels or white crayon
- Watercolors paint (optional)
How To Make It
- Grab a sheet of watercolor paper. Grab 4 bowls and add a drop of red, green, yellow and brown food colouring inside each respectively. Mix them with some water. You can also use watercolors for this activity.
- Draw three apples on the paper is using white crayon.
- Grab your coloured water and brush and start to paint the apples. They won’t be able to see the apples at first but they will magically appear when they start to paint the page. Paint the apples, red, green and yellow. Paint the stems and leafs brown and green.
- While the paint is still wet, sprinkle a little salt over the coloured water. You want the paint to still be wet so that the salt can absorb the water.
- Allow your painting to dry. Once dry gently tip your picture over to shake off any salt that didn’t stick. It should stay on your page unless you added a lot of salt.
11. Apple Sponge Stamping Craft
Apple sponge stamping is a great alternative to apple stamping with realapples this fall! Instead of using the real apples to make apple crafts, eat the apples and use a sponge.
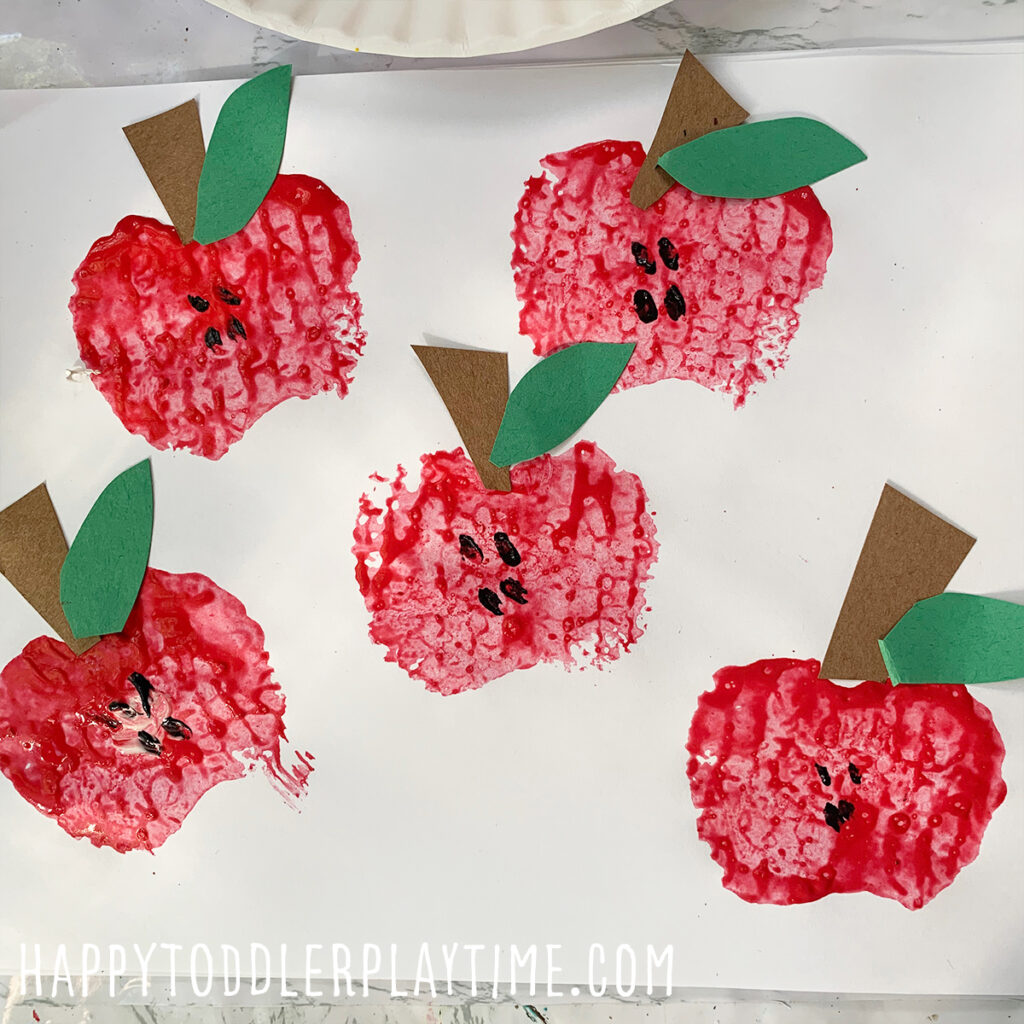
Materials
- Sponges
- Washable kids paint
- brushes
- white paper
- brown and green construction paper
- craft glue
How To Make It
- Grab a few kitchen sponges. Draw the shape of an apple on one side of the sponge using a marker.
- Use a pair of scissors to cut the sponge into the shape of an apple.
- Grab a paper plate and pour out some red, yellow and green washable kids paint. Take one of the sponges and dip it into the paint. Take a sheet of white paper and stamp the sponge on the paper to create an apple.
12. Painted Apple Suncatchers
Painted Apple Suncatcher Craft for kids is an easy fall craft for toddlers and preschoolers using materials you probably already have at home! Create a beautiful apple art to decorate their rooms!
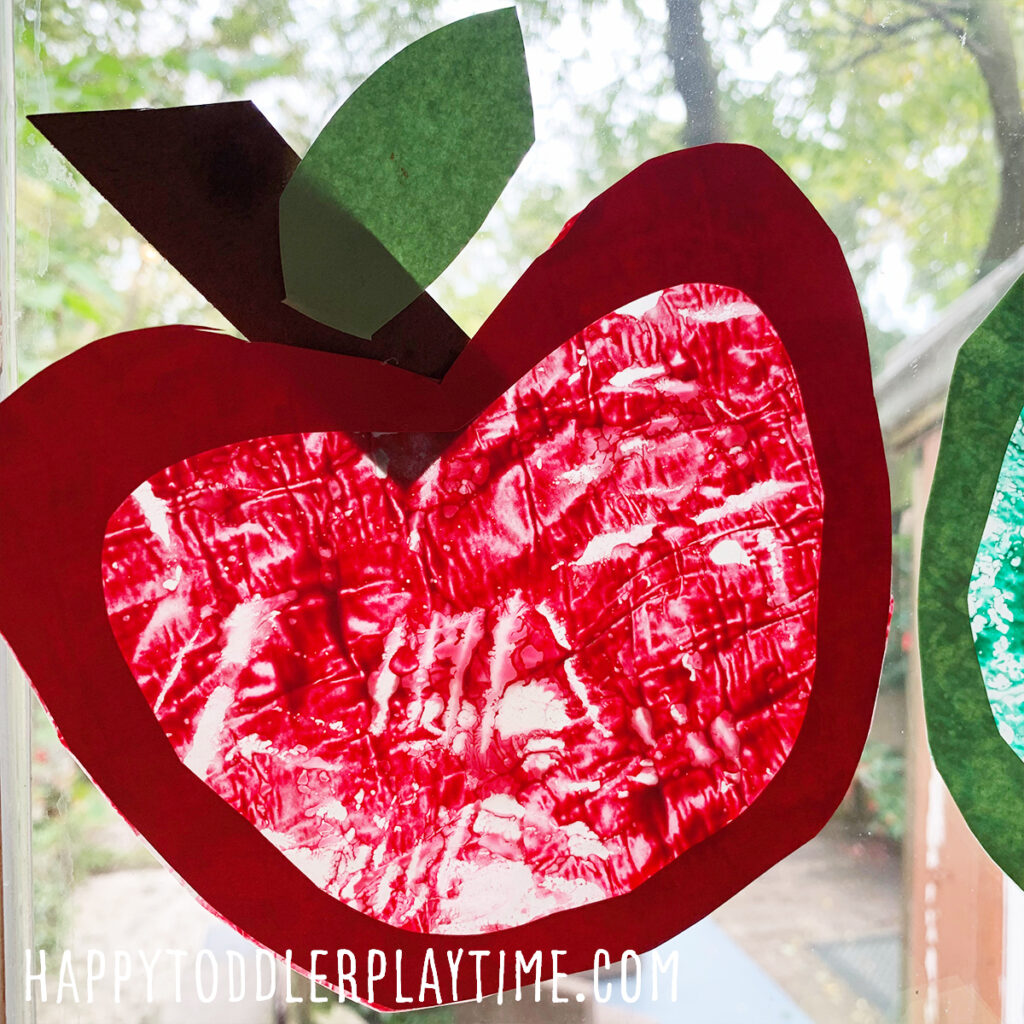
Materials
- Waxed Paper
- Washable Kids Paint
- Potato Masher
- Red, green, yellow and brown construction paper
- Double-sided Tape
- Scissors
- Glue
How To Make It
- Tear off a sheet of waxed paper and lay it down on a covered table.
- Pour red some paint on the waxed paper. Small blobs will do. Use a potato masher to create prints on the paper with the paint.
- Lay another sheet of waxed paper over top the paint and press down lightly to seal.
- Cut out the outline shape of an apple out of red construction paper by folding it in apple cutting out the apple shape and then cutting out the center.
- Use glue to attached the apple outline to the wax paper. Use scissors to cut around the edge of the apple outline to remove the extra waxed paper.
- Cut out a stem and leaf from brown and green construction paper. Glue them to the top of your apple. Attach the suncatcher to your window using tape or double side tape.
13. Oil Pastel & Salt Apple Painting

Materials
- food coloring and water
- bowls
- Watercolor brush
- watercolor paper
- salt
- Oil pastels or white crayon
- Watercolors paint (optional)
How To Make It
- Use oil pastels to draw three apples, one red, one green and one yellow on the page including the leaf and stem in brown and green.
- For the oil pastel they can paint the apples red, yellow and green or whatever they like.
- While the paint is still wet, sprinkle a little salt over the coloured water. You want the paint to still be wet so that the salt can absorb the water.
- Allow your painting to dry. Once dry gently tip your picture over to shake off any salt that didn’t stick. It should stay on your page unless you added a lot of salt.
WILL YOU TRY ANY OF THESE APPLE CRAFTS WITH YOUR KIDS? PIN IT FOR LATER!!